Did you know that fresh yogurt with simple, wholesome ingredients is incredibly easy to make at home? This tutorial will walk you through how to make yogurt, Greek yogurt, and Labneh.
Why Learn How to Make Yogurt?
We go through a lot of yogurt in my house.
I use Greek yogurt as a source of protein, we swap it in place of mayonnaise in dressings and sauces, and the husband blissfully devours it as a snack.
I'd been happily buying store-bought, plain, whole milk Greek yogurt for several years when I noticed something a little odd.
Different brands had VASTLY different calorie, fat, and sugar contents listed on the nutrition labels.
Yes, even the organic brands varied from one to the other.
Check this for yourself the next time you're shopping.
How could this happen?
Some brands use different recipes, some strain off different amounts of whey, and some brands add chemical thickeners and other ingredients that I'd just prefer not to eat.
As I stood in the grocery store-- reading label after label after label-- I started to wonder, "How DO you make this at home? How hard it could be?"
Turns out-- it's not hard.
AT ALL.
This guide will walk you through How to Make Yogurt, and then how to strain it to get Greek yogurt and the even thicker Labneh.
Want more FERMENTATION tutorials? Try these: How to Make Kombucha and How to Make Water Kefir
What Is Yogurt?
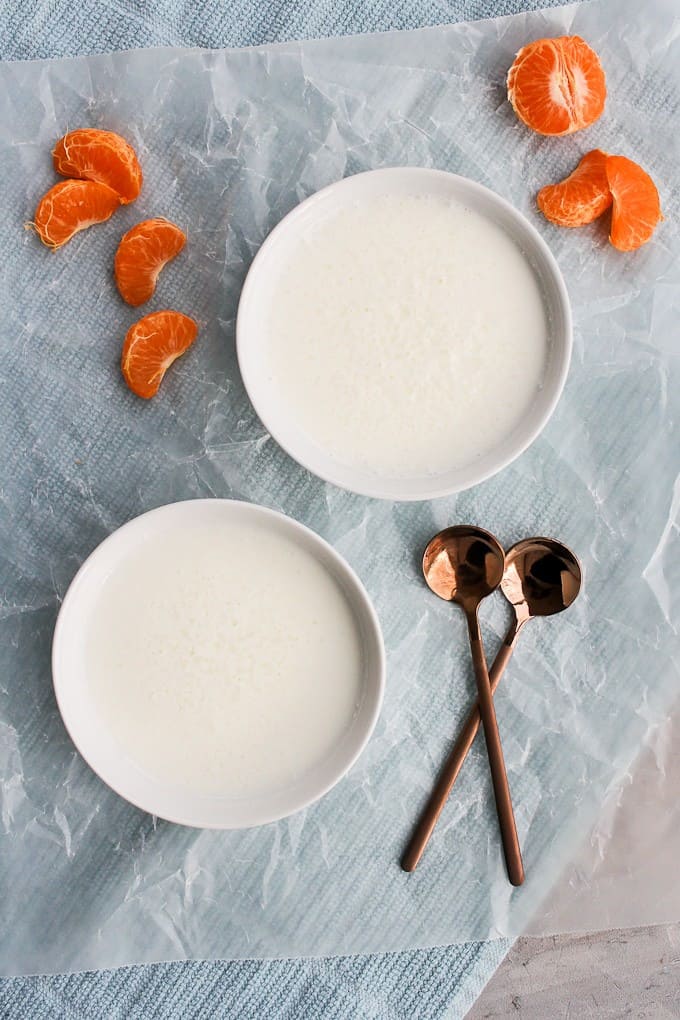
Yogurt is a creamy, semi-solid fermented milk product that contains live cultures.
It's made by heating milk, letting it cool back down, and then introducing a starter (pre-made yogurt or freeze-dried cultures) into milk. Next, you let it ferment at a warm temperature for a few hours.
What is Greek Yogurt?
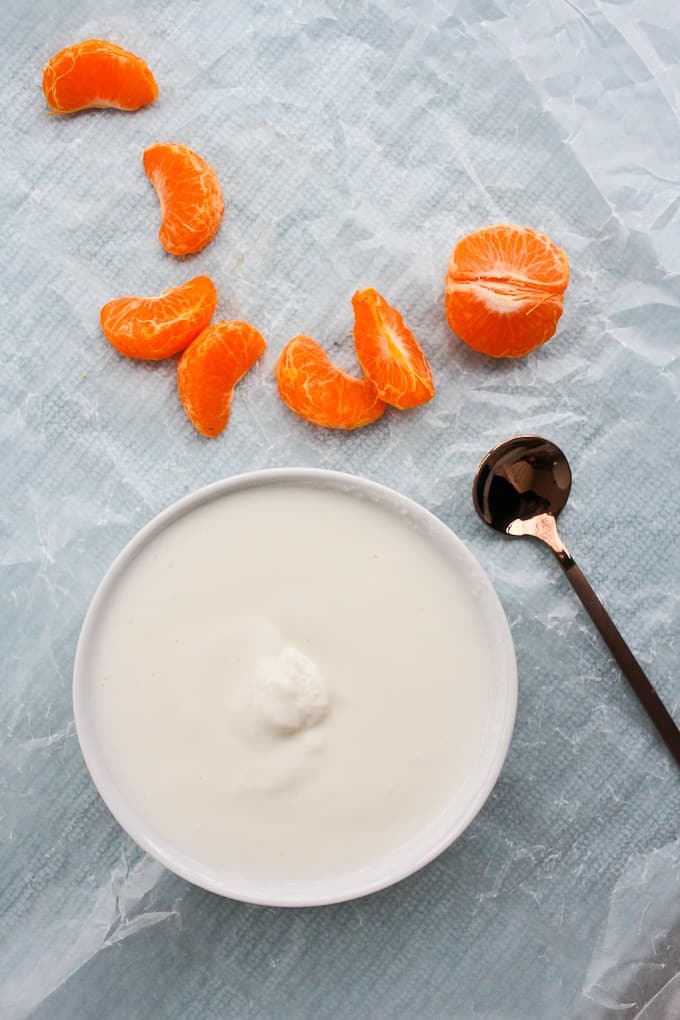
Greek yogurt has been partially strained. The watery whey drains off, leaving you with a thicker, creamy dairy product.
What is Labneh?
Labneh takes Greek yogurt and kicks it up a notch.
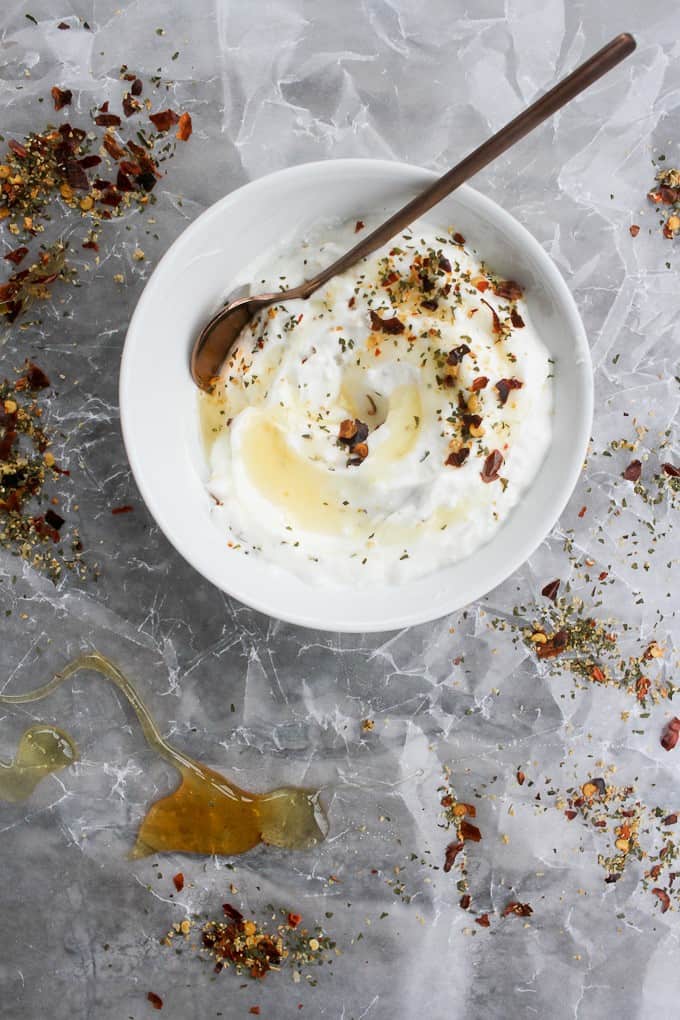
It's a Middle Eastern "cheese"-- but really it's strained yogurt that's been strained even LONGER than Greek yogurt, until you're left with an extra creamy, spreadable fermented dairy product.
Traditionally, labneh is strained until you can roll it into balls, and then stored under olive oil.
But, feel free to skip that part unless you want to roll it!
What Kind Of Starter Should I Use?
A starter?
Do you mean that I have to BUY yogurt to MAKE it?!
Yes, yes, you do.
BUT-- once you've got your own batch going, you can use it as the starter for future batches.
You can use PLAIN store-bought yogurt, but make sure it says "live probiotic cultures" on the label.
Never use flavored product as a starter.
Make sure you actually like the taste of the brand you're using as a starter, because it will affect the taste of the finished product.
Another option (and my preference) is to use freeze-dried starter to get your first batch started.
Troubleshooting: After several batches of using your own yogurt as a starter, it's possible that the cultures will start to break down. When that happens, you'll need to start over.
That's why I prefer the freeze-dried starter: each package comes with several starters, and I can just keep it on hand.
Do I Need a Yogurt Maker?
No, but if you don't use one, you definitely need an instant read thermometer.
You'll need to hold the starter mix somewhere between 110°F and 115°F for 4 to 10 hours.
You can do this by keeping it warm in a heavy, pre-heated Dutch oven, in some slow cookers, or even by storing the container in an insulated travel bag.
BUT-- if you choose to use one of these techniques, you'll need to check the temperature of the milk before you start, during, and after the process to make sure that it's stayed at the right temperature.
My preference is to use a yogurt maker, because they're cheap, and mine has made my life easier. (The one I use and love isn't available anymore, but this Bear yogurt maker is similar and gets good reviews!) But if you own an Instant Pot, check it: some models include a yogurt maker setting.
Quick Tip: If you'd prefer a fermented milk product that requires ABSOLUTELY ZERO special equipment, check out this tutorial on How to make Milk Kefir.
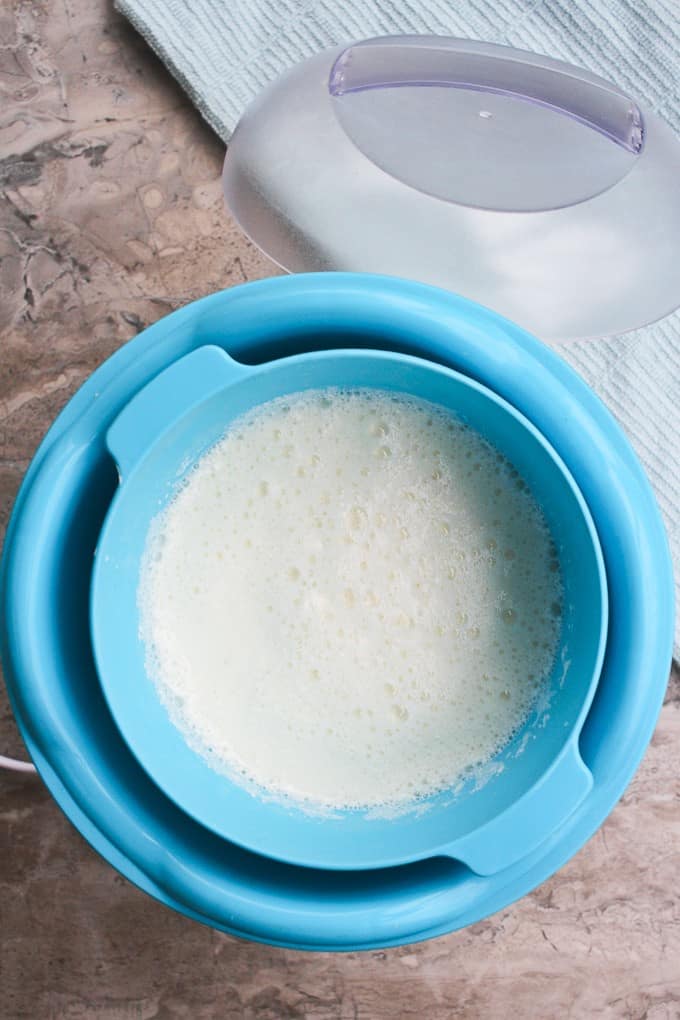
What Kind of Milk Should I Use?
Pasteurized or Unpasteurized cow's milk will work perfectly. Ultra-pasteurized milk is not recommended.
Whole milk will give you the creamiest, richest product. Low-fat milk or non-fat milk will make it thinner, and also seem to give a smaller yield when strained.
What about other animal or non-dairy milks? Check out this resource for alternate or non-dairy milk yogurts.
When I Boil Milk it Burns Onto the Pot. Help!
To make yogurt that will thicken, you need to bring your milk to roughly 180°F-- you can use a thermometer, but you don't really need to. Just get the milk to a simmer or soft boil.
Except, when you do this on the stovetop, there's a problem. The milk will-- almost inevitably-- burn to the bottom of the pot. Even if you whisk it periodically. (Oh, and sometimes it boils over and into the stovetop drip pan-- and that is THE WORST!)
I despise scrubbing burnt milk off of my kitchen pots.
And so, pretty quickly, I started heating my milk up in the microwave. That's right-- in the microwave.
It's faster. It's not as messy. And if you misjudge the time, and your milk boils over-- that rotating plate is a whole lot easier to clean than burnt milk on a drip pan!
(But-- if you're a microwave hater, you just go right ahead and heat the milk on the stove. That's perfectly fine too!)
How Do I Strain the Yogurt?
My preference is to use a fine mesh sieve, because it's easy, reusable, and it's not messy.
If you prefer, you can strain it through butter cheesecloth, butter muslin, or multiple layers of regular cheesecloth or muslin.
Leftover whey: The liquid you strain off is usable! Check out these ways to use whey.
How to Make Yogurt, Greek Yogurt, or Labneh
Once you've gathered all your equipment and ingredients, it's time to begin!
Simply bring the milk to a simmer, let it cool down to room temperature, add the starter, and then hold the mixture at a warm temperature for 4 to 10 hours. Then, if you want, strain it until it's the texture you prefer!
Scoop a little out to start your next batch, and enjoy!
Want recipes that USE YOGURT? Try these: Salmon Wellington, Mini Tacos with Shrimp + Pineapple, Perfectly Poached Eggs with Dijon Sauce
How to Make Yogurt, Greek Yogurt, and Labneh
Equipment
- cheese
Ingredients
- 4 cups milk (whole milk preferred) No ultra-pasteurized milk
- ½ cup plain yogurt with live probiotics OR 1 freeze-dried yogurt starter packet
Instructions
- Bring milk to a simmer or soft boil. (Approximately 180°F.)Tip: Microwave milk for about 9 minutes instead of cooking it on the stovetop for faster cook time and easier clean-up.
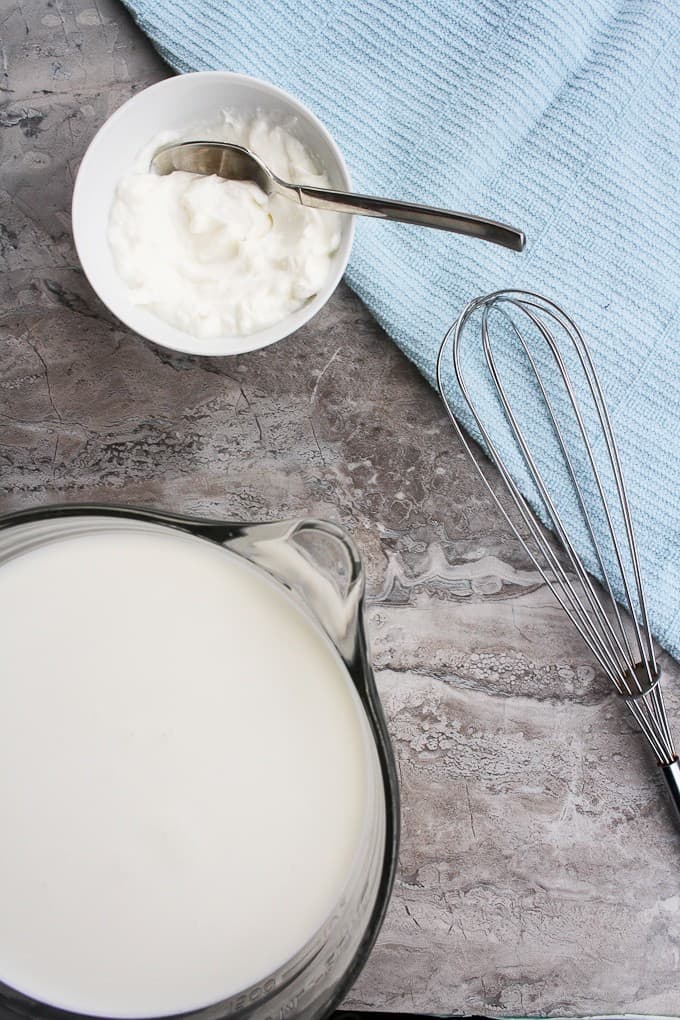
- Allow milk to come to room temperature. Pour a small amount of milk in a bowl with the yogurt starter, and whisk until incorporated. Pour the mixture into the main container of milk. Whisk until incorporated.
- Pour milk mixture into the basin of a yogurt maker and hold between 110°F and 115°F for 4 to 10 hours. A short fermentation time will yield a sweet yogurt, and a longer fermentation time will yield a tart yogurt.Tip: If you don't have a yogurt maker, pour yogurt into a warmed, heavy Dutch oven and store in the oven with the light on. Check the temperature before, during, and after cooking to make sure it stays in the correct temperature range.
- For Yogurt: Serve as is, or use a blender to make it even smoother. (Note: Depending on the strain of yogurt starter used, this yogurt will likely be very thin.)
- For Greek Yogurt: Pour yogurt into an ultra-fine mesh strainer OR line a mesh sieve with cheesecloth, and let it strain in the refrigerator for anywhere from 30 minutes to 2 hours until it's reached the desired consistency.
- For Labneh: Follow directions for Greek yogurt, and continue to strain the yogurt for anywhere from 8 hours to 2 days, until it's reached the desired consistency. Optionally, roll the finished labneh into balls and store in olive oil.
- Serve yogurt, Greek yogurt, or labneh plain, with fruit or other desired toppings, or blend in other ingredients (like fruit or honey) to the finished product.
- Store finished yogurt, Greek yogurt, or labneh in an airtight container in the fridge for up to 2 weeks.For best reculturing results, use ½ cup of the finished product to start a new batch of yogurt within 7 days.
Notes
Cook time does not include straining the yogurt, and is based on a 4 hour fermentation time. Actual cook time will change depending on how long you ferment and strain the yogurt. Troubleshooting:
- My yogurt didn't set: Did you add the starter while the yogurt was still hot? It's possible you killed the bacteria. If the yogurt wasn't still hot when you added the starter, then it's possible that the bacteria in your starter weren't alive. Try again with a new starter.
- My yogurt was lumpy: This one is a quick fix-- blend the yogurt with an immersion blender or in a blender basin to make it creamier. To prevent lumpy yogurt, make sure that you whisk well when you add the starter to the milk, until the starter is fully incorporated and any lumps have disappeared. This will help fully incorporate the bacteria.
- Use as a substitute for mayonnaise
- Add to smoothies to add probiotics or as a thickener
- Add toppings like honey, diced fruit, shredded coconut, or melted chocolate
- Blend with fruit for flavored yogurt
- Add any toppings you'd add to yogurt
- Use instead of butter on bread
- Use instead of cream cheese
- Use instead of ricotta in baked pastas
- Drizzle with olive oil and Italian spices
- Drizzle with honey and Italian spices or za'atar herb mixture

Gloria @ Homemade & Yummy
Well isn't this an interesting read. I have NEVER made any type of yogurt. I BUY it all the time. Perhaps I should give this a try instead. I don't have a yogurt maker, so I am glad you can do this without one. This will be a fun kitchen experiment.
champagne-tastes
Let me know how it goes!
Lisa | Garlic & Zest
Sarah, this is a great tutorial. I've never even considered making my own yogurt, but I think this would be a fun thing to try. My Mom tells tales about her grandmother's homemade yogurt when she was a child-- and how it was THE BEST. It would be fun to surprise her with my own version. Yogurt is a staple in our house-- so I know I'm going to get a lot of use out of this recipe. Pinning for the weekend!
champagne-tastes
It's so much better than store bought! Now if I buy some from the store I'm always disapointed in the flavor
Tina
IT's been a long time since I made my own yogurt. Definitely worth it. Just like everything homemade, it tastes way better than store bought. I was very surprised at how different it was. This is great. Maybe I'll make some Labneh this weekend.
champagne-tastes
It has a much better flavor right?! Yes make some labneh!!
Leah
I have never made my own yogurt, but you make it sound so easy! I love all the tips and instructions, and even the troubleshooting, cause let's me honest, I would probably do something wrong the first time! Labneh sounds so interesting, and I have learned so much in this article, thanks!
champagne-tastes
Funny enough, nothing went wrong at all until I'd made it like.. 30 times haha! I happened to get a bad starter, but it's all okay, because now I know that can happen 😉
Dana
We go through a ton of yogurt in this house, too. Well, *I* do. My husband won't touch it since he hates creamy textures (savage) but that's all right — more for meeeee! I've never made it, but it's on my list along with butter and mozzarella cheese! Homemade everything is always better.
champagne-tastes
Haha that's funny!! Well more for you then 😀
michele
Wow... there is not a single question I have after reading all of your post. It's so very thorough... We use a ton of yogurt and I am heading out to get some of the freeze-dried starter to put all of these tips to work..
Amanda
Loving this tutorial. I've made yogurt in the past and, well, it wasn't my finest moment in the kitchen. hahaha. I feel much more confident about giving it another go with this post--you've broken everything down so well and answered every question I had about the process! I, too, have noticed such disparity in the nutrition facts between yogurt brands, so it would be great to make it fresh at home and know what's going into it. Can't wait to make a batch!
champagne-tastes
Yogurt shopping is so confusing! Let me know if you give this a try 🙂
Amy Nash
Such a thorough, helpful post and I appreciate your trouble shooting tips. I just got an instant pot and I’m pretty sure there is a yogurt making function on that as well (but I haven’t used the thing much yet so I’m not totally sure). I’ve had the same thoughts about why in the world greek yogurt varieties differ so vastly in their nutrition labels!
champagne-tastes
Oh that's awesome! Let me know how it goes in the Instant Pot!
Britt @ A Lil' Sweet, Spice, & Advice
I absolutely love yogurt and haven't come across such a thorough post. I have an Instant Pot so I'm going to try to make yogurt in there. Can't wait to try making Labneh!
champagne-tastes
Let me know how the Instant Pot version goes!!
Meg | Meg is Well
I love the automatic shut off and cooling function on my yogurt maker, it makes life so much easier. Lol, I've come a long way since making yogurt in a cooler with a lightbulb!
champagne-tastes
Isn't it awesome!? I tried making it without one, but it's just SO MUCH EASIER with a yogurt maker!
Bernadette
I made this, it came out great. I even left some to drain for about 5 hours and now have very nice cream cheese.
Sarah Trenalone
Yay!! I’m so glad you loved it 💕😁
Stephanie
While I haven’t made the recipe yet, I’m so excited to find one that doesn’t require an instant pot! I’m lactose free and it’ll be great to be able to make my own the dutch oven way. THANK YOU!
Alisha Trenalone
We're so glad you found it! Hope it turns out great 😄
-Alisha at Champagne Tastes