
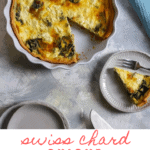


This swiss chard quiche uses eggs, fresh bitter greens, and goat cheese, and is easy to make ahead of time for a flavor-packed breakfast or brunch.
I think Swiss chard might be the prettiest green of them all.
Because it comes in my favorite color...
PINK!
I just can't get over those gorgeous hot pink stalks.
And while the leaves might look slightly less breathtaking after you cook them-- they're still DELICIOUS.
Swiss chard is mildly bitter (but not quite as bitter as kale), and cooked chard is a perfect way to add an extra layer of flavor to a dish.
In this Swiss chard quiche, the chard compliments the richness of the goat cheese and pie dough, making this a perfect make-ahead breakfast or brunch.
If you're feeling especially quiche-tastic, try serving it along with another quiche, broccoli cheddar quiche, salmon quiche, mushroom quiche, or butternut squash quiche.
What is Swiss Chard?
Swiss chard is a leafy green, and it's actually a member of the beet family!
If you don't like beets-- don't worry. The flavor reminds me of the beet greens, not the beets themselves.
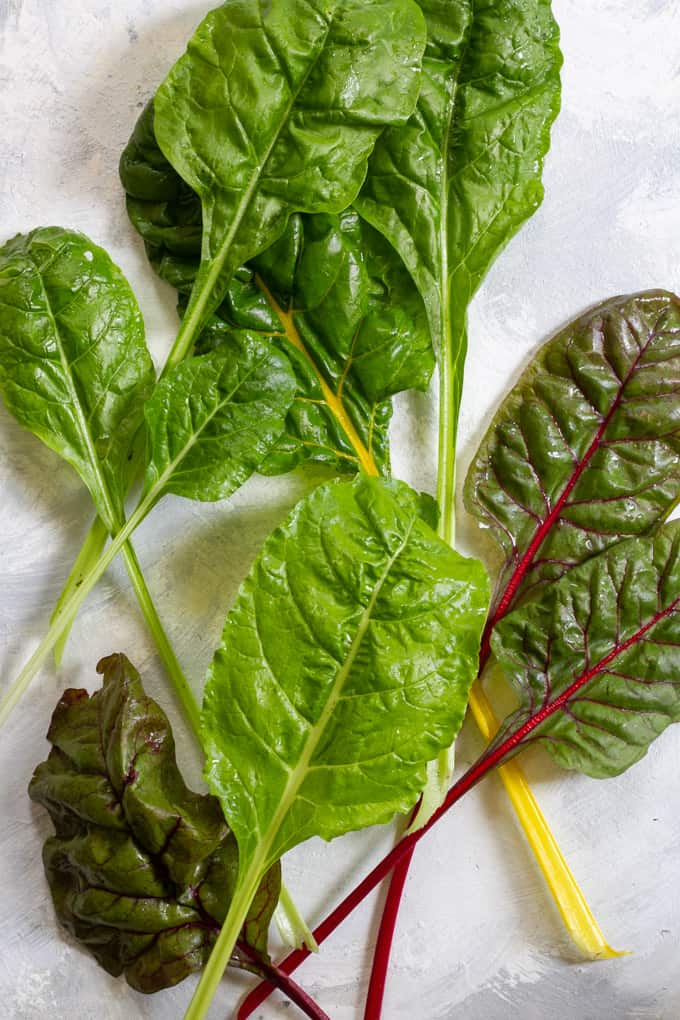
Swiss chard comes in a whole rainbow of colors (mostly visible on the stems)-- like red, yellow, white, and green.
Want more bitter greens in your life? Try these recipes: Arugula Smoothie, Arugula Salad, Arugula Pizza with Roasted Grapes, and Braised Kale with Apple Cider Vinegar
Is it Red Chard or Rhubarb?
Red (or hot pink) chard is sometimes called rhubarb chard-- and I have in fact confused it for rhubarb at the farmer's market.
If you're not sure which you're looking at-- rhubarb is almost never sold with its somewhat toxic leaves attached. Swiss chard is all about the leaves-- it should always have the large, dark green leaves attached.
If you also love rhubarb-- check out these rhubarb recipe ideas!
Where Can I Buy Swiss Chard for this Quiche?
Look for Swiss chard with the lettuce at your local grocery store, or at Farmer's market during its peak summer season.
Unlike a lot of lettuces, Swiss chard thrives in the summer heat, making it an easy (and beautiful) low-maintenance plant for your garden.
And if you plant it-- you won't have to buy Swiss chard at the store-- you can simply walk out to your garden and cut some off for this quiche!
Planning your garden? You can buy Swiss chard seeds online!
How to Cook Swiss Chard for Quiche
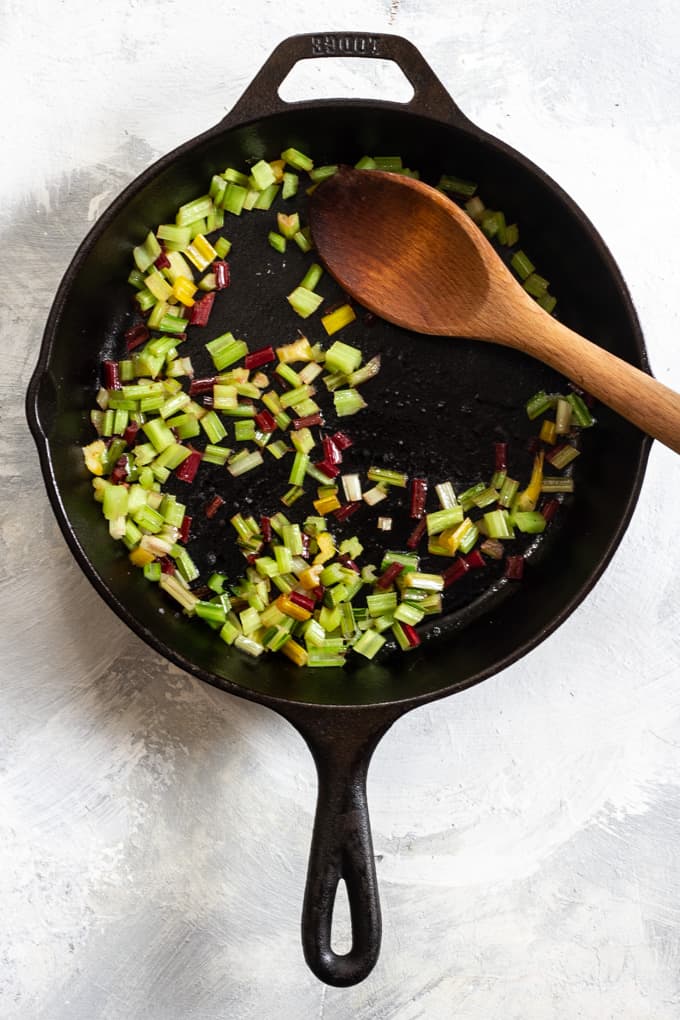
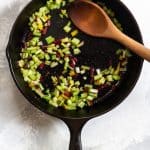
Start by cutting of the chard stems, and finely dicing them.
You're going to cook the stalks first, along with a little salt.
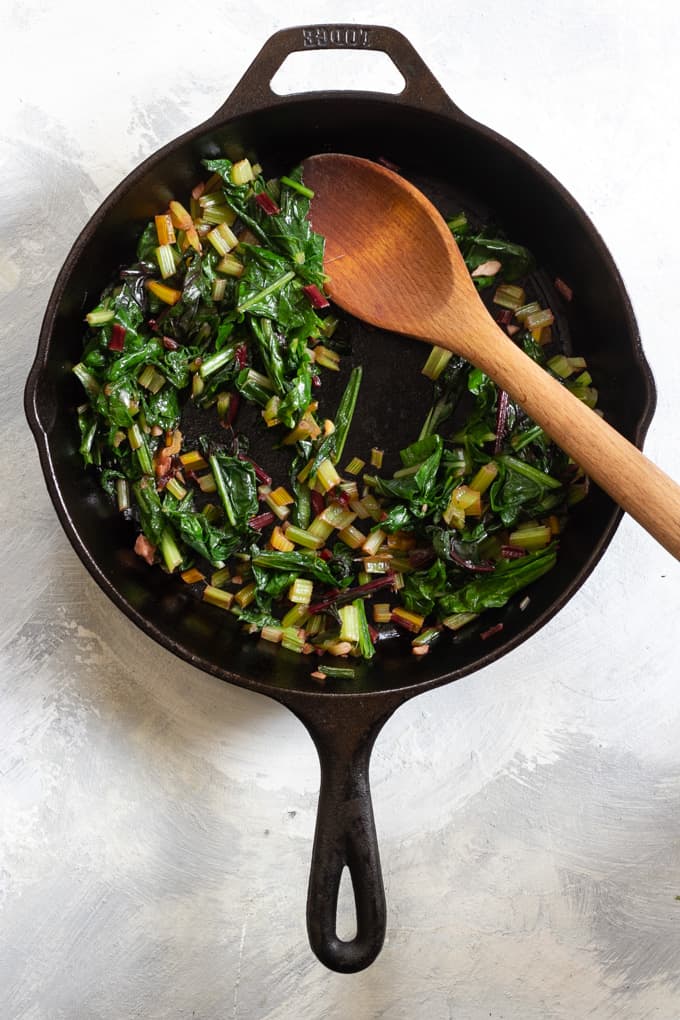
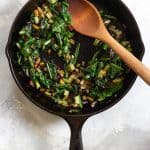
Next, add some garlic, and then the lettuce.
Cook the lettuce until it wilts and releases a lot of the moisture.
You don't want it to release more moisture inside the quiche-- it might make your crust soggy.
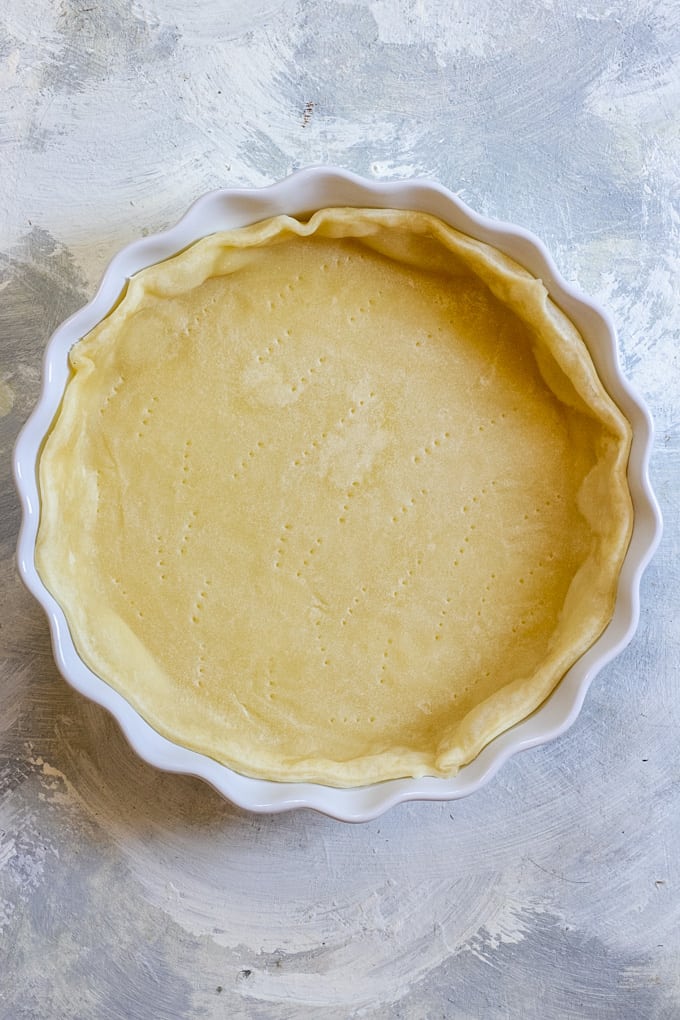
Next, blind bake the crust.
This will keep the crust from getting soggy from all the liquid ingredients we're about to add.
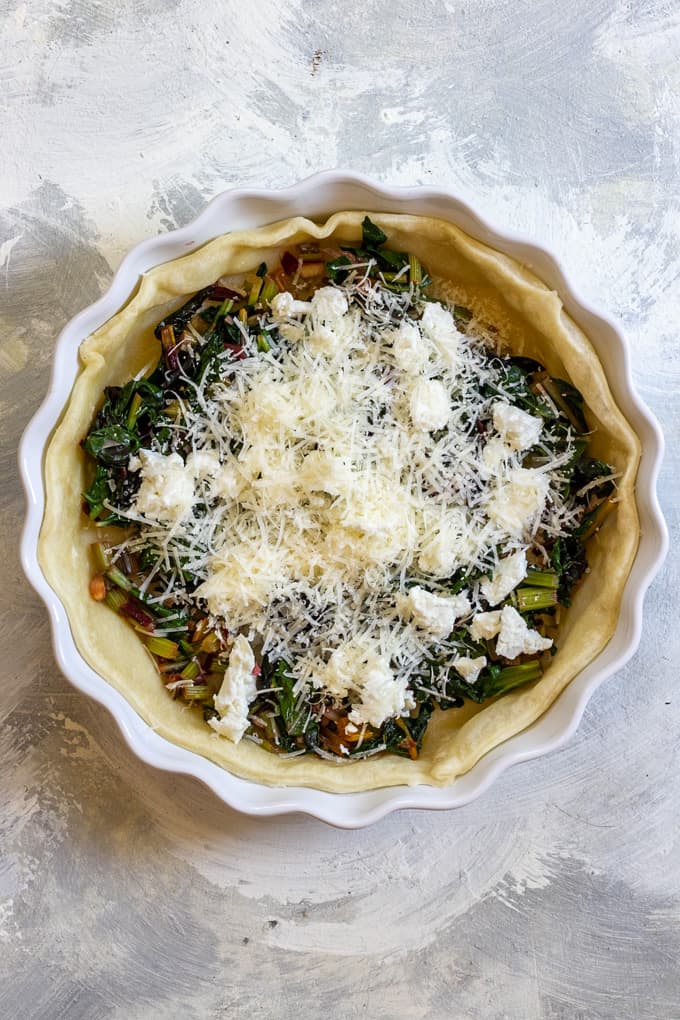
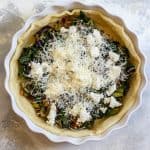
Add the Swiss chard to the quiche, and top it with half the cheese.
Need a new pie pan? Or maybe you just want another one? I love this ruffled pie pan!
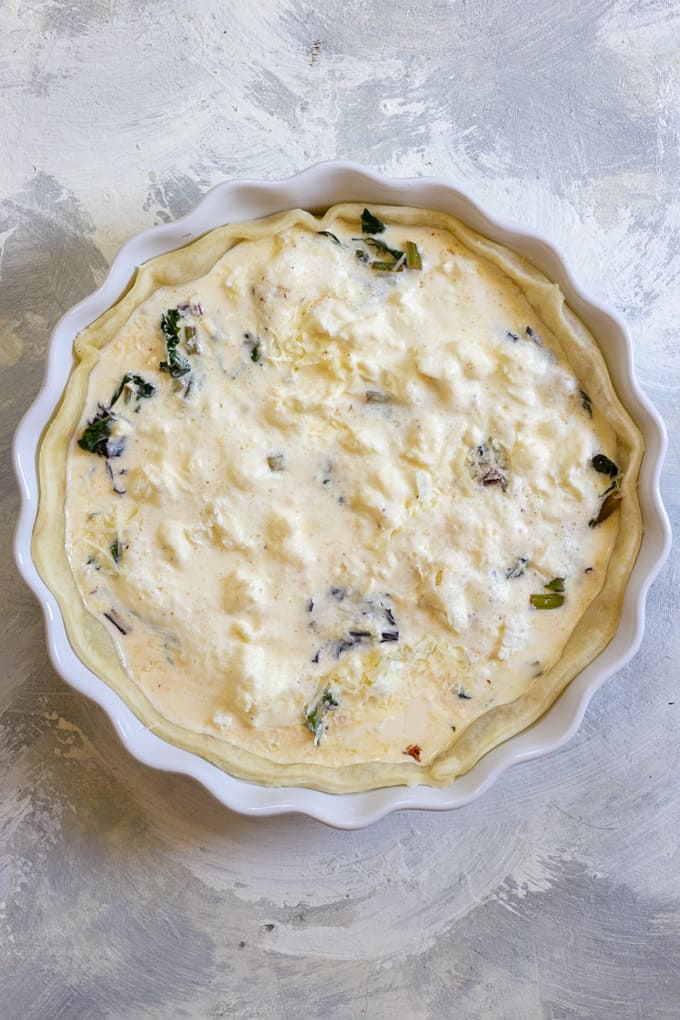
Next, you'll whisk milk, cream, and eggs together.
I use an electric mixer for this-- they need to double in size.
Fold the rest of the cheese into the egg mixture, and pour it slowly into the quiche.
Finally, you'll bake the quiche, and then let it completely cool before serving.
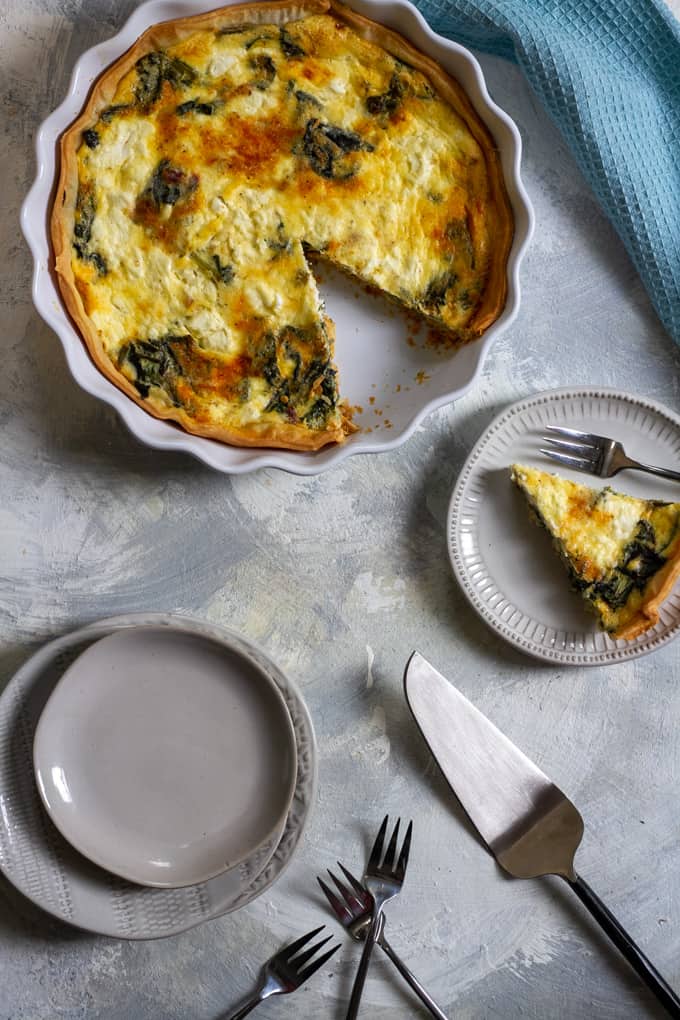
I like to make my Swiss chard quiche ahead of time, and then when I'm ready to serve it-- all I have to do is cut the slices.


Swiss Chard Quiche
Equipment
- pie pan
Ingredients
- 1 tablespoon olive oil
- 1 teaspoon salt
- 4 ounces swiss chard, leaves + stems separated + roughly chopped ~ ½ bunch, or 1 cup ribs, 2 cups (packed) chopped raw leaves
- 2 cloves garlic, roughly chopped
- 1 9" pie dough (prepared)
- 4 ounces goat cheese, flaked apart with a fork
- 1 ounce Parmesan, freshly grated
- 3 eggs
- ⅔ cup milk
- ⅓ cup heavy whipping cream
- ¼ teaspoon nutmeg, freshly ground
Instructions
- Pre-heat oven to 350ºF.
Cook Swiss Chard:
- Heat oil in a skillet over medium heat. When oil is hot, add chard stalks and salt. When stalks soften, add garlic and cook until fragrant.
- Add the chard leaves, and cover 1-2 minutes, stirring occasionally, until the leaves soften and release moisture. Remove greens and garlic from pan, discarding any extra liquid.
Blind Bake Pie Dough:
- Arrange pie dough inside a pie pan. Prick the bottom and sides with a fork. Set parchment paper on top of dough, and add pie weights or dry beans. Bake 10 minutes. Remove weights and parchment paper.Tip: Pre-made, pre-formed, frozen pie dough will not need pie weights added while blind baking.

Make the Quiche:
- Gently press the greens into the pie dough, and add half the cheese.
- Add 3 eggs, milk, cream, and nutmeg to a mixing bowl. Use an electric hand mixer to whip the mixture until it doubles in size. (Alternatively, whisk vigorously by hand.)
- Add the remaining cheese to the egg and milk mixture, and gently fold in with a spoon. Take care not to over-stir.
- Pour the egg mixture into the pie pan. Tip: Do not overfill the quiche-- any extra mixture can be discarded, saved for another quiche, or used to dip bread in for French toast.

- Tent quiche loosely with aluminum foil. Bake 45 minutes. Remove foil, and bake 15-20 more minutes until the quiche is golden and set. Quiche should jiggle slightly when moved.
- Allow quiche to cool for at least 1 hour, or refrigerate overnight. (Quiche will not be fully set until cooled.)
- Serve cool.
- Leftovers / Make Ahead + Refrigerate:Refrigerate and use within 2-3 days.Make Ahead + Freeze: Bake quiche, and allow to cool completely. Wrap tightly with plastic wrap, and slide into a freezer bag. Use within 2 months.Reheat from Frozen: Do not thaw. Bake at 350ºF for 20-25 minutes, or until pie is warm.Tip: If freezing, bake quiche in either a disposable aluminum pie pan or in a tart pan with removable sides. (Allow quiche to fully cool before removing the pan.)
Dawn - Girl Heart Food says
Loves me some pink too!! So I can totally see why you are a big fan of those pretty pink stalks of swiss chard. With veggies, plenty of cheese and a yummy pie crust, what's not to love with this quiche? I'd eat this for any meal of the day, even breakfast! Thanks so much for the dip shout out 🙂 !! Much appreciated!