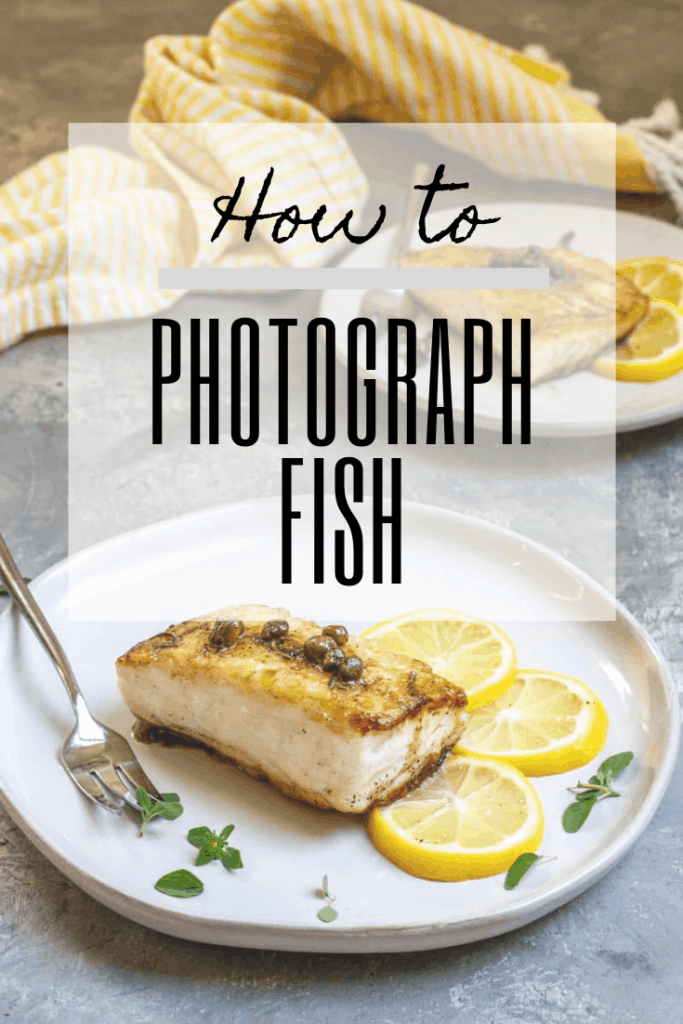
Do you want to take professional-looking photographs of fish or other seafood, but find that fish is an especially difficult food to photo? This seafood photography tutorial will help!
Whether you're trying to snap a quick photo of your food for Instagram, or carefully compose a fishy photo for work-- there's a decent chance that you've struggled to make seafood look "fish-tastic."
Why is that?
What can you do about it?
I have a bachelor's degree in Fine Art Photography, but I'll be the first to admit that food photography threw me for a little bit of a loop!
As someone who photographed mostly people, still-life food photography was kind of a beast at first.
In particular, fish seemed to look limp, sad, and unappetizing in my photos.
As I've browsed the internet looking at other seafood photos-- I know that I am not alone.
What can help?
Part 1: Food Photography Basics
First of all, the same tips that apply to food photography in general also apply to photographing seafood. Let's review a few basics before we tackle fish specifically.
Lighting is Everything
The word "photography" literally means "writing with light." And you want to write with pretty light.
What does that mean?
You want gentle, natural light.
My preference is to photograph near a window during the "golden hours"-- shortly after sunrise or shortly before sunset.
If you're photographing outdoors, avoid taking pictures in the middle of the day when the light casts harsh shadows.
If you're photographing with artificial light-- there are a lot of options, but the goal is to make your lighting look natural.
Diffuse the light, use reflectors, but AVOID photographing under fluorescent or yellow-tinted lights, and avoid harsh, direct flash.
Learn How to Use Your Camera
Ideally, you should be using a DSLR camera with a fixed lens for professional food photography.
I use a Canon EOS 7D with a Canon EF 50mm f/1.8 lens and a Canon EF-S 24mm f/2.8 lens.
Avoid using "auto," and ideally learn how to take photos on manual.
My preference is to use Aperture Priority (AV) mode, with my f-stop set to 5.6, 6.3, or 7.1.
Not all cameras will have all of those settings available.
F-stop Settings
The lower your f-stop, the shallower the depth of field. That means the background will be blurrier.
When photographing food, I typically avoid f-stops with numbers under 5.6 (like f2.8, f3, or f4), because I prefer most of the main dish to be in focus.
Shutter Speed Settings
Whether you use manual mode or Aperture Priority, you need to understand shutter speed.
Why does shutter speed matter when your subject isn't moving? The faster the shutter speed is, the less light is getting in.
For hand-held photography, stick with a shutter speed of at least 1/80, but I prefer 1/125.
If you have especially steady hands and hold your breath, you MIGHT be able to go as slow as 1/60. Anything slower than this, and you need to use a tripod, or you'll have a blurry photo.
To let more light in, either make the shutter speed slower (and possibly use a tripod), or raise the ISO number.
ISO settings
You should set your ISO manually.
The ISO number reflects how sensitive the camera will be to light.
The lower the ISO number, the more light you need. When it's darker out, you can raise the ISO to compensate, but you'll also introduce "camera noise."
In other words, your photo will be grainy.
The ideal ISO depends on what camera you use.
On a lower-end DSLR, you might want to stick to 200-400 for your food photography, whereas a full-frame camera might not show noise until ISO 1000. On my Canon 7D, I avoid going above ISO 800.
What does this mean in practice? If you set your camera to AV-mode, with your f-stop at 5.6, but your shutter speed is reading 1/40-- you can either grab a tripod OR raise your ISO setting.
Just remember, you are smarter than your camera.
Play around with the settings-- learn which settings you WANT, and then learn how to get there.
Try different f-stop settings with the same food setup, and see how the image is changed. Try different ISO settings on your camera, and see how the image clarity changes.
What About Phone Cameras for Seafood Photography?
In the past, I'd say to stick to aerial photos with phone cameras.
That said, I use an iPhone 11 for my travel photos, and it has an incredible camera.
If using a phone camera, check to see if the phone has a portrait mode that allows you to edit the f-stop.
Part 2: Seafood Photography
Choose Pretty Fish for Seafood Photography
I don't mean avoid certain types of fish-- I mean really stop and LOOK at the fish you're buying.
Does it look healthy? Is it in good shape?
Avoid buying fish with flesh that appears damaged, bumpy, or just plain unattractive-- this could happen if your frozen fish gets freeze-dried, or if it's been frozen and thawed multiple times.
Admittedly, sometimes packaging makes it hard to know what you're buying. If so, I recommend checking the fish BEFORE YOU LEAVE the store parking lot. If it looks unattractive or mishandled, return it.
Try to Buy Sustainably-Sourced Fish
Sustainable seafood is more likely to be healthy and naturally gorgeous.
Bare minimum, look for Marine Stewardship Council (MSC) labels for wild-caught fish or Best Aquaculture Practices (BAP) labels for farmed fish.
If possible, opt for the highest quality fish you can find. It will be prettier (and taste better). Here are my favorite places to buy seafood online.
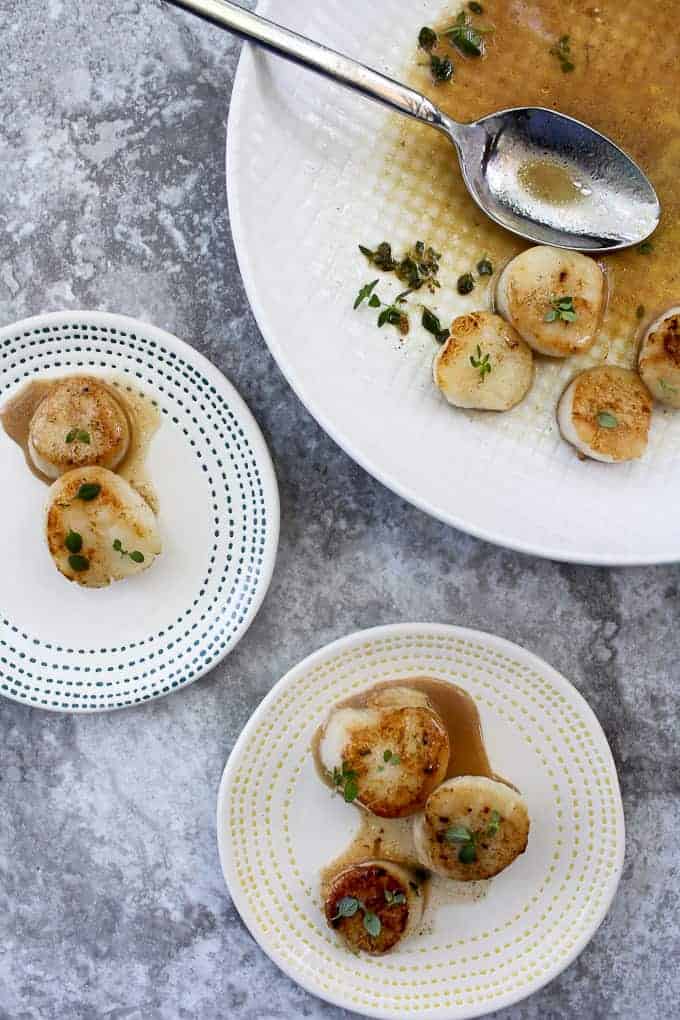
Avoid chemically-treated fish, because they quite often cook (and look) differently than the natural version.
For example, chemically-treated sea scallops WILL NOT sear properly (and you'll be able to tell in your photos)!
Cook Your Seafood Correctly for Best Photography
Sometimes you can't tell if a food is cooked well from a photo. Seafood is different.
Overcooked seafood Looks Overcooked.
Seafood should have a glossy appearance. It should LOOK tender and juicy.
When searing fish, make sure to add enough butter or oil to the pan. Don't try to flip the fish before it's ready and naturally releases from the pan-- you'll end up tearing the fish.
When baking fatty fish, salmon in particular, the fat inside the fish will sometimes coagulate and form white blotches on the fish.
It's perfectly safe, but it isn't very pretty. To minimize this problem, try slightly lowering the temperature and extending the cook time.
Seafood Photography: Food Styling Tips
When in doubt, remember that slightly undercooked fish is always better than slightly overcooked fish.
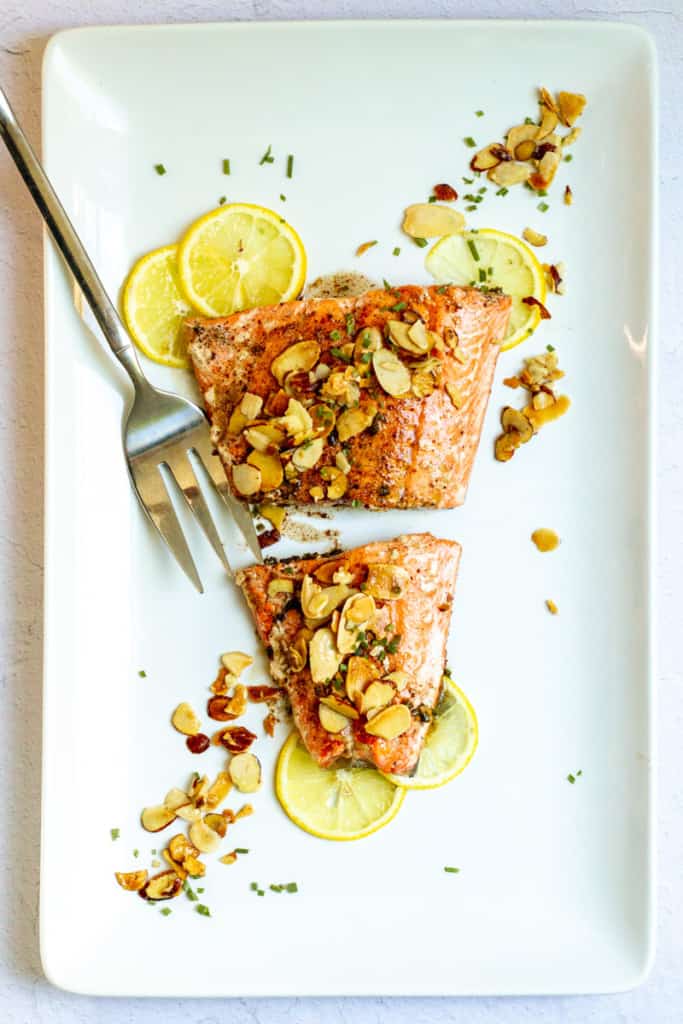
Plate Your Fish Attractively. This might seem obvious, but again-- stop and look at your fish. How can you photograph it to its best advantage?
Consider the size and color of your serving dish.
Typically, white, shallow, matte-finished dishes are the easiest to use with food. If you use a dish with a color or pattern, take care that it doesn't clash with the color of the fish.
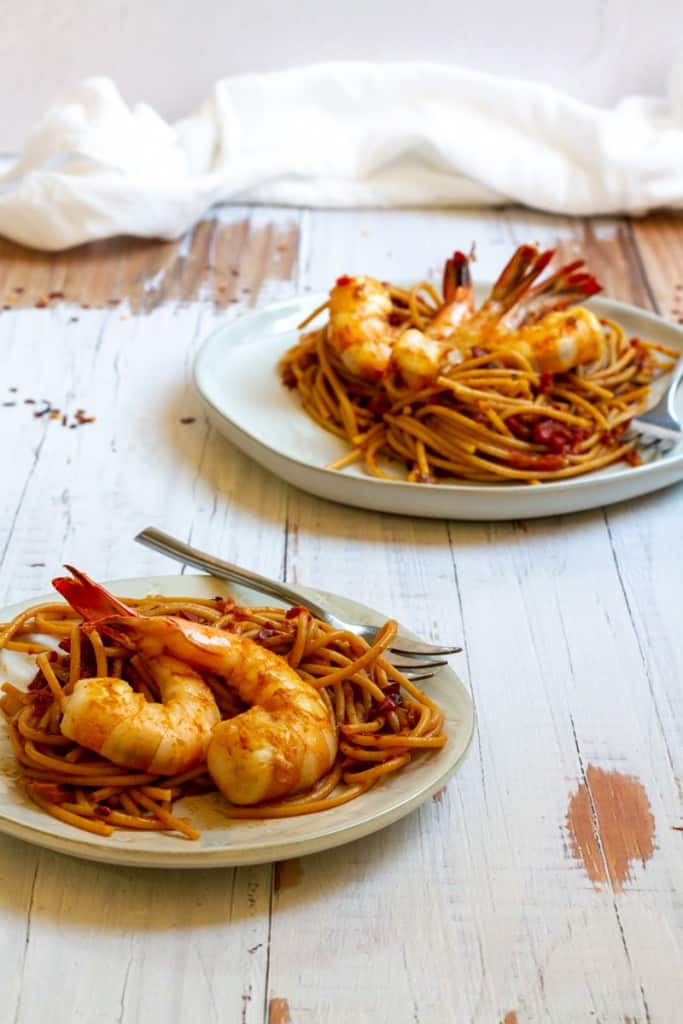
Be careful with sauces, especially sauces that will stain your fish.
If a sauce will stain my fish, I like to plate it UNDER the fish, or on the side.
Garnish the dish.
Most fish are white, off-white, or orange/pink, and I've never met a fish that didn't appear prettier when garnished with bright green fresh herbs.
Make sure the garnish actually works with the recipe though, and avoid inedible garnishes.
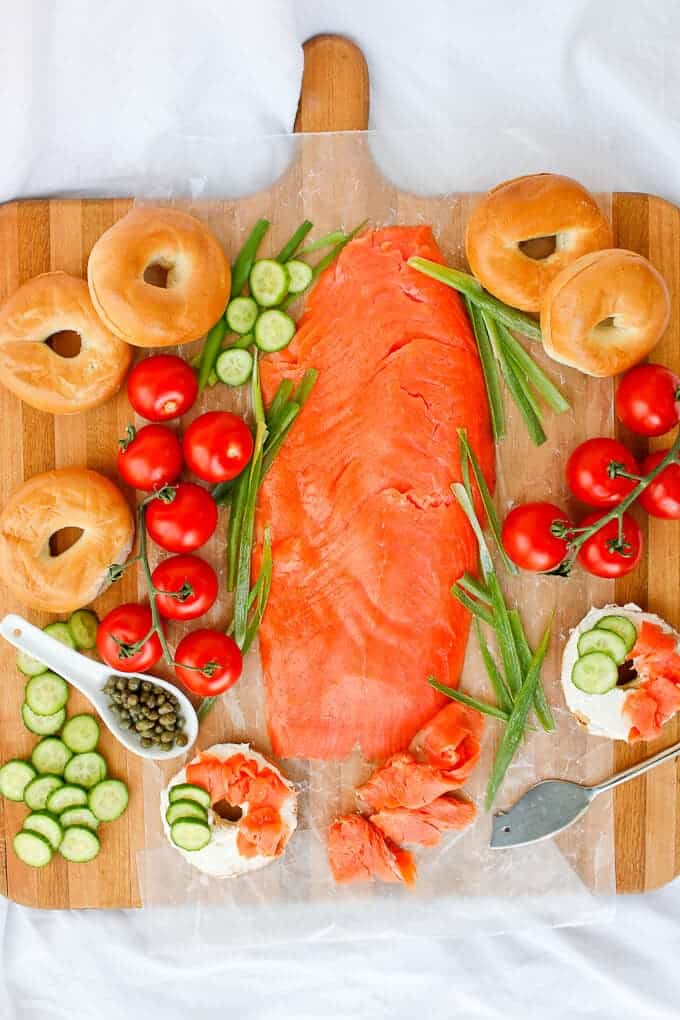
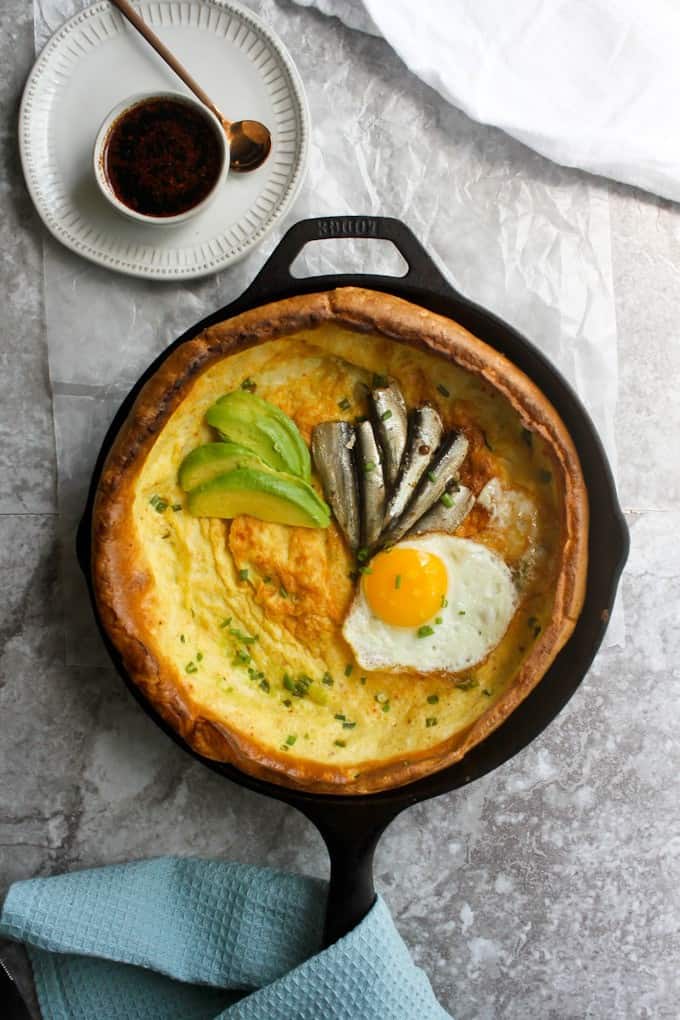
Add texture to the photo.
Does the food look a little one-dimensional? Add interesting texture to the space around the fish by adding stylish utensils or textiles, scatter more herbs, or play around with the placement of other ingredients.
If photographing canned seafood, avoid showing partially-used cans of fish. Plan ahead, and buy an extra can for the photograph.
Look for Seafood Photography Inspiration
Are you mentally stuck?
Can you just not seem to get a seafood dish photographed correctly?
Take a look at how others have done it, and then try and put your own spin on it.
I like to look for ideas on Pinterest, but you can also look at professional food magazines, food websites, and well-photographed cookbooks.
Take Your Time. Yes, your fish will probably be cold by the time you're finished. I eat a lot of cold fish.
It's Okay to Try Again Later.
Occasionally... often... it takes more than one photo session to get a fish looking fabulous. And that's okay.
Finally, have fun! Play with camera settings, cook another batch of fish, and ENJOY what you're doing!
Do you have any extra seafood photography tips? Do you need more help? Let me know in the comments!
Scottio says
Thank You Sarah. there were a lot of good camera tips accompany the main Seafood topic. It was very enlightening.