Love sauerkraut? Try lacto-fermenting your own homemade sauerkraut! All you need is cabbage, salt, a glass jar, and a little time.

Who else has a lifelong love of sauerkraut?
I’ve adored this fermented cabbage dish for as long as I can remember.
In fact, when I first started dating my husband, one of the first things he bought me was a fancy jar of sauerkraut.
And yes, I realize that is a hilarious gift, but it was also one of the first times I thought, “He gets me.”
When my love for this (somewhat stinky) vegetable combined with a passion for fermenting all the things (things like kombucha, milk kefir, water kefir, and homemade yogurt), one thing seemed clear.
I needed to make homemade sauerkraut.
And so do you!
This homemade sauerkraut is an easy introduction to lacto-fermenting, and all you need is cabbage, a little salt, a glass jar, and some time. And maybe a little patience.
Why Make Homemade Sauerkraut?
Why indeed?
Why spend days or weeks (or sometimes even longer) waiting on cabbage to ferment into sauerkraut?
Especially when you can buy a jar of sauerkraut at the grocery store for around $2.
I’ll tell you why.
First of all, making homemade sauerkraut actually isn’t difficult at all. Preparing the kraut will only take a little time, about half an hour, and it’s an excellent way to use fresh garden (or store-bought) cabbage.
Also, preparing homemade sauerkraut gives you more control over the flavor of your sauerkraut.
If you follow this recipe exactly, and use only green cabbage and salt, you can still adjust the flavor and texture to your taste preferences.
If you ferment your cabbage for a few days, you’ll have fresher, crunchier, and slightly acidic-tasting sauerkraut. For a mellower, softer sauerkraut, let it ferment longer.
For those of you who love to play with your food, know that you can add to this recipe!
I recommend sticking to the basic recipe the first time (or two) that you make sauerkraut, but this homemade sauerkraut recipe is simply a starting point. You can add spices, herbs, and other vegetables. Experiment with your food!
And finally, one of the most important reasons (for me) that I recommend making homemade sauerkraut is that it is packed with gut-healthy probiotics.
Why Does Homemade Sauerkraut Have Probiotics?
Sauerkraut is made by lacto-fermenting cabbage.
Lacto-fermentation is a natural process created when you submerge a vegetable in a salty brine. Healthy bacteria begins to build in the vegetable, and transforms the veggies into a delicious, probiotic-packed food.
If you want to learn more about lacto-fermentation, I highly recommend reading Wild Fermentation by Sandor Katz.
Does Store-Bought Sauerkraut Have Probiotics Too?
Not usually.
The jarred sauerkraut that you find in the canned vegetable aisle has been pasteurized to be shelf-stable. When food is pasteurized, it’s exposed to high heat, and the heat kills the probiotics.
If you want to buy store-bought sauerkraut with live probiotics, look in the refrigerated section at the grocery store. I usually only see live-probiotic sauerkraut in specialty stores with lots of other live-culture foods (like health-food stores).
Is Lacto-Fermentation Safe?
Yes, it is!
As counter-intuitive as it may seem, allowing your vegetables to ferment on the countertop is incredibly safe, because the fermentation creates an acidic environment. Bad bacteria (like botulism) grows in an alkaline environment.
What Equipment Do I Need to Make Homemade Sauerkraut?
The only things you absolutely NEED are a large glass jar (or several small jars), a head of green cabbage, and some salt.
I recommend sticking with the basics if this is your first time fermenting. Try it out first, see if you like the process, and then start collecting a few extras to make the fermentation process easier and less messy.
If you began lacto-fermenting in small jars (such as small mason jars or leftover salsa jars), your life will be easier if you buy a few larger glass jars. For one batch of homemade sauerkraut to all fit inside one jar, you should use at least a 2-quart (half-gallon) jar.
Once you get started (and decide you like lacto-fermenting), I recommend buying a set of airlock fermenting lids. I use these Easy Fermenter airlock lids, and I like them because they simply screw onto my wide-mouth glass mason jars.
Airlock lids release the carbon dioxide gasses from the jar, meaning you don’t have to babysit your ferments as much. You don’t have to “burp” the jars daily to release gas, and the liquid is less likely to bubble over the jar and create a mess.
You may also want to buy a fermenting tamper to help push down the veggies into the jar. This one is totally optional, but it’s nice to know they exist in case you decide you want one.
If you decide you absolutely love lacto-fermenting, you might want to invest in a fermenting crock. These can be quite pricey, so know that you do not need one to lacto-ferment!
Does the Room Temperature Matter?
Yes.
Lacto-fermentation works best from around 65 to 72 degrees Fahrenheit (18 to 22 degrees Celsius).
If your space is much colder, fermenting will happen more slowly. For example, if you store fermented cabbage in the fridge it will keep for about a year, because the cold fridge brings fermentation to a near-standstill.
When your space is much warmer, fermentation will happen more quickly--often too quickly, because the flavors don’t have time to develop.
If it gets super hot in the summer where you live, use a basement or root cellar to ferment. Since I don’t have a basement or a root cellar, I typically do not lacto-ferment vegetables in the summer.
What Kind of Cabbage Should I Buy?
Traditional German sauerkraut is made with green or red cabbage.
You could also use Napa cabbage (normally used in kimchi), but it’s generally pricier.
I recommend using green cabbage for your first batch of sauerkraut. It’s milder than red cabbage and cheaper than Napa cabbage, so it makes a great starting point.
Look for a fresh cabbage. It should feel heavy for its size, be tight and compact, and have very few loose leaves.
Try to avoid cabbages that are sold wrapped in plastic, because (in my experience), it’s harder to tell if those cabbages are fresh.
Old, dried out cabbages will be much harder to work with when making homemade sauerkraut.
Can I Skip the Salt?
No.
You need the salt, because it’s what will start releasing the water from inside the cabbage.
If you’re limiting your salt intake, you can try starting with less salt, and then add more if needed.
Do I Need to Sterilize My Fermenting Equipment?
No, but it should be clean.
Make sure to wash everything before starting, including your hands, the bowl you’re mixing the sauerkraut in, and the jars or crock. I simply use a non-antibacterial soap and hot water.
What Should I Do with All My Homemade Sauerkraut?
Once you make a large batch of sauerkraut, you’ll probably wonder what in the world to do with it all.
You’ll get the most nutritional value from the homemade sauerkraut if you do not cook the sauerkraut. Heating the sauerkraut up destroys the probiotics.
Does that mean you shouldn’t cook with it?
No!
Just because there’s FEWER nutrients and probiotics does not mean there’s no nutritional value to eating cooked sauerkraut. After all, it’s still a delicious vegetable.
Easy Ways to Eat Sauerkraut:
- Eat sauerkraut as a cold vegetable side dish. Sometimes I gently warm it up, and try to keep it from getting piping hot.
- Cook a tomato-based pasta sauce (or heat up a jar of pasta sauce), and then add the sauerkraut at the very end, stirring over low heat until it’s warmed through. This is especially delicious with a hearty chickpea or whole-wheat pasta.
- Add sauerkraut instead of raw cabbage to these grilled fish tacos.
- Add it to a Reuben. I like this less-traditional cod Reuben, but this vegan Reuben looks especially delicious!
- Eat it in any meal where you’d normally use store-bought sauerkraut. If kielbasa and sauerkraut is one of your favorite meals, try this Instant Pot sausage and sauerkraut from Imagelicious.
How to Make Homemade Sauerkraut
Prepare the cabbage
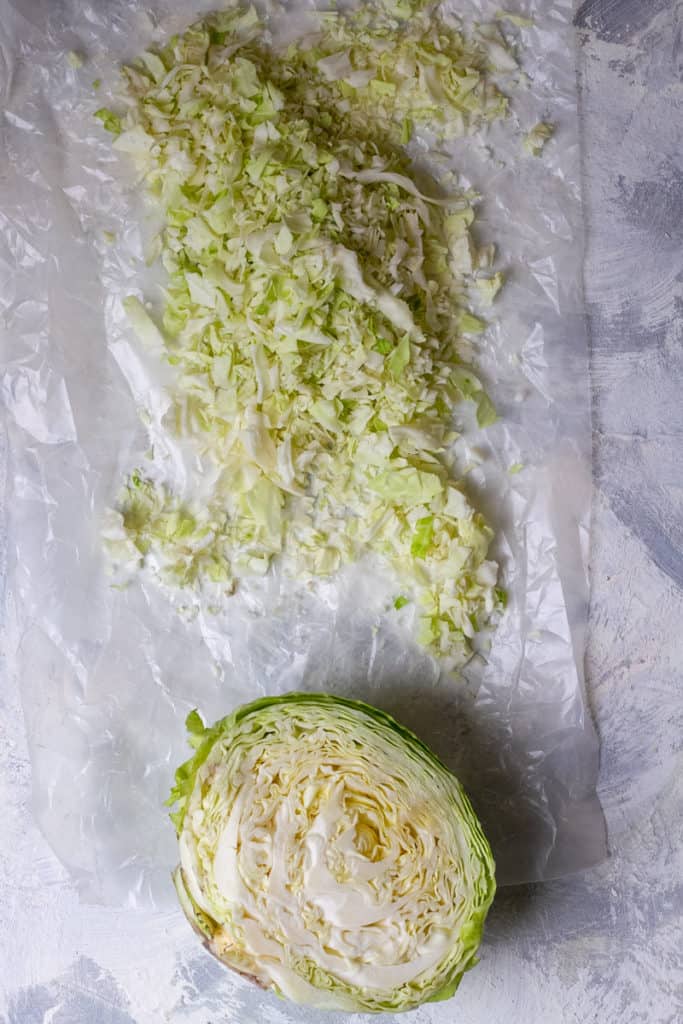
Start by peeling off the outer leaves from the cabbage. Rinse off and save one or two unblemished leaves for later.
Then, begin chopping cabbage into bite-size pieces. How large or small your bite-size pieces are is up to you, but try to make most of them the same size.
Keep in mind that larger pieces will take longer to ferment, and smaller pieces will get mushy faster (so you’ll need to watch your sauerkraut more closely).
Next, add the chopped cabbage to a large bowl with some salt.
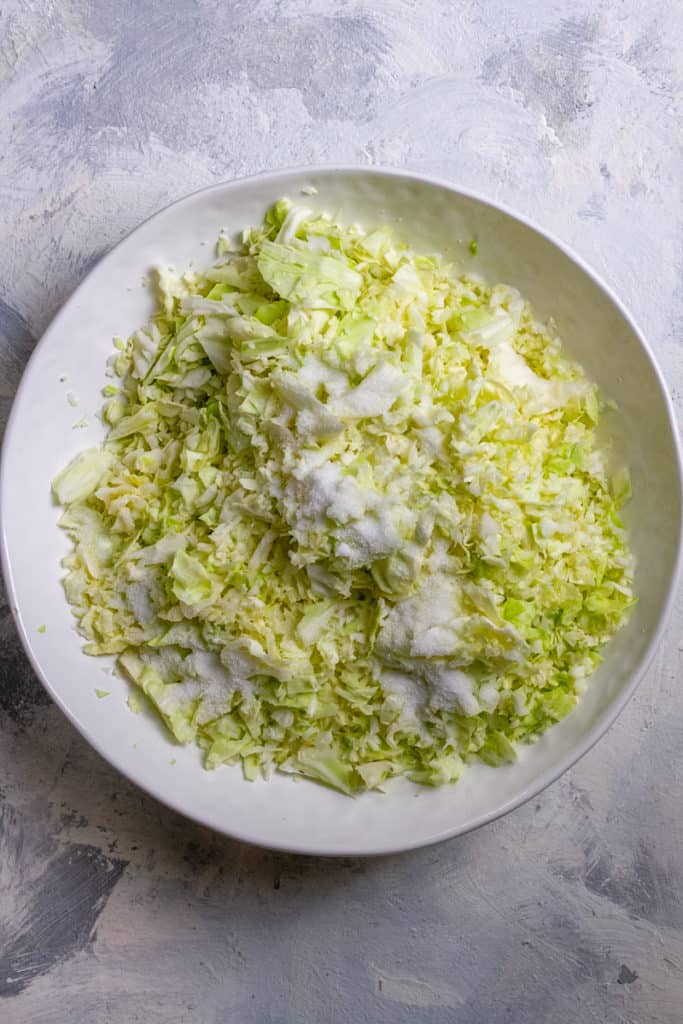
Use your (clean) hands to massage the cabbage, rubbing it until it starts to release the liquid inside.
If your cabbage is fresh (and not dried out), you’ll see the cabbage transform immediately.
Continue working with the cabbage until the liquid is pooling in the bowl. You should be able to lift a handful of cabbage into the air, squeeze it gently, and watch the liquid stream back into the bowl.
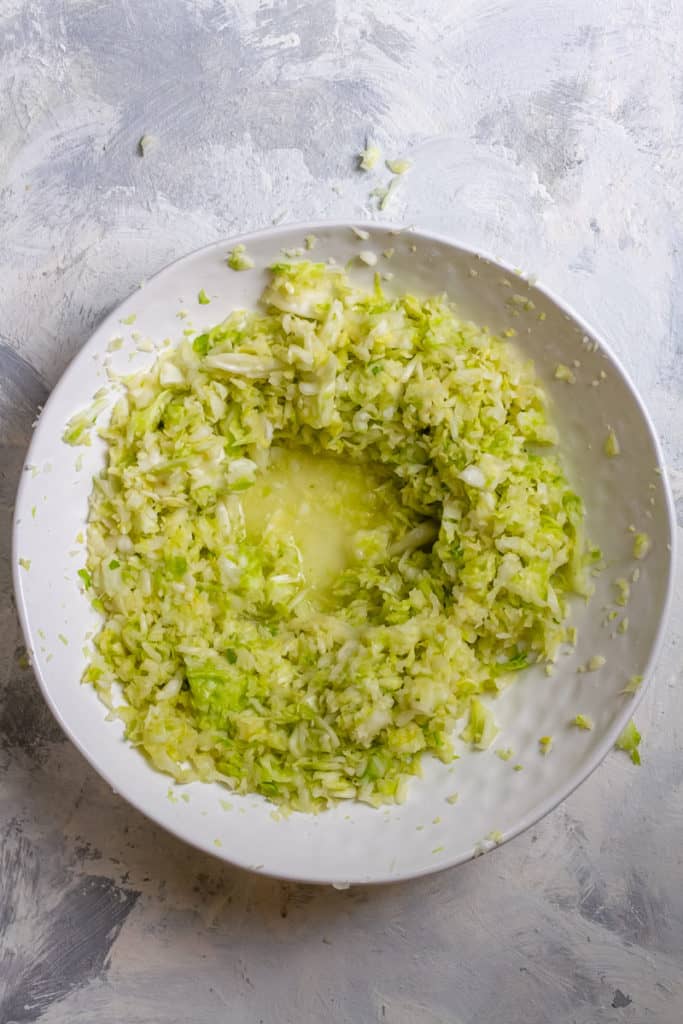
As a general rule, massaging the cabbage should not make you exhausted or make your hands sore.
If it does, your cabbage was probably dry.
If several minutes go by and you don’t see liquid pooling, cover the bowl and walk away for about 45 minutes. That should be enough time for the salt to make the cabbage easier to work with, and the cabbage should release liquid when you come back.
Pack the Cabbage Into a Jar or Crock
Next, scoop the (now wet) cabbage into a 2-quart (half-gallon) glass jar (or several smaller jars, or a fermenting crock), and pour the liquid from the bowl on top of the cabbage.
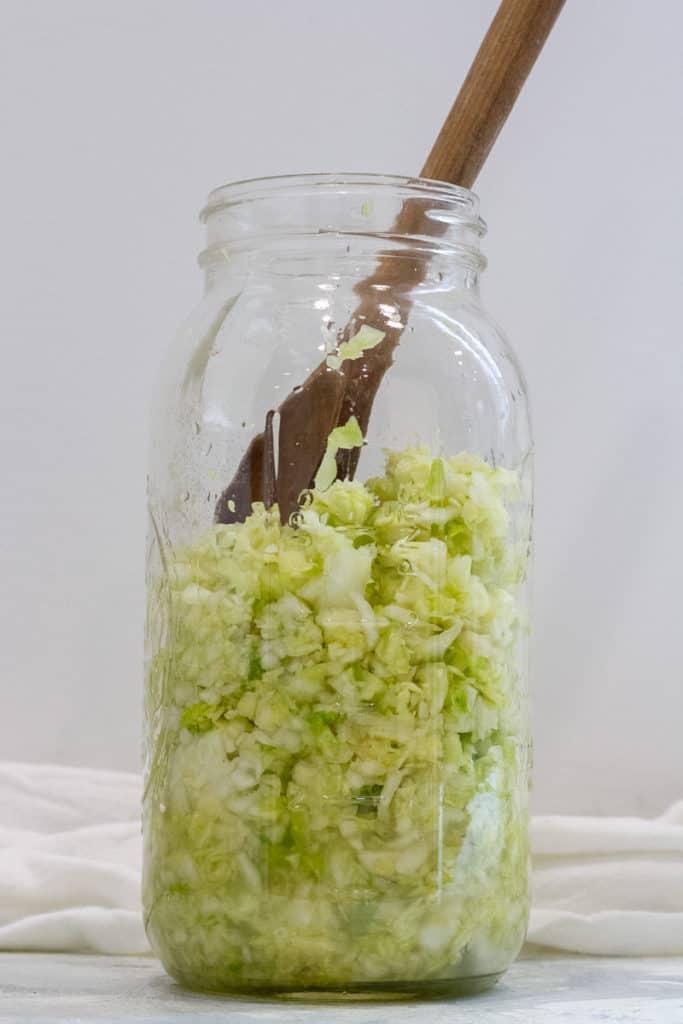
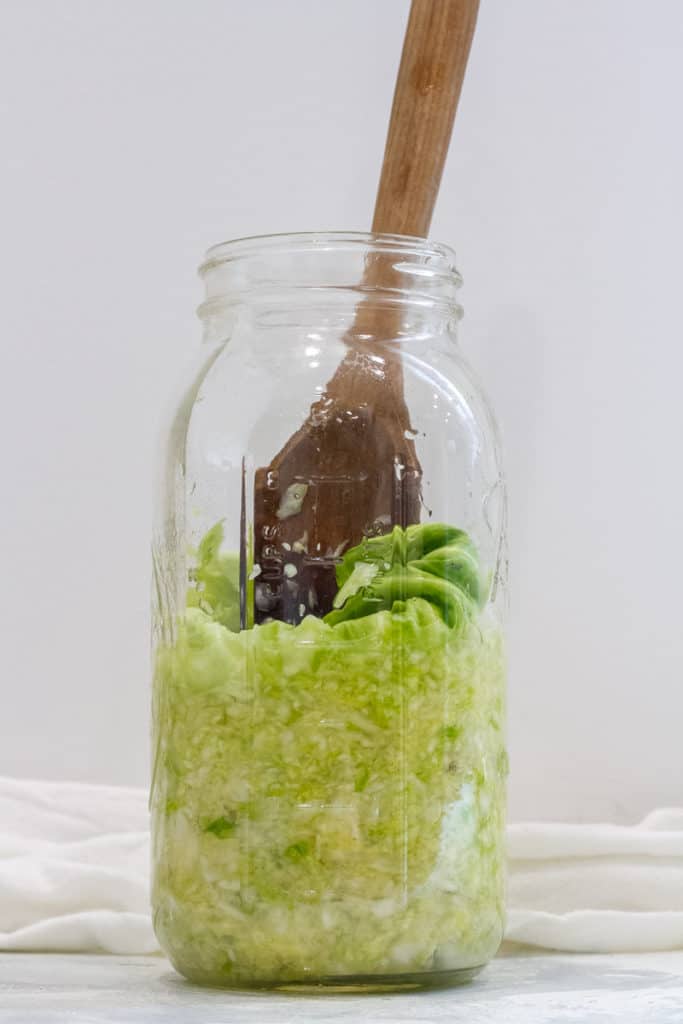
Use your fist, a fermenting tamper, or a wooden spoon to press the cabbage down against the bottom of the jar.
The liquid should rise up and completely cover the cabbage.
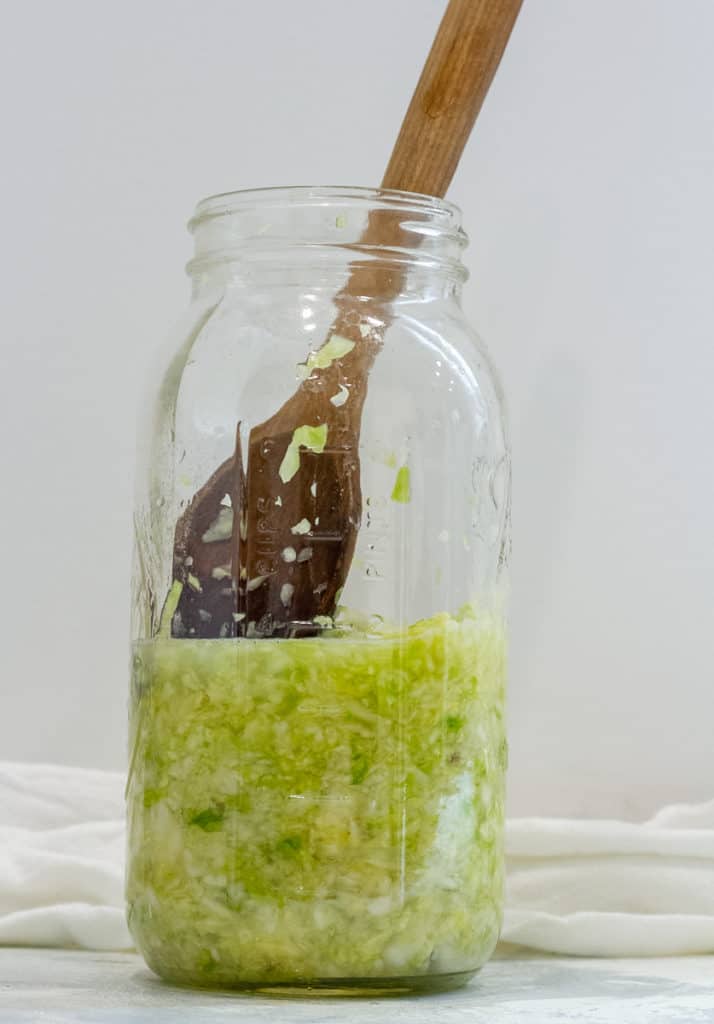
If your cabbage is extra-dry, and you simply can’t get enough liquid out of it, you can use leftover brine from a previous batch of sauerkraut or make a salt brine (one gallon of water to ½ cup of salt, heated until the salt dissolves) and cover the cabbage with some of the brine.
Top the chopped cabbage with one of the reserved outer cabbage leaves, and push it down below the liquid too.
Fermenting in a Crock
If you’re fermenting in a crock, add the crock’s fermenting weights. You’re ready to ferment!
Fermenting in a Jar
If you’re fermenting in a jar, you have a few options.
Option one: Use a weight
Use a fermenting weight, such as a sealed, water-filled, small glass jar or a water-filled, sealable plastic bag. Make sure your weight is heavy enough to completely submerge the cabbage leaves.
If you use a fermenting weight, you can choose to leave the jar lid off, and simply cover the jar with a towel. That means you won’t have to burp the jar.
Option two: Skip the weight and seal the jar
You’ll need to open the jar lid each day to release carbon dioxide gas that will build up and create pressure inside the jar, and watch the cabbage closely, taking the time to push down any cabbage that’s floated up above the liquid.
Option three: Use airlock fermenting lids
This is my favorite option!
The lids can be used with or without fermenting weights, and help create a sealed environment inside the jar. Since they release the carbon dioxide for you, there’s no need to burp the jar.
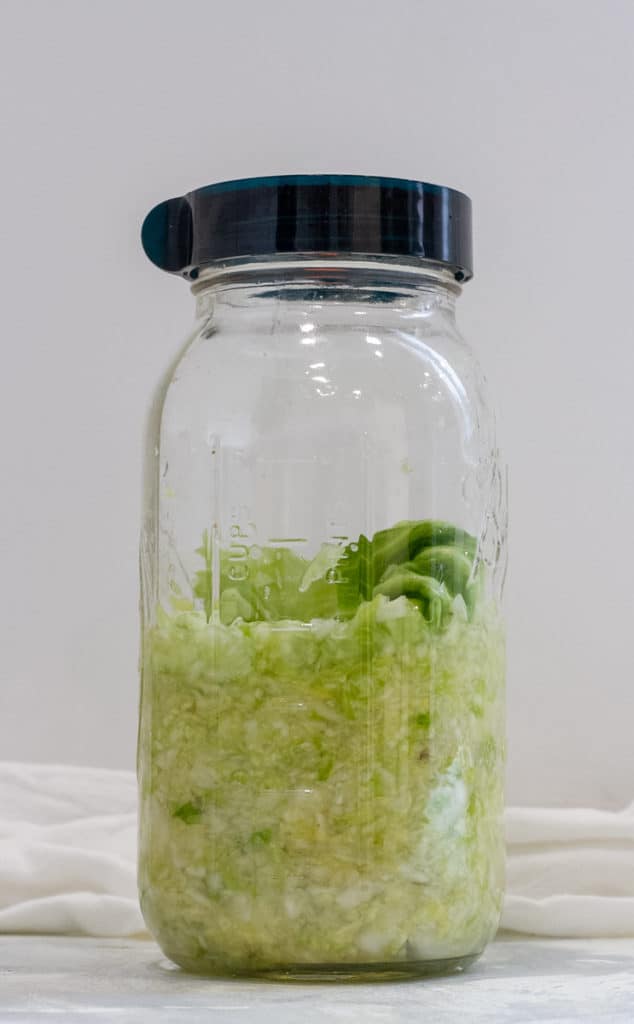
Ferment the Cabbage
Set the jar or crock out of direct sunlight and in a place you’ll easily see it every single day.
Keep an eye on the cabbage, and make sure that it stays submerged below the liquid. If any cabbage floats up above the liquid, push it back down immediately.
Begin tasting the sauerkraut after about four days, and then taste it in regular intervals until you like the flavor.
Troubleshooting Homemade Sauerkraut
In general, I only have trouble fermenting cabbage when the temperature in my home is too warm.
Here are some of the problems you might have.
Surface Growth
While fermenting, if you see anything scummy looking beginning to grow on the surface of your sauerkraut, scoop it off, push the cabbage back under the liquid, and continue fermenting.
If the surface growth comes right back, toss the batch and start over; otherwise, it’s fine.
Over-Fermenting
If it’s too warm in your fermenting space, it’s possible for your cabbage to over-ferment. You won’t have to guess though-- when you open up the lid, the smell will be horrible.
If you’re thinking that sauerkraut already smells weird, this is different. Over-fermented cabbage smells like death, and you should throw it out (or compost it).

Homemade Sauerkraut
Equipment
- Large Glass Jar (2 quarts minimum), or Multiple Smaller Jars
Ingredients
- 1 green cabbage (~3 lbs)
- 1 tablespoon sea salt
Instructions
Prepare the Cabbage:
- Remove the coarse outer leaves from the cabbage. Pick one or two unblemished leaves, rinse them off, and set them aside for later. Discard (or compost) the remaining outer leaves.
- Chop the cabbage into uniformly bite-sized pieces. Chop by hand or in a food processor. If using a food processor, take care not to pulverize the cabbage.Sizing Tip: You can use either large or very small pieces of cabbage. Large pieces will take longer to ferment, but very small pieces could become mushy more quickly. How large or small you chop your cabbage is up to you.
Massage the Cabbage:
- Add the cabbage to a large bowl. Add the salt.Use your hands to massage the salt into the cabbage. As you work, the cabbage will soften, turn a brighter green, and will begin to release liquid.

- Continue to massage the cabbage until water pools in the bowl. You should be able to lift a handful of cabbage, squeeze it, and see the liquid flowing freely back into the bowl.Tip: If the cabbage is not releasing liquid, cover the bowl, let it sit about 45 minutes to an hour, and try again.

Pack the Cabbage Into a Jar or Crock:
- Use your hands to transfer the cabbage into a clean glass jar or fermenting crock. Pour the liquid in the bowl on top of the cabbage.
- Use your fist, a tamper, or a large wooden spoon to press the cabbage down. The liquid should rise above the cabbage.Leave at least 4" of headspace between the cabbage and the top of the jar or crock.Tip: If you have a particularly dry head of cabbage, you can pour leftover brine from a previous batch of sauerkraut over the cabbage. Alternatively, mix up a batch of brine (ratio 1 gallon water to ½ cup salt), and add brine until the cabbage is submerged.
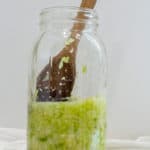
- Place one or two reserved cabbage leaves on top of the cabbage. Press down on the leaf to help keep the chopped cabbage submerged.
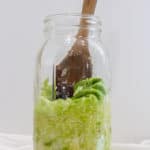
- If Using a Crock: Add the crock weights or a small plate, and place the lid on the crock.If Using a Jar: Jar Option 1: Weigh down the cabbage + Cover Jar with a Towel. Use a sealed glass jar filled with water (make sure it is small enough to be easily removed without breaking) or a sealed Ziplock bag filled with water to weigh down the cabbage. If you weigh down the cabbage, you can simply cover the jar with a tea towel instead of sealing the jar.Jar Option 2: Seal the Jar. Twist the lid onto the jar and seal it. You'll need to burp the jar daily to release the carbon dioxide gasses that build up in the jar. (You can use this option with or without a weight.)Jar Option 3: Use an Airlock Lid (My Preference). A third option is to use a fermenting airlock lid. These lids eliminate the need to burp the jar, and can be used with or without weighing down the cabbage.
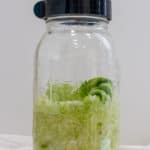
Ferment the Cabbage:
- Set the jar somewhere you'll see easily each day, but out of direct sunlight. Depending on how much headspace you left (and if you're not using an airlock fermenting lid) you may want to place the jar on a rimmed baking sheet to catch any liquid that overflows.Check on the sauerkraut each day to make sure the cabbage is still submerged below liquid. If it's not, open the lid and push it down below the liquid.If you used a jar with a sealed (non-airlock) lid, burp the jar each day (for the first few days) to release the carbon dioxide gasses. These could build and cause the jar to break.
- Begin tasting the sauerkraut after about 4 days. Fermenting can take anywhere from 4 days to 3 months, depending on your preference and the temperature of the fermenting room.As the sauerkraut ferments, the flavor will mellow and become less acidic-tasting. The texture will soften. It's done fermenting when you like the flavor and texture.
- When you like the flavor and texture, transfer the sauerkraut into smaller jars. If using within a week, simply add the sauerkraut to smaller jars.If you're not using the sauerkraut immediately, press the sauerkraut down into the jars, and top with a small piece of wax paper. Pour brine on top of the paper.Store the sauerkraut in the fridge and use within a year.


Leave a Comment: