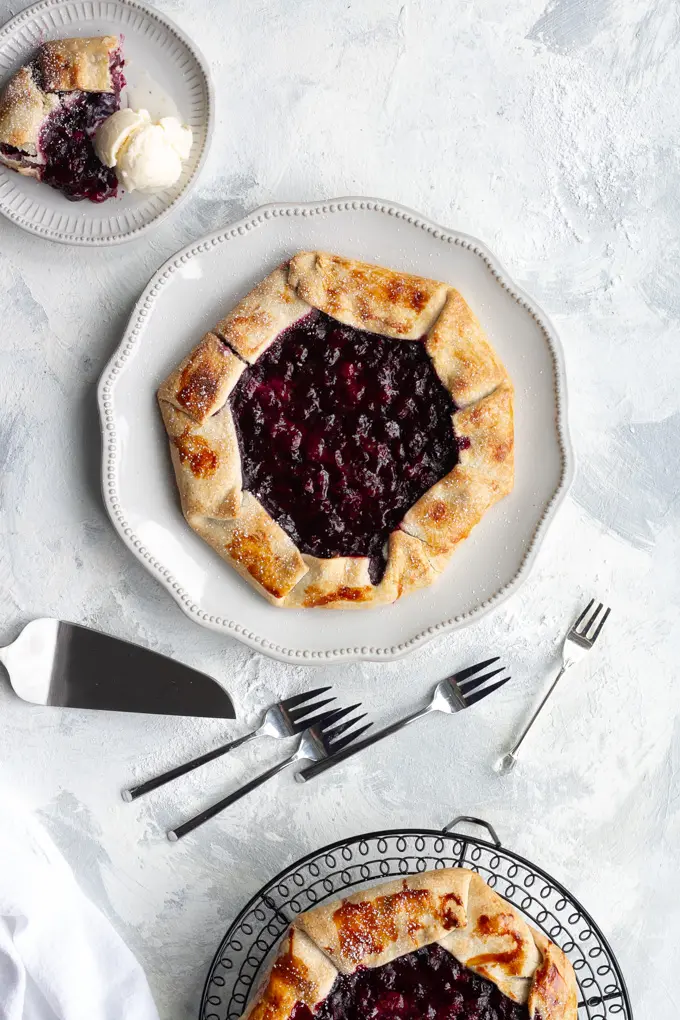
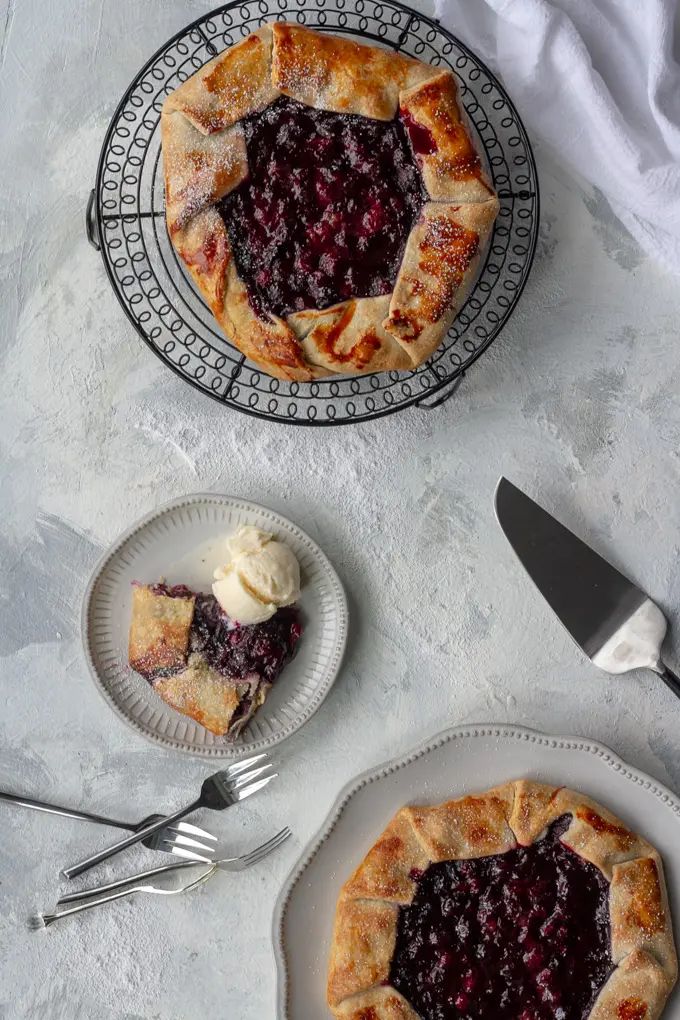
This gorgeous and easy blueberry galette is a delicious, make-ahead dessert, and the perfect way to use fresh spring and summer berries.
This recipe is sponsored by Wewalka.
I am beyond happy to see spring.
The husband and I spent last winter "up north" in New York, and while I thought I'd experienced winter before, in New York-- winter was truly cold and icy.
I bought snow boots, people! It was a moment.
If you live in the even colder midwestern or northwestern United States-- I both respect you, and also hope that I don't have to live through winter along with you.
Now that we're living in Kentucky, I'm thrilled to see that spring is here, and summer is on the way.
I'm especially happy to see blueberries.
One of the first things I did-- after unpacking-- was drive to the store and load up on these tiny blue gems.
And then-- I made a blueberry galette.
What's a Galette?
A galette is basically a rustic pie, and is made by adding filling to pie dough, and then wrapping up the edges (instead of shaping the dough in a pie pan).
Want more galette ideas? Try this vegan apple crostata (galette), or for something savory, try this butternut squash galette.
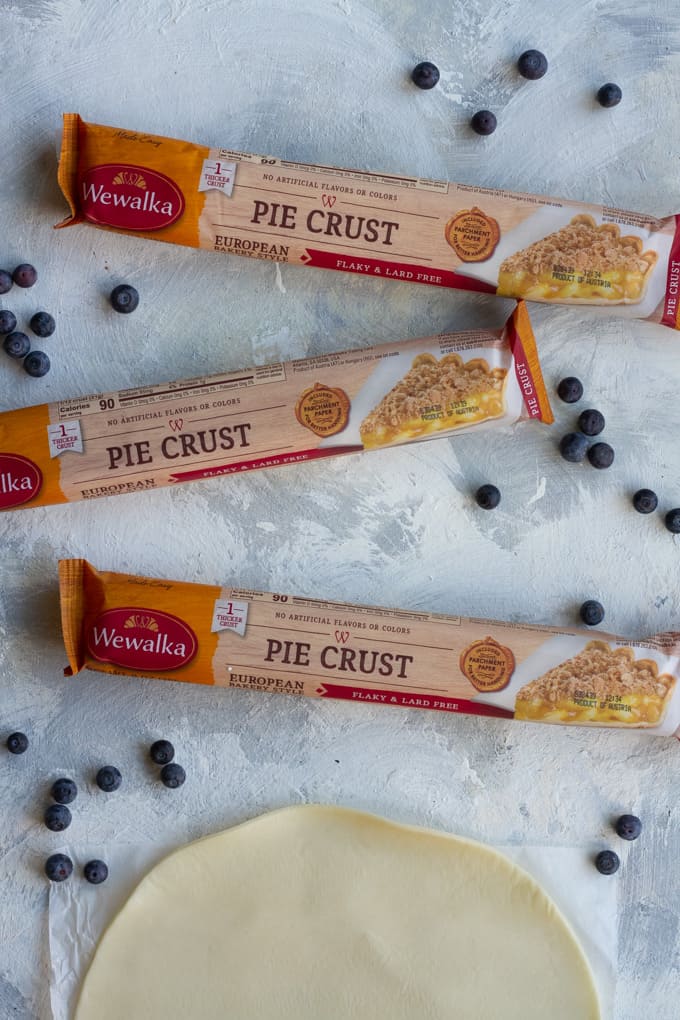
Wewalka Pie Dough for a Fabulous Galette
First things first-- I love using refrigerated pie dough for my galettes and pies. It's faster than making dough from scratch, and lets me bake more often.
The first time I made this blueberry galette, however, I made a mistake and used an extra cheap pie dough.
As soon as I started working with the dough, I regretted my purchase.
You see-- the most important part about making a galette (especially one with a juicy filling) is making sure that there are no holes or tears in the dough when you slide it into the oven.
The first dough I tried tore. It leaked.
It made me frustrated.
As I baked, I kept thinking about another pre-made pie dough-- a pie dough that is reliable.
Happily, about a week after my first round of blueberry galettes, I got my hands on my favorite pie dough-- the one I kept wishing I'd used to begin with-- Wewalka's European-style Pie Crust.
Wewalka's pie crust comes wrapped in oven-safe parchment paper, and makes a golden, flaky, and delicious pie or galette.
(As of 2022, Welwalka is now "Jus-Rol".)
Once I had my favorite dough on hand, this blueberry galette came together easily.
How to Make a Blueberry Galette
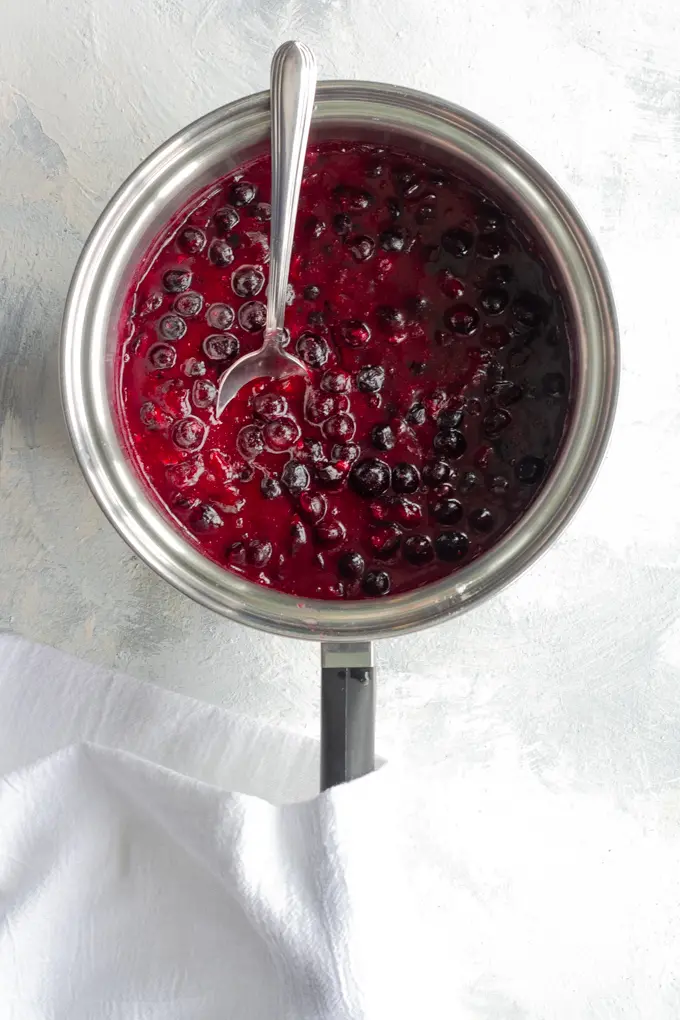
To make this dessert, start by making a thick blueberry syrup (using fresh blueberries, of course).
The syrup will come together within a few minutes, and then you can set it aside to cool.
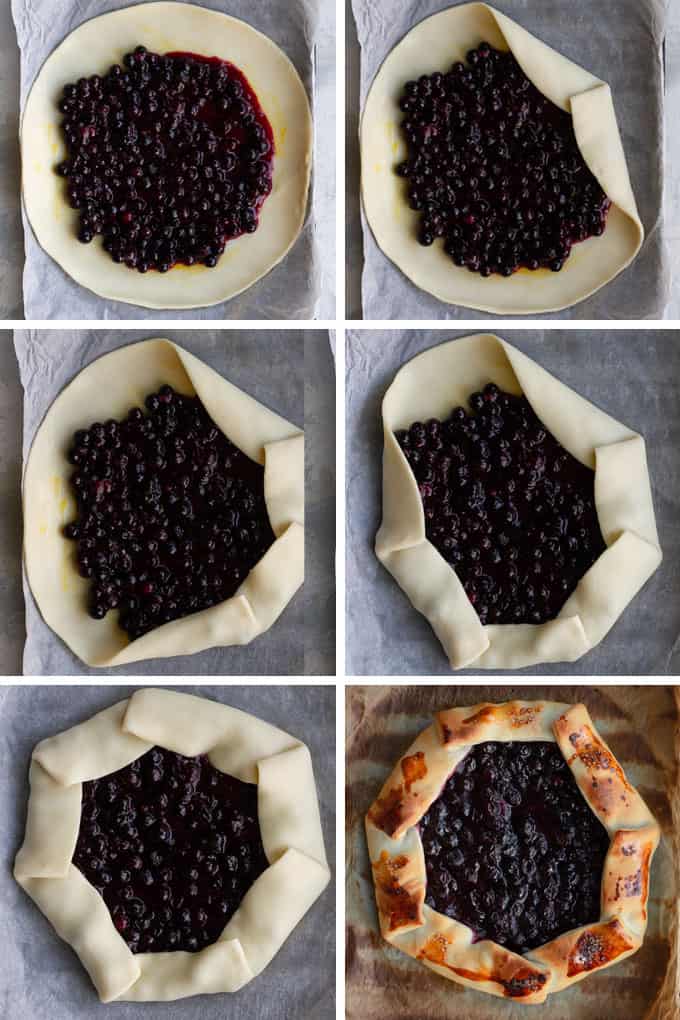
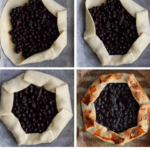
Next, prep the dough by brushing it with a beaten egg. The egg will help keep the inside of the crust crisp even though we're adding an extra juicy filling.
Add the blueberry syrup, and fold the dough. Brush the folds of the dough with egg, and sprinkle with sugar.
And then-- slide it into the oven.
Can I Skip the Cooling Time?
Nope, absolutely not.
Well actually you CAN skip the cooling, but your galette will crumble apart, and you'll end up eating something that looks more like blueberry cobbler.
Delicious, yes-- but not quite the look we're going for.
How to Serve a Blueberry Galette
Top your galette with the easy orange marmalade glaze to give it an extra boost of flavor and a gorgeous shiny center.
You can dig into this pie without any extra toppings, but I love it with a scoop of vanilla ice cream or a dollop of whipped cream.
Dig into this tasty fruit pie, and celebrate warmer weather!
Blueberry Galette
Ingredients
- 2 cups blueberries, fresh or frozen
- 1 ½ tablespoons cornstarch
- ¼ cup honey
- ¼ teaspoon salt
- 1 teaspoon nutmeg, freshly ground
- 1 lemon, zested and juiced (divided)
- 1 package pie dough, brought to room temperature
- 1 egg, beaten
- 2 teaspoons sugar
- 2 teaspoons orange marmalade
Instructions
- Preheat oven to 425°F.
Make Blueberry Filling:
- Add the berries, cornstarch, honey, salt, nutmeg, lemon zest, and all but 1 TB of the lemon juice to a medium pan. (Reserve remaining the remaining lemon juice for the glaze.)Cover pan, and heat over medium heat for about 10 minutes, or until berries begin to burst. Remove from heat.Set berries aside to cool.
Prepare the Pie Dough:
- Prepare a baking sheet by lining with parchment paper. Place the dough on the baking paper.Brush the top of the pie dough with the beaten egg.
Assemble the Galette:
- Scoop out 1 ½ cups of the blueberry filling, and add it to the center of the pie dough.Note: You may have extra filling. Do not add it to the pie-- overfilling the pie can make it overflow. Add it to another pie, use it as pancake topping, or stir it into some oatmeal.
- Begin folding over the dough along the border, smoothing out the overlapping creases with your finger.Tip: Take care to avoid ripping the pie dough when unrolling. If there are any tears in the dough, add a drop of water and smooth the dough out with your fingers. The most important part of folding the galette is to make sure there are no cracks along the bottom edge where filling could leak out.
- Brush the beaten egg on the folded dough. Sprinkle the galette with sugar.
Bake Galette:
- Bake 20 - 25 minutes, or until golden.
- Let galette completely cool for at least 30 minutes before serving.Tip: Avoid moving to a cooling rack until the blueberry filling has firmed up-- it is quite easy to crack the galette (and cause the filling to leak) if the galette is moved at all before the filling sets.
Make Glaze (Optional):
- Mix together the marmalade and reserved 1 TB of lemon juice. Microwave 30 seconds (or heat until simmering on stove top).
- Brush the glaze over the blueberries as the galette cools.
Serve:
- Serve room temperature or cold. Serve with ice cream or whipped cream (optional).







Jennifer Banz
This looks simply delicious! Thanks for the dough recommendation- I’m going to look for Wewalka!!
Gina Matsoukas
This looks so delicious and gorgeous! Especially with the ice cream- yummmm!
Alisha Trenalone
Made this recently for friends, and they loved it! It was very easy to put together, and the lemon and nutmeg were a nice combo with the blueberries.