
The West Rim Trail in Zion National Park is a high-elevation hike with beautiful views and few people. Take a peek at what this trail has to offer!
On our recent trip to Utah, we had to make plans and back-up plans.
The abundant snowfall (and melt) from the winter meant that some of the routes we were hoping to try were simply not safe, even by late springtime.
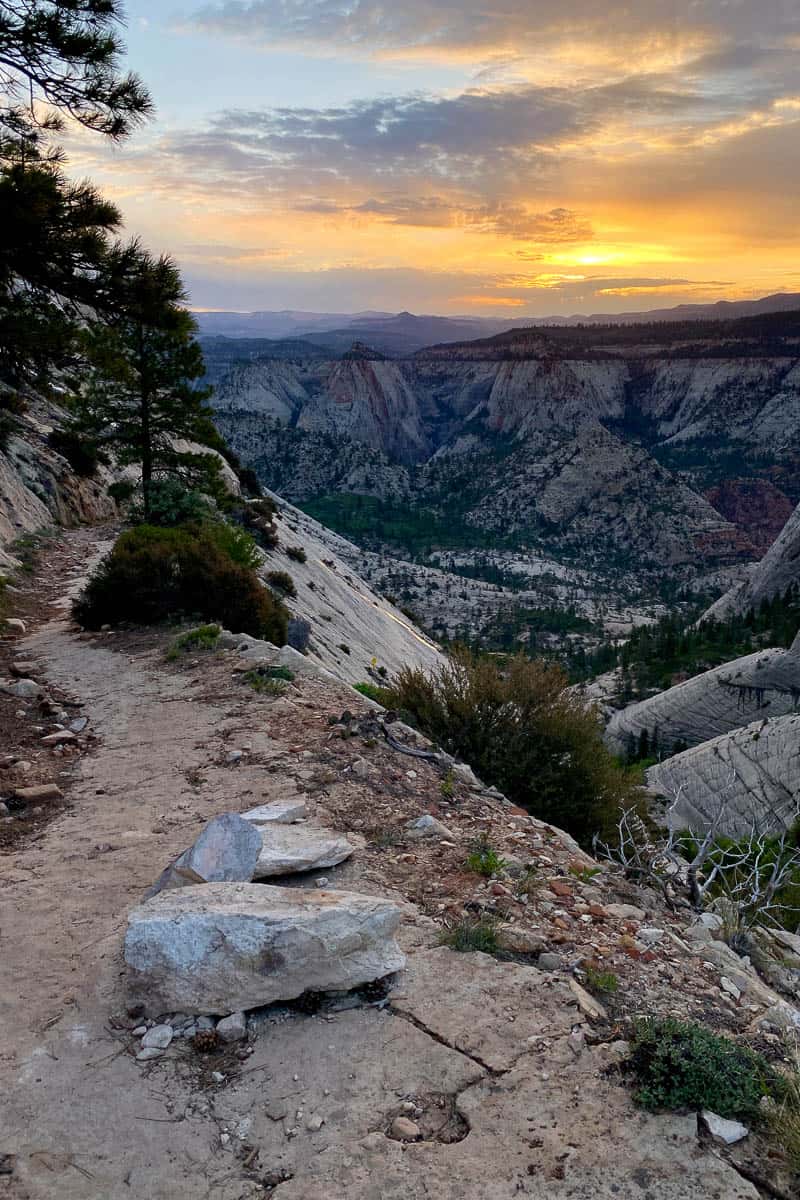
Happily, the West Rim Trail (from the top down) in Zion National Park came through for us. This epic backcountry trail is a perfect way to escape the crowds and visit phenomenal overlooks.
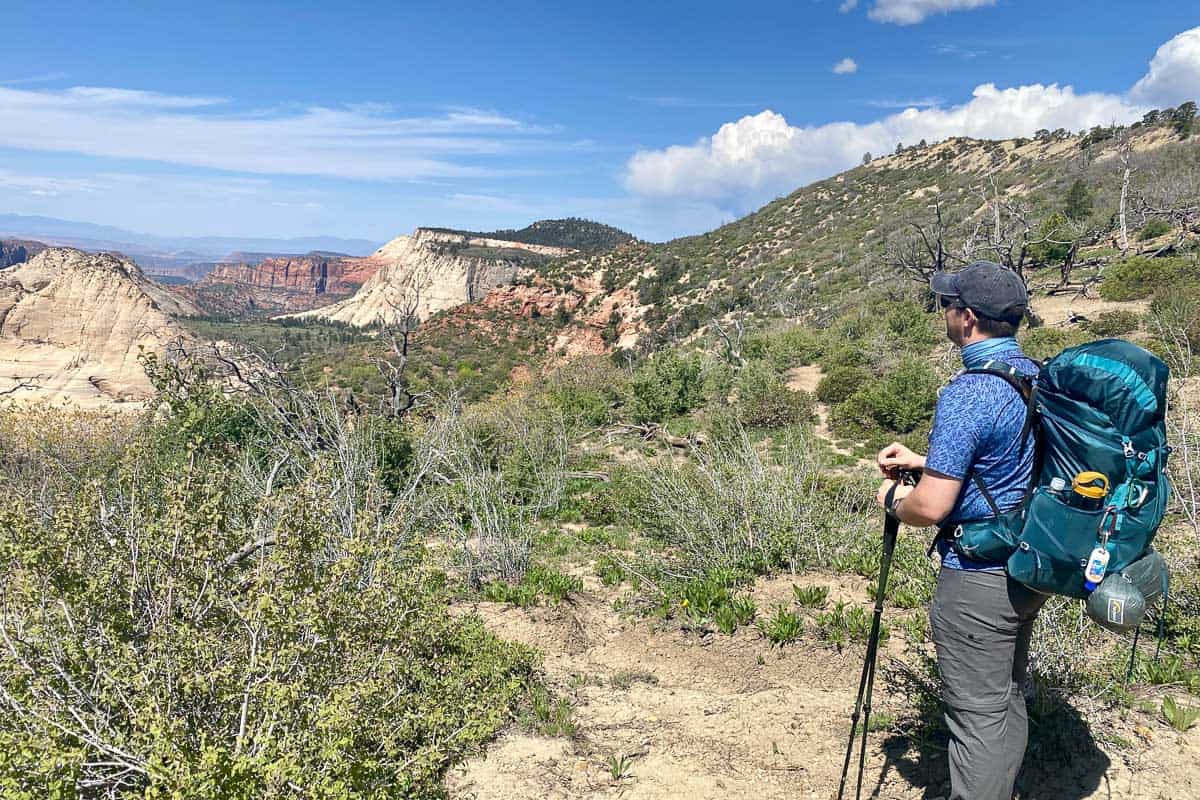
The trail starts by crossing a high alpine area with far-reaching views of Zion’s canyons. Then it descends sharply along a canyon rim.
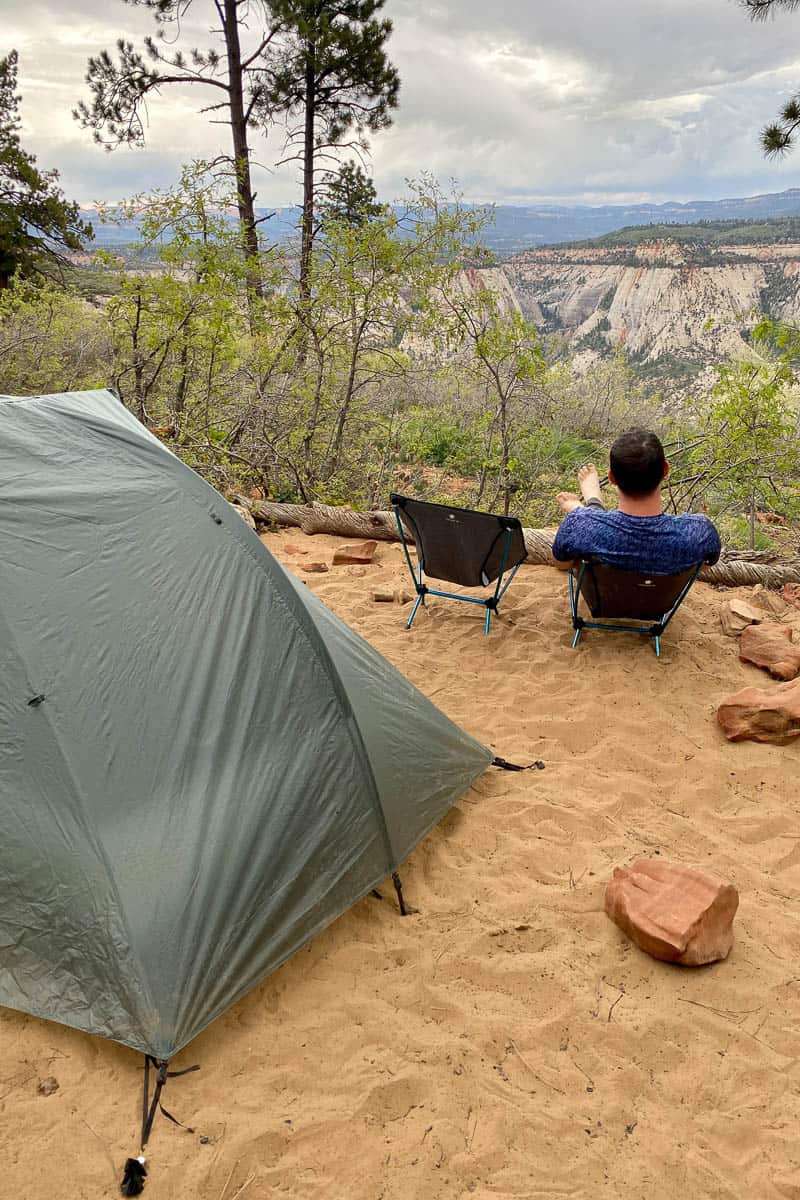
We made this a two-day backpacking trip. Read on for details about how to secure a permit and a campsite!
How Difficult Is the West Rim Trail?
The West Rim trail is 14.2 miles, with a 1,198-foot elevation gain and a 4,380-foot elevation drop. You may also need to add on the mileage to walk from a shuttle drop-off (more on that below).
The length and elevation changes make this a difficult trail. That said, there’s nothing technically difficult on this trail, not even rock scrambling.
Our Garmin showed that we started at 8,295 feet and went down from there. If you’re coming from sea level, this will make the hike feel more difficult.
This is a point-to-point trail, not a loop. It takes about an hour drive from the Zion Canyon Visitor Center. Therefore, you'll need some kind of transportation to the trailhead and from the finish point.
Getting To The Trailhead (And Back To Your Car)
The free park shuttle in Zion does not travel to the West Rim Trail.
If you hike from the top down, you’ll end quite far from where you started. I recommend using a paid shuttle service to drop you at the trailhead.
We used the fantastic Red Rock Shuttle. (There are several other shuttle companies in the area too!)
When booking, pay attention to where the shuttle pickup is. We looked for one that picks up at the visitor center, so that we could walk to it from Watchman Campground.
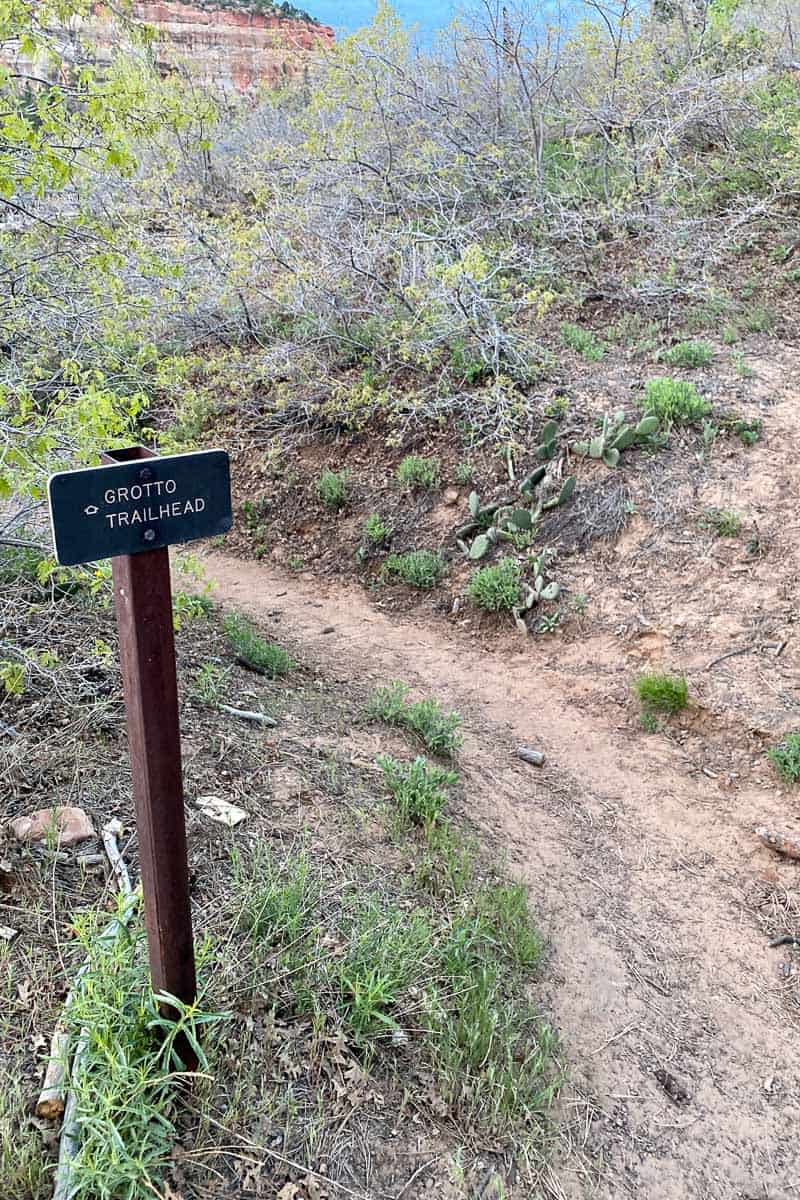
The trail ends at the Grotto Trailhead (shuttle stop 6). Use the park's free shuttle to get back to the visitor center (or wherever you parked your car).
How Does Weather Impact Shuttle Drop-Offs?
When the weather is warm and the roads are clear, a shuttle might be able to drop you right next to the trailhead.
When the roads are just mostly clear of snow and ice, the shuttle can drop you at Lava Point Campground, one mile from the trailhead. (This will make the trail 15.2 miles in total, with minimal extra elevation change.)
For our hike in May 2023, the dirt road to Lava Point Campground was still impassable for vehicles.
Instead, the shuttle was able to drop us at the intersection of Kolob Terrace Road and Lava Point Road. This drop-off spot was 2.3 miles from the trailhead, making the hike 16.5 miles in total, with minimal extra elevation change.
Another potential drop-off location is the Wildcat Canyon Trailhead. It's at a lower elevation, so the roads are passable earlier in the season. However, it adds another 5.7 miles, some extra elevation change, and a creek crossing. It joins with the West Rim trail about 0.1 miles past the trailhead.
If you have to hike from the Wildcat Canyon Trail, your overall trip will be 19.9 miles, with a 2,103-foot elevation gain and a 4,777-foot elevation loss.
Up until the day we hiked, shuttles were dropping hikers at Wildcat, so we were pretty excited to get closer to Lava Point!
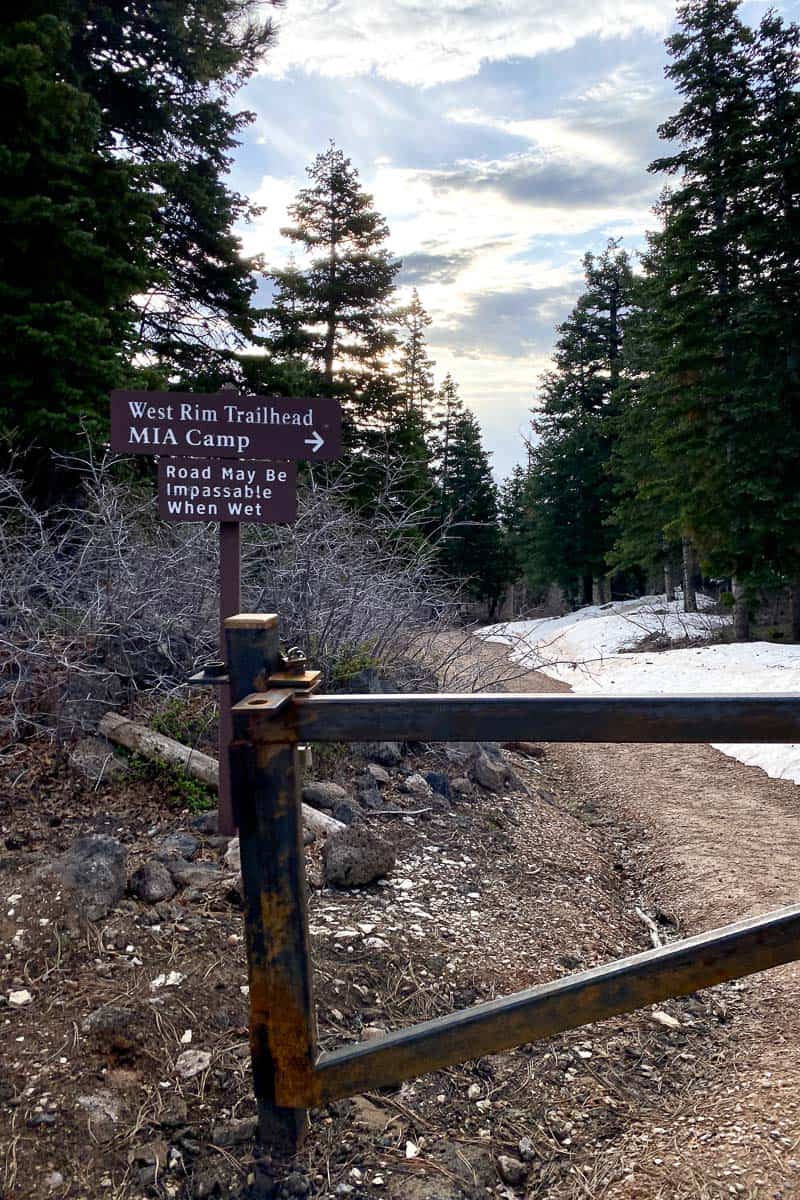
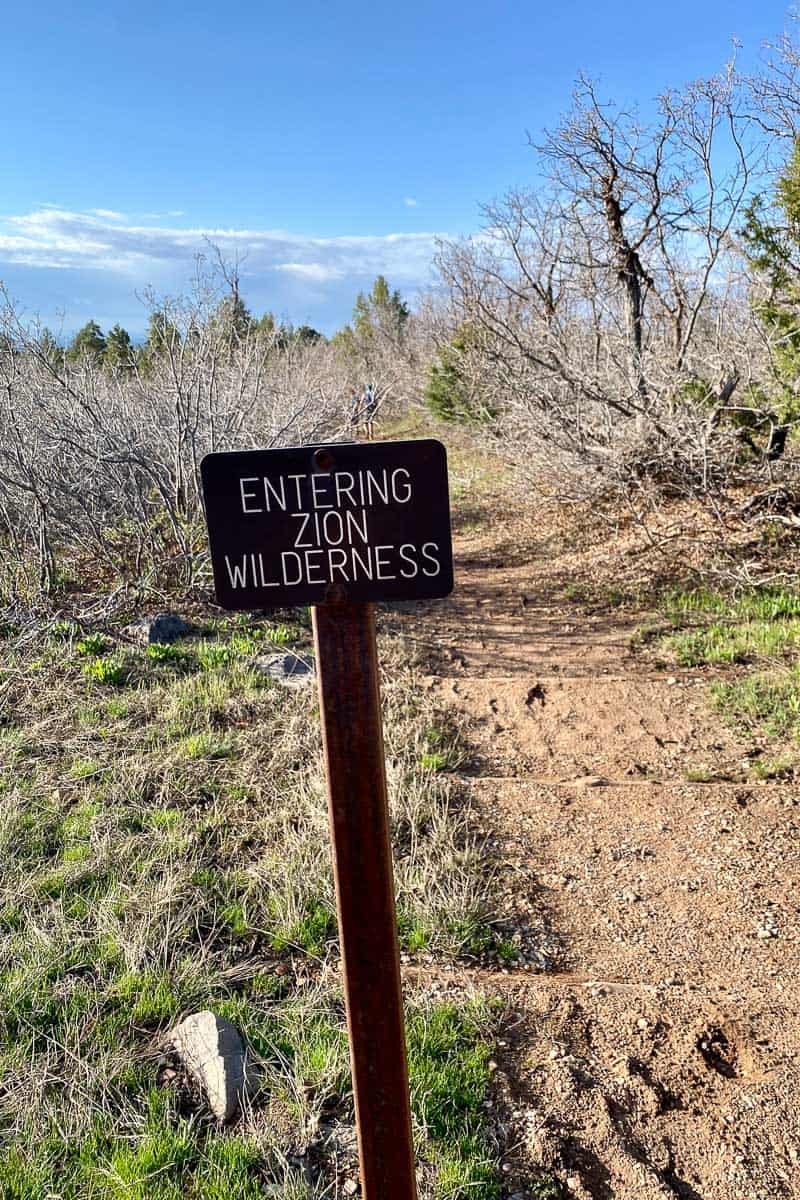
No matter which drop-off point you use, the way to the West Rim Trail is clearly marked.
Should I Plan a Day Hike or Multi-Day Hike?
The West Rim Hike in Zion is a LONG hike to do in a single day, and the most precarious parts (hiking along the narrow canyon rim) are towards the end of the route when you're likely to be tired.
We were prepared to do this in one day, but thankful to be allotted a backcountry permit so that we could split it into two. If possible, that's what I'd recommend trying for (more details below).
Can I Make a Shorter Route on the West Rim Trail in Zion?
Don’t want to do the entire West Rim Trail? Start at the Grotto trailhead (shuttle stop 6) and hike up to Scout Landing or beyond. Then turn around and come back down when you’re ready.
Backcountry Permit Spots on the West Rim Trail
There are nine campsites on the West Rim Trail, and you need a permit to stay at any of them.
Campsite 9 is close to the trail's beginning, so if you’re hiking from the West Rim Trailhead down, that site isn’t ideal. (If you had to start at Wildcat, it might be perfect.)
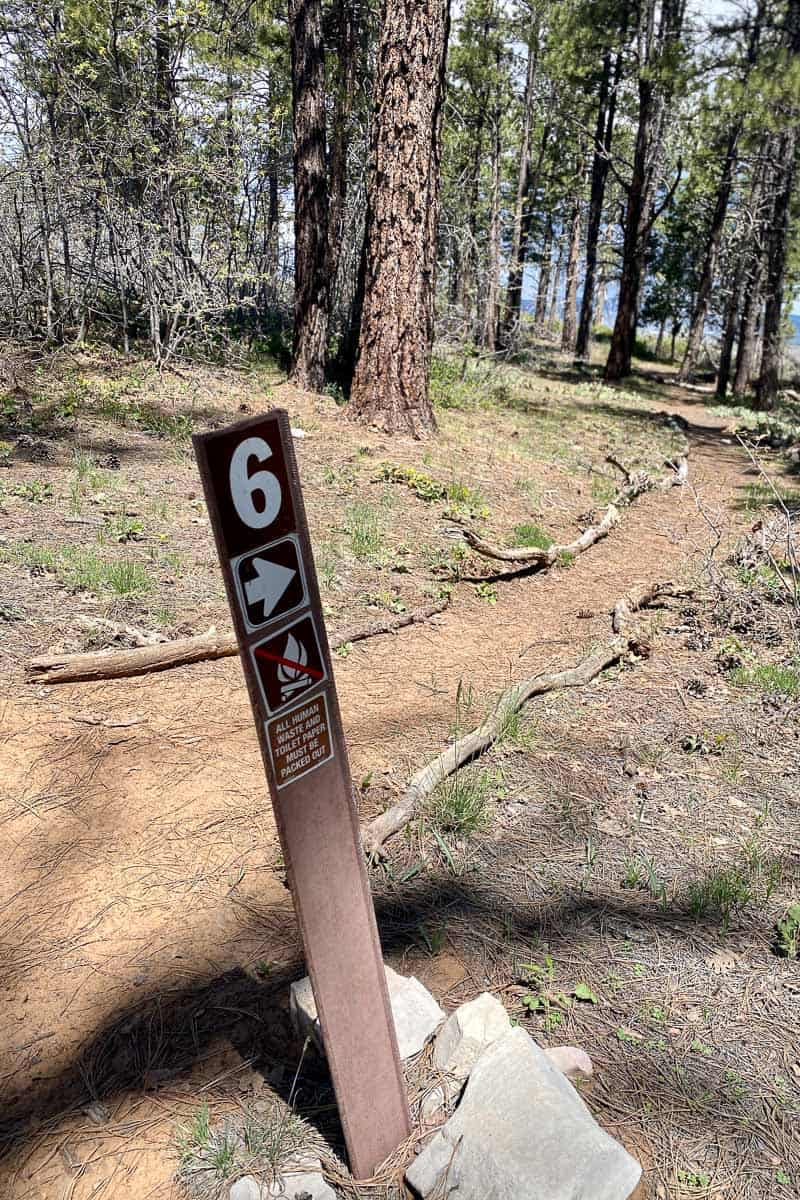
Campsites 7 and 8 are in Potato Hollow, around 6.5 miles from the trailhead. This would have been okay, but we wanted to get even farther down the trail on day one – preferably to any of the sites between 1 and 6.
Only the even-numbered sites can be reserved ahead of time.
We tried to get a spot using the advance reservation tool two months ahead of our trip, but the sites all filled up within about 30 seconds.
Our next idea was to get to the wilderness desk at the visitor center just as it opened the day before and try for one of the odd-numbered sites, but in the meantime we kept checking online for cancelations and were able to snag site 2!
I have more tips for getting permits at Zion in this post.
Water Sources
The natural water sources in Zion National Park aren’t ideal for drinking due to cyanobacteria, which can't be filtered out or treated. The park recommends filtering water only as a backup option.
Potable drinking water is available at the visitor center and other spots.
We carried all our water — about four liters per person. At the end of our hike we had a little less than a liter left, which we chugged on the shuttle back.
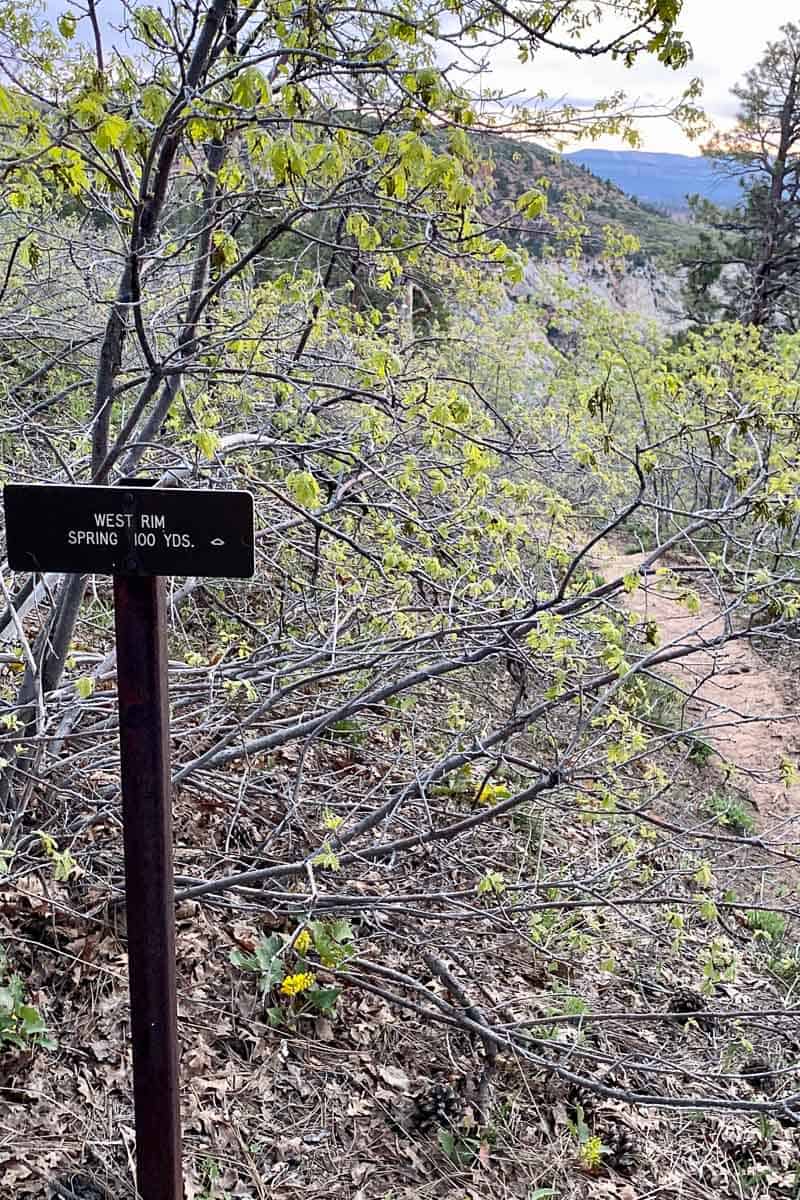
On the trail, the only water sources we saw were the snow at the beginning of the trail (which isn’t always there), a spring near camp site 9, a marshy area in the Potato Hollow area, and one (muddy, not flowing) ground spring near campsite 2 marked with a trail sign “West Rim Spring, 100 yards."
If you need to collect water on the trail, make sure to bring a filter, because the water sources looked silty.
Only the spring near campsite 2 is semi-reliable. The other sources are typically dry by summer.
Will I Have a Cell Signal?
Probably not.
In 2023, we did not have a Verizon cell signal at all on this hike. Admittedly, we mostly left our phones in airplane mode to save battery life, but we did check for a signal periodically because we were waiting for Angels Landing permit lottery results.
We never got a signal, despite having one on other overlook trails (like Watchman).
What Gear Should I Bring?
Bring a WAG bag (human waste disposal bag). Zion requires that all solid human waste and toilet paper be packed out. That means no digging a hole: you have to pack it out.
You can also purchase WAG bags in the gift shop next to the Zion wilderness desk.
We brought along our Garmin InReach mini 2 to track our progress and message family from our campsite. It also gave us access to an SOS button if something went wrong.
I definitely recommend a trekking pole for the major elevation changes. I used my Black Diamond women's trekking poles, and my husband used these Black Diamond Alpine carbon trekking poles.
Make sure to bring sun protection, even when it's cool out. The desert sun is bright! I wore Sunski polarized sunglasses and my husband wore his Shady Rays.
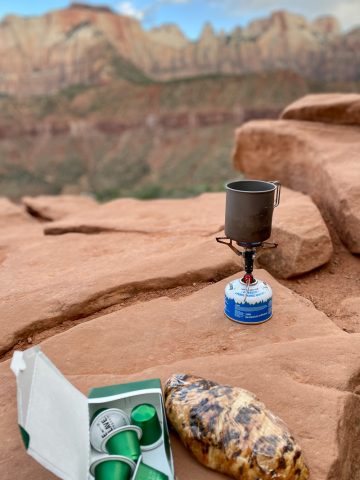
Bring a backpack stocked with plenty of water, electrolytes, snacks and (maybe) a freeze-dried meal. We opted to skip the coffee on this hike because of the aforementioned WAG bag situation.
Prepare for the possibility of inclement weather, and remember that the high elevation portions of this trail are often about 20 degrees cooler than the valley floor.
Depending on the time of year, you may need micro spikes or even snowshoes. (You can rent them in nearby Springdale.)
Because we were spending the night, we also packed our Double Rainbow backpacking tent, our Exped Duo Sleeping Pad, a backpacking quilt and these Outdoor Vitals ultralight pillows. (The quilt we used is discontinued now, but since this trip, we've acquired a warmer quilt from Enlightened Equipment.)
Here are some ideas for more backpacking gear, double-walled tents, and how to pack if you're flying in.
Checking Trail Conditions Before the Hike
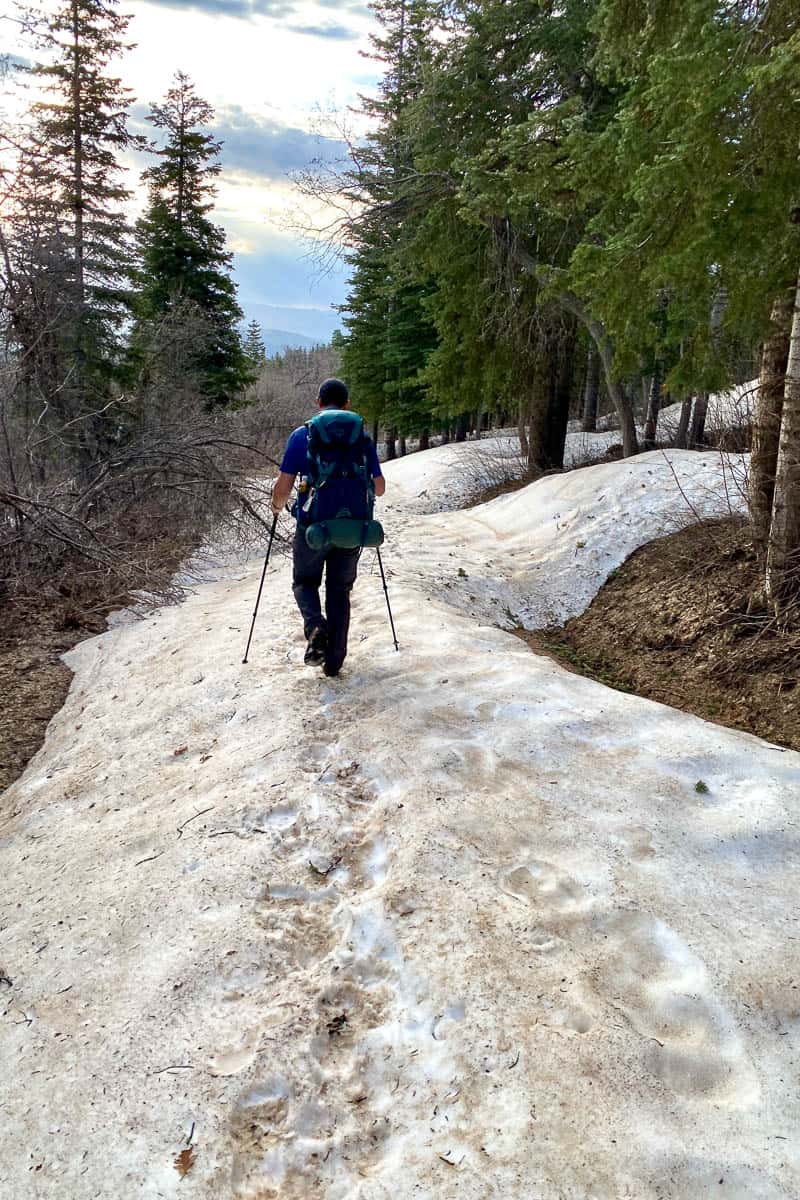
In the weeks before our hike, trail conditions were rapidly changing. Heavy snow was melting, and quickly.
A week ahead, the shuttle company called to warn me that the snow was still waist-deep and we’d likely need to rent snowshoes. To find out more, I called the Zion Canyon Wilderness Desk, and was pleasantly surprised that a ranger called me back, willing to answer my many questions.
By the time we checked into the wilderness desk one day before our hike, the ranger assured me that snow shoes were not needed, and that while micro spikes might be a good idea, we likely wouldn’t need them. She also gave us helpful tips about water and supplies.
My point is, don’t be afraid to reach out to the Wilderness Desk rangers! We found them to be very helpful. Shuttle companies also likely have up-to-date information from dropping hikers at the trailhead.
What If I’m Afraid of Heights?
If you’re afraid of heights, definitely do not add Angels Landing onto your hike! (It requires a separate permit anyway.)
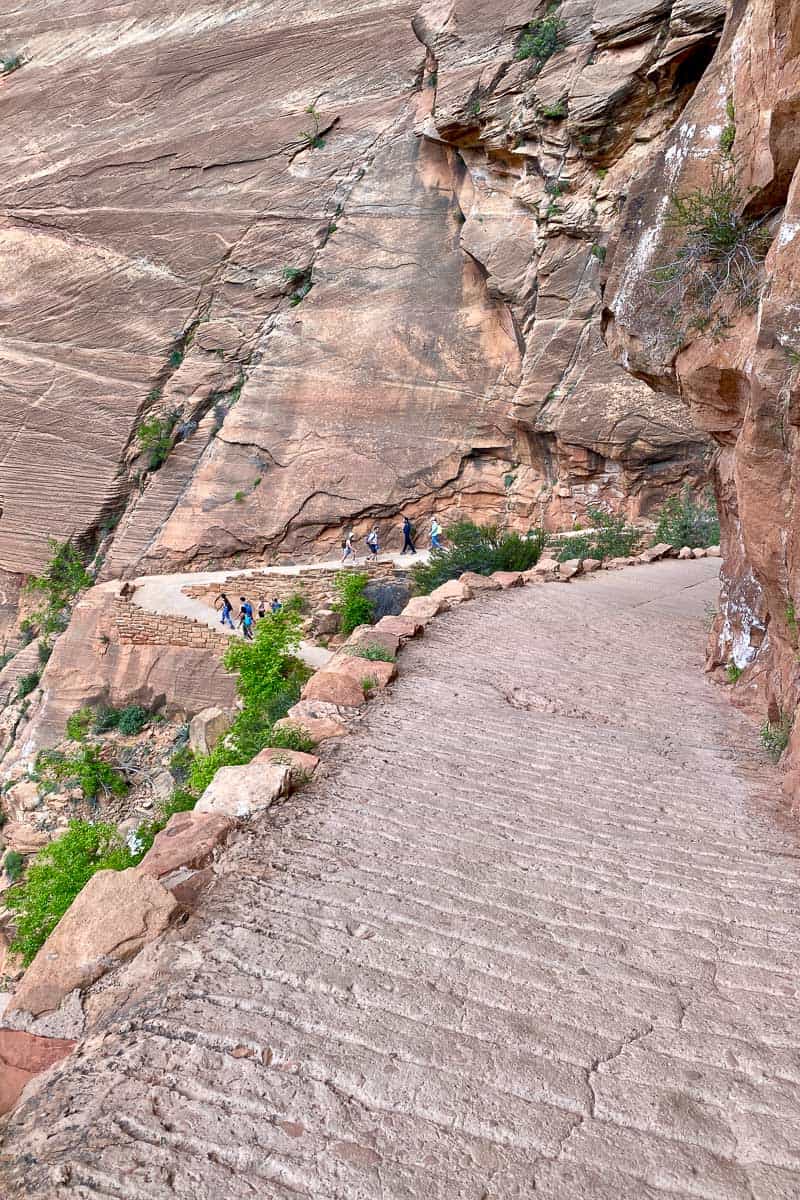
The top portion of the descent into the canyon is another area that might make you a bit nervous. This section is mostly around 5-6 feet wide, but a few short sections are narrower. Also, the trail seems less maintained than other canyon trails I’ve done, with a rocky uneven surface.

I was mildly nervous in a few spots, but overall I was fine on this trail.
Hiking the West Rim Trail in Zion Top-Down
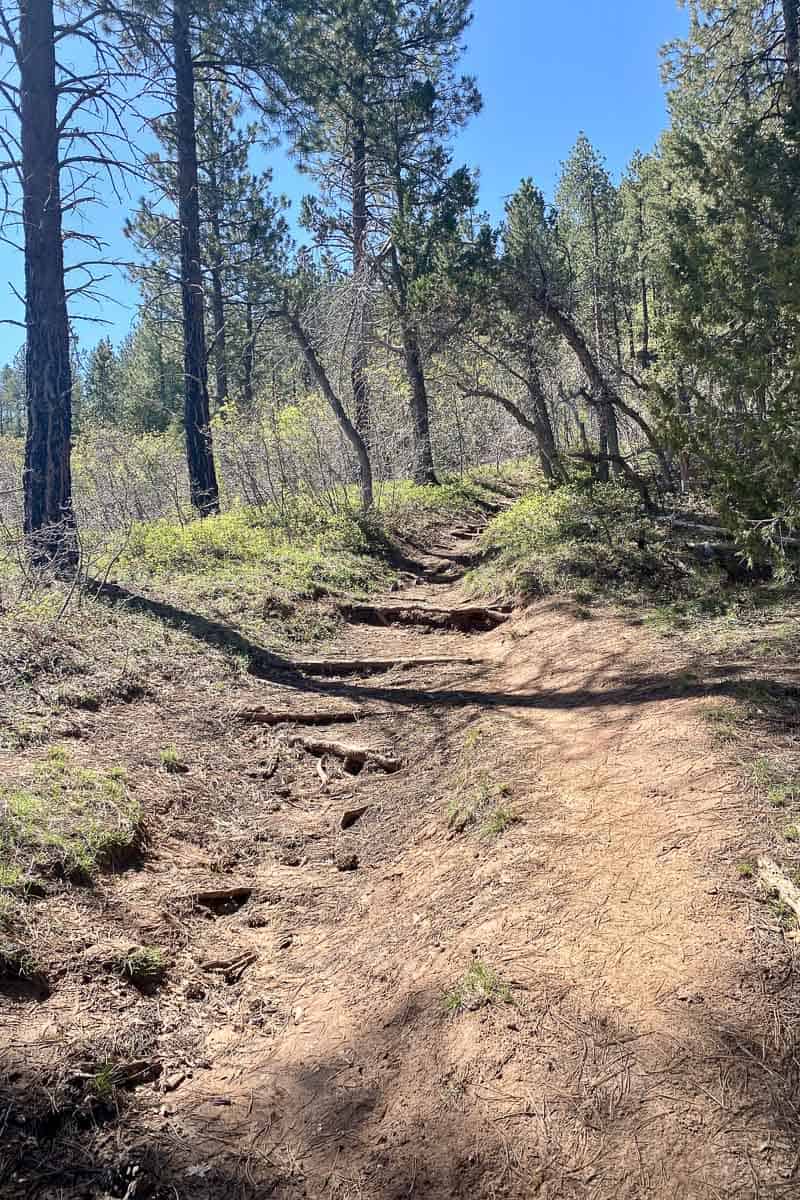
Once you get to the West Rim trailhead, you’ll be walking on a relatively flat wooded trail. You can make good time and hike quickly on this bit.

But I always make time to stop and enjoy the flowers along the way.

Before you know it, you’ll start getting glimpses of mountains and canyon rocks. Soon, the path opens to a gorgeous canyon overlook.
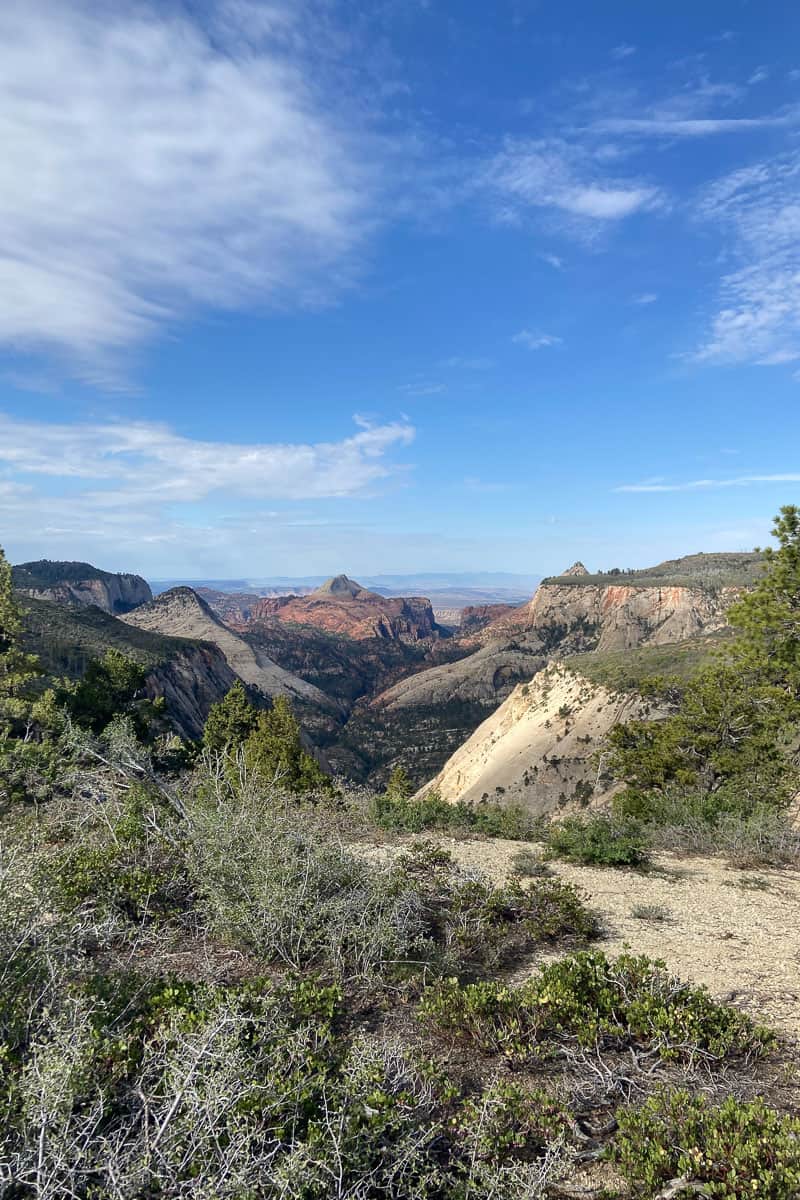
Watch where you step; it’s easy to just gawk at the views in this section.
About 6.5 miles in, the trail will start to go downhill towards Potato Hollow.
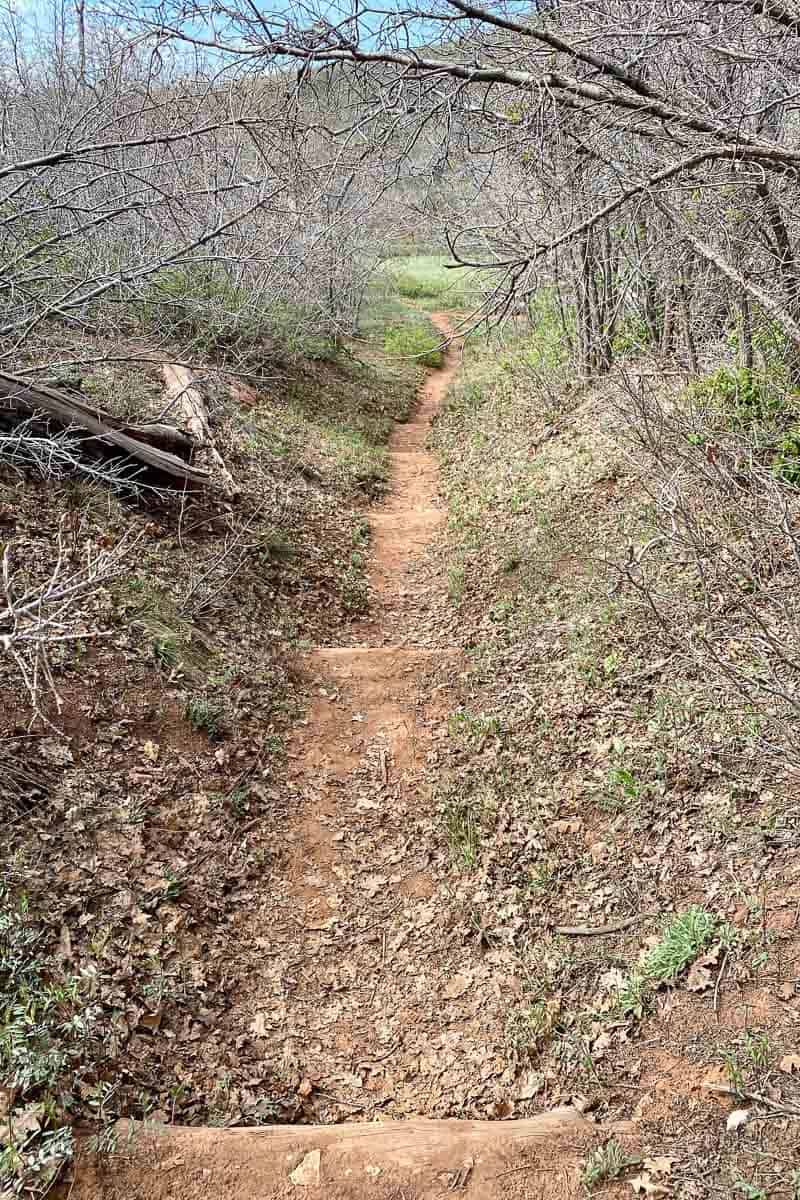
For us, this section was fairly muddy from all the snowmelt.

The trail out of Potato Hollow rises steeply and was the hardest part of the trail for me.
It helped to stop and look at the flowers.

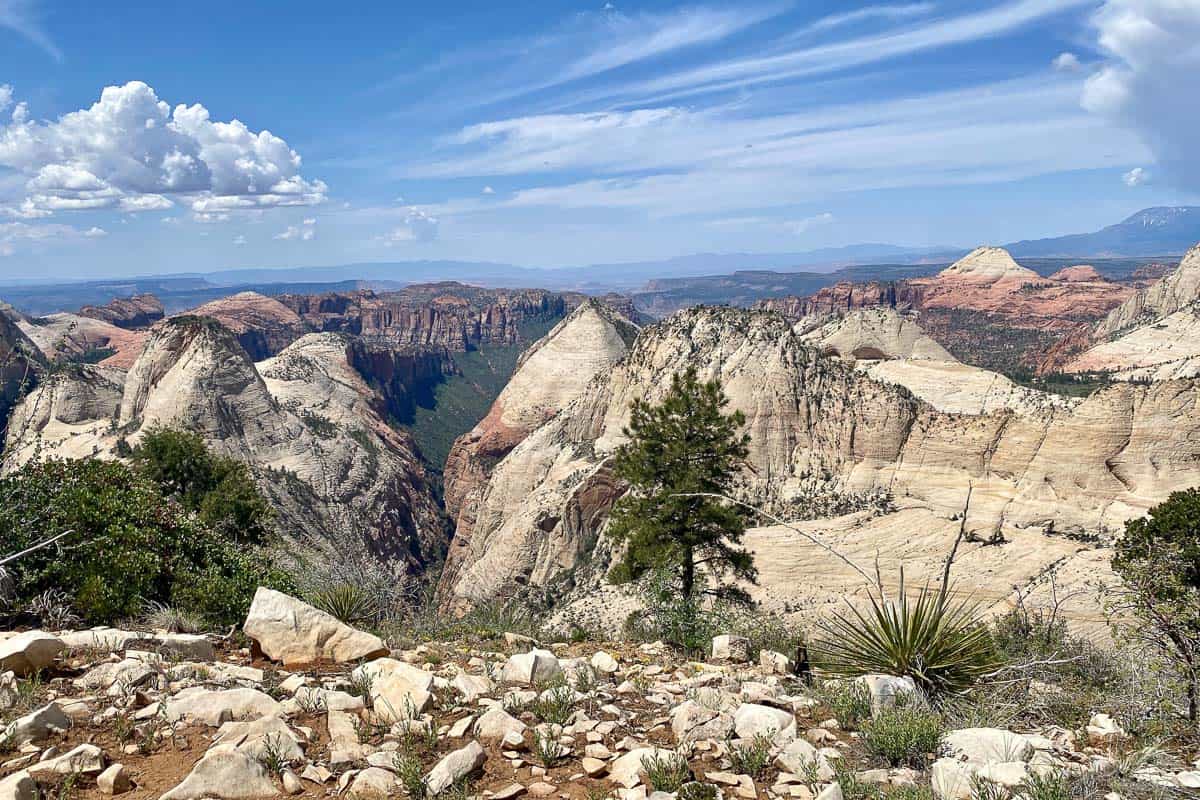
When the trail opens up for more epic views, it’s thrilling — partly because of the view and partly because the hard uphill hike is over!

When you reach the junction with Telephone Canyon, stay to the right to pass the campsites and get the best overlook views.
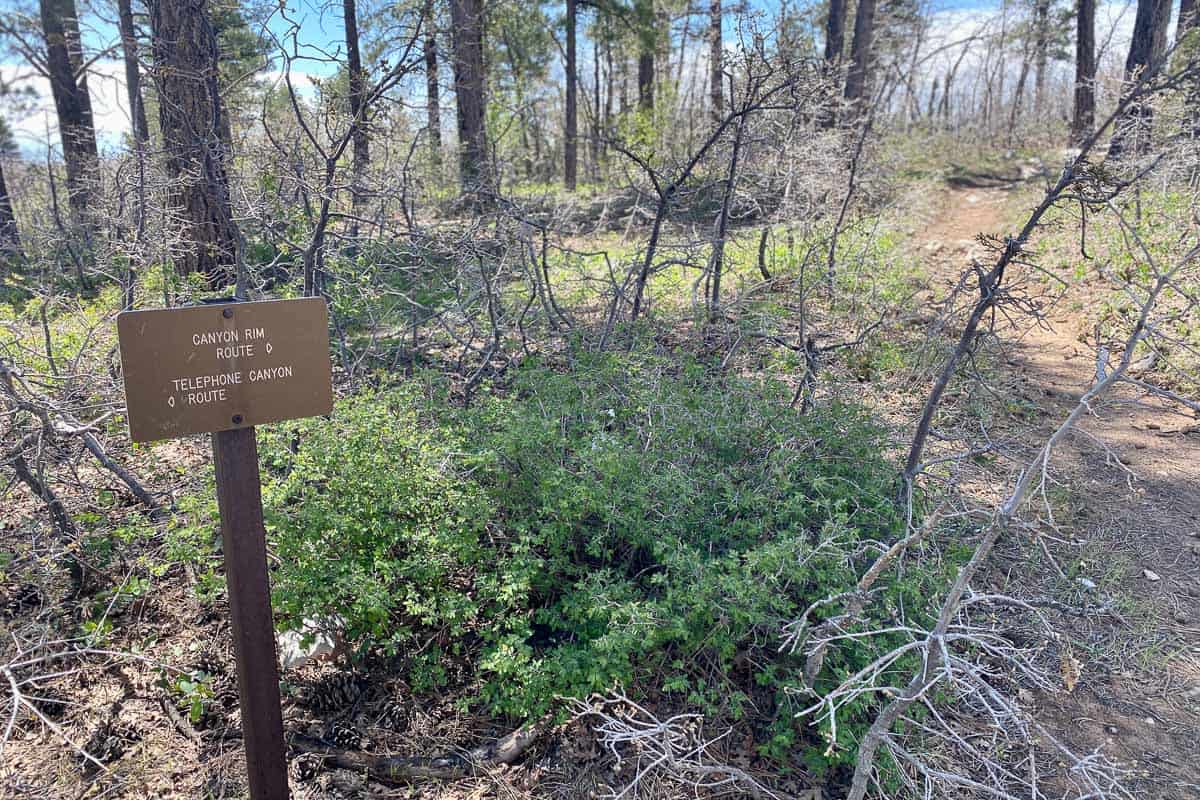
The Telephone Canyon path is a shortcut and reconnects to the trail later, but it skips some gorgeous views.
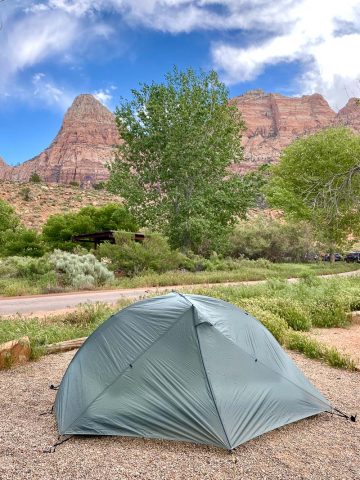
When we reached campsite 2, we set up our tent and had dinner.
The next morning, we followed the Grotto trail sign down into the canyon.
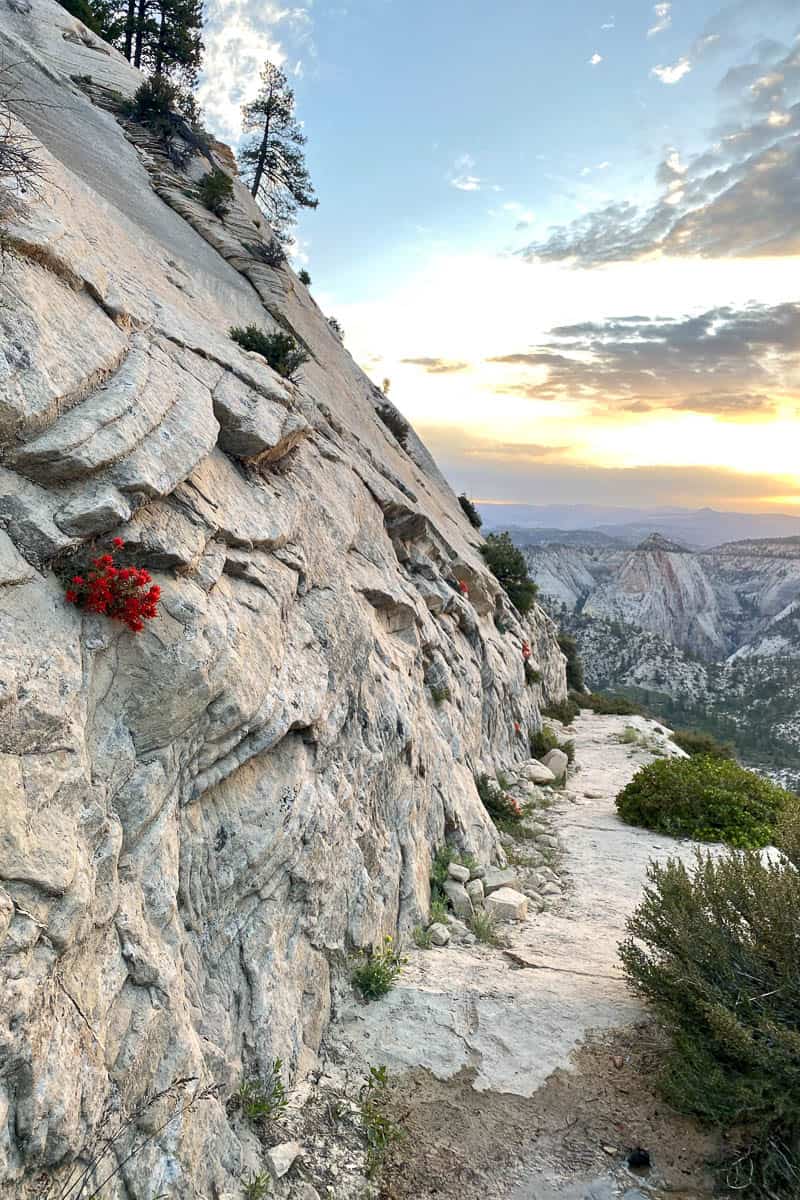
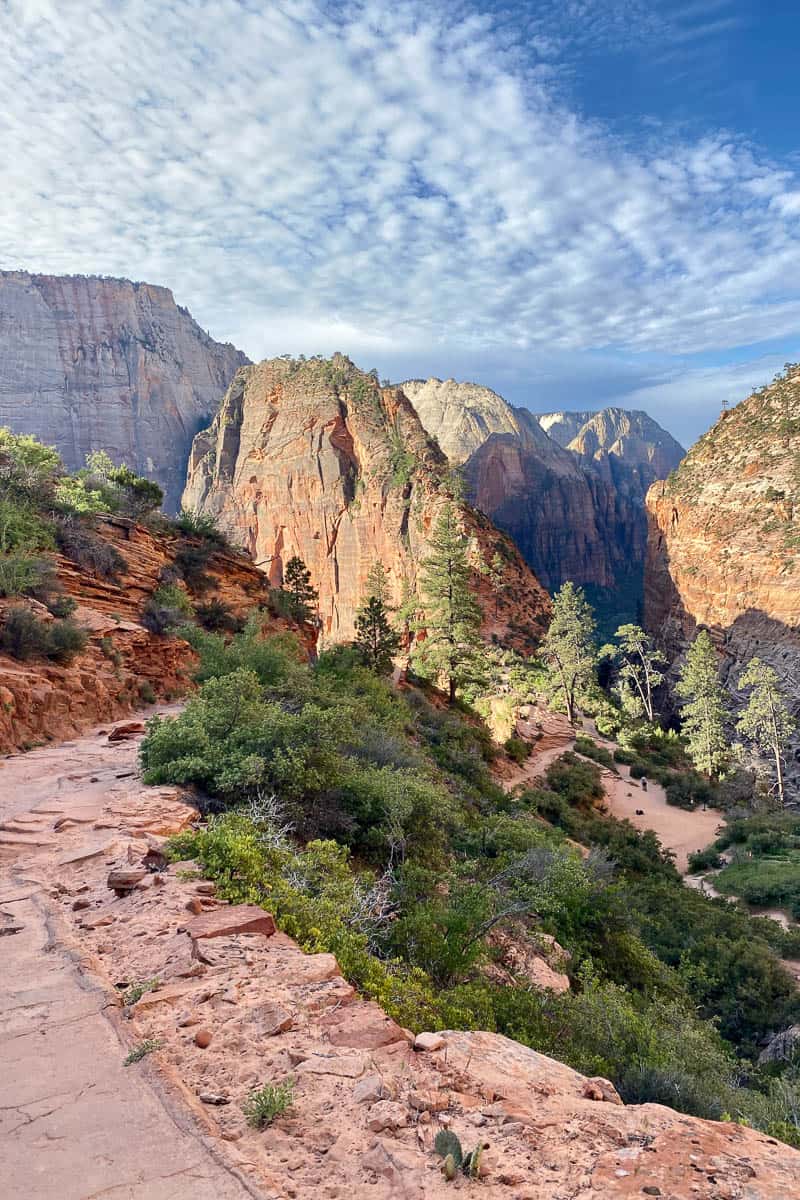
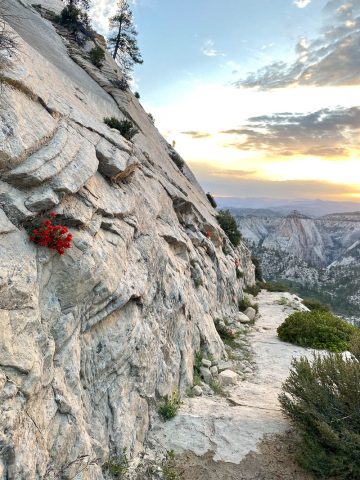
The trail descends steeply with lots of switchbacks and more incredible views.

Keep an eye out on the West Rim Trail for the "hanging gardens" of Zion, flowers that grow through the rock walls and hang down.
When you arrive at a wide rocky area, you’ve made it to Scout Lookout. The narrow red rock formation ahead of you is Angels Landing. This is probably where you’ll start seeing other hikers.
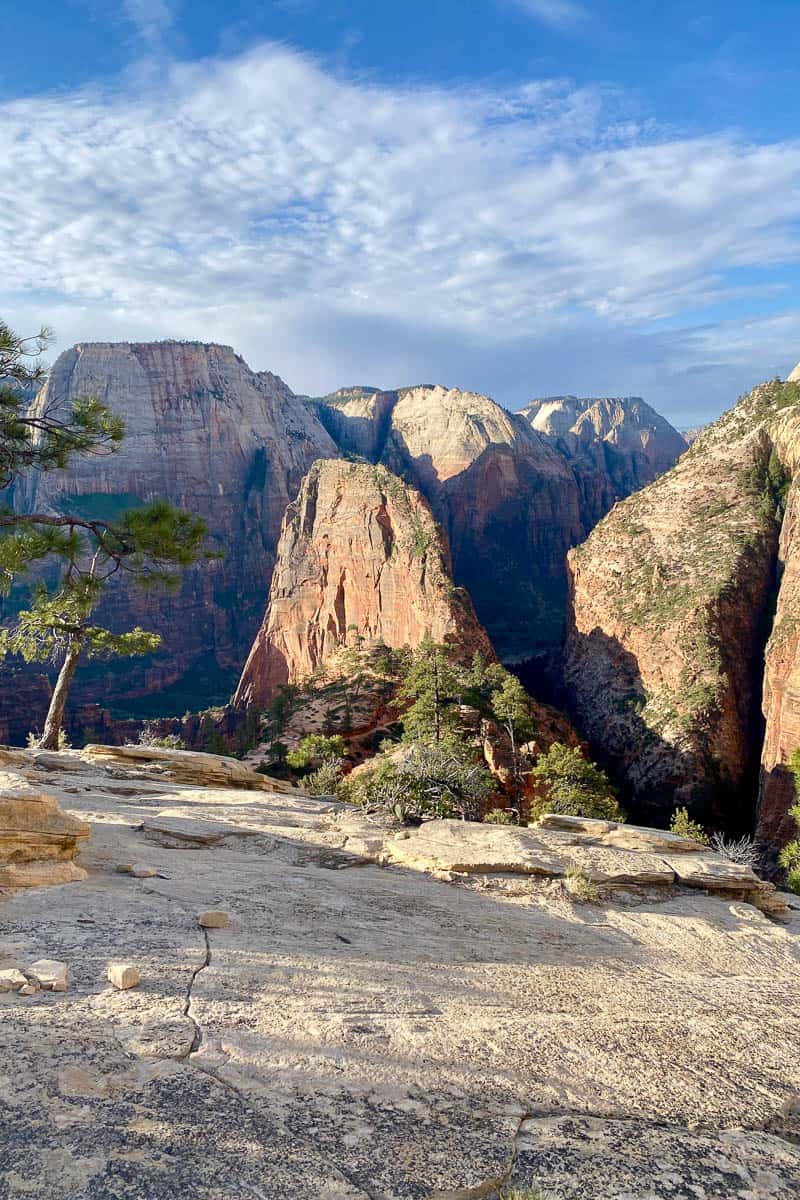
Continue down the trail, which will take you right past Angels Landing. If you have a permit (and energy left for another steep incline), you can add that onto your hike.
Next, continue down the trail to Walter’s Wiggles, a series of switchbacks. This section of the trail is STEEP, and I was pretty happy that I was going down, not up.


The trail keeps going down, down, and down, until it reaches the Grotto trailhead.
Once you’ve finished your hike, hop on a shuttle, congratulate yourself, and head to Zion Brew Pub for a celebratory meal!
Leave a Comment: