Planning to go hiking in Yosemite National Park? We hiked the trail to Upper Yosemite Falls, going past Columbia Rock to Yosemite Point. Here's how it went!
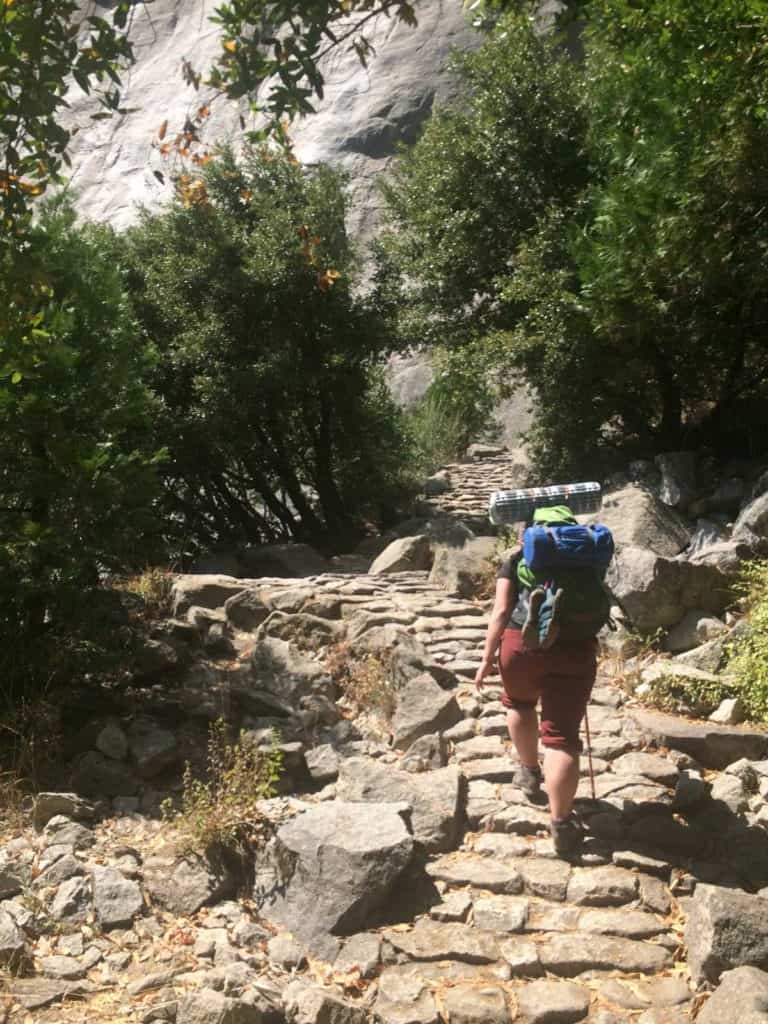
We hiked the Upper Yosemite Falls trail in September 2018, and it was (and still is) a beast of a hike.
A beautiful beast.
I struggled on this hike.
It took me an embarrassingly long six hours to make the 3.4-mile trek to the top of the falls, and I felt like I was completely finished off by the time I got there.
Looking for another epic Yosemite trail? Here's how to get a permit for Half Dome, and then read about hiking Half Dome.
What Made the Trail to Upper Yosemite Falls So Difficult?
The trail to Upper Yosemite Falls is 6.8 miles long to the top of the falls and back down, or 8.4 miles to Yosemite Point and back.
It's listed as a strenuous hike, and has a 3,175 foot elevation gain.
Challenge #1: The Terrain
My husband and I hike often, including strenuous trails with major elevation gain, but this was my first time experiencing the Sierra Nevada mountain range.
Most of the trails we hiked in Yosemite (including Upper Yosemite Falls) were rocky, granite paths that took time to get used to walking on.
I often felt like I was slipping while hiking, and I'm sure more experience walking on granite would help.
And in fact, at one point, I did trip on a rock and fall on this trail. Thankfully I wasn't badly hurt.
Challenge #2: Heavy Packs
We hiked this trail on the first day of a multi-day backpacking trip. So our packs were heavy.
Challenge #3: The Starting Elevation
And finally, what I suspect is the biggest factor-- Yosemite Valley sits at about 4,000 feet, a much higher elevation than we're used to, and we didn't give ourselves (or our lungs) time to get used to hiking with less oxygen.
Thinking back on this trail frustrates me, because I know I can do better.
We've climbed hikes that are just as difficult (at least on paper)-- like Alum Cave to Mount LeConte in the Smokies and the Grand Canyon all the way to the Colorado and back-- and I didn't struggle nearly as much as I did on the way to Upper Yosemite Falls.
Would I Hike This Trail Again?
Yes. Most definitely.
Here's what I'd do differently.
If I hiked this trail again, I'd give myself a day (or three?) to get used to the elevation change, and I'd follow some of these tips on how to adjust to higher altitudes.
While my lungs adjusted, I'd do some easy hikes, and spend more time enjoying the scenery and the granite trails.
Also, just because I struggled doesn't mean you will. Plenty of people (none of whom were carrying heavy packs) passed me on the trail.
Tips for Hiking to Upper Yosemite Falls
I highly recommend bringing a trekking pole. It will help you keep your balance and take some of the weight off your knees.
Depending on the time of year, the gnats here are unreal. They flew in my nose, ears, eyes and mouth.
Bring a bug net to cover your head.
No, bug nets aren't cute. But you'll be happy you have it if the gnats start to swarm.
And whatever you do, make sure to pack lots of water. You'll need it.
Planning a trip to Yosemite? Check out my recommended gear for hiking in Yosemite, and my tips for backpacking in Yosemite!

Hiking to Upper Yosemite Falls
We took a bus to the trailhead because we didn't have a car, but I'd recommend the bus even if you do have a car.
Parking lots at Yosemite fill up quickly.
Keep in mind that as of 2022, reservations are required if you plan to drive into Yosemite during peak hours (6 a.m. to 4 p.m.) from mid-May through the end of September. But if you have a wilderness permit or have booked lodging inside the park you won't need a separate reservation.
Try to get an early start, because this is a long trail.
Start at the trailhead, and you'll immediately start going up, up, and up some more.
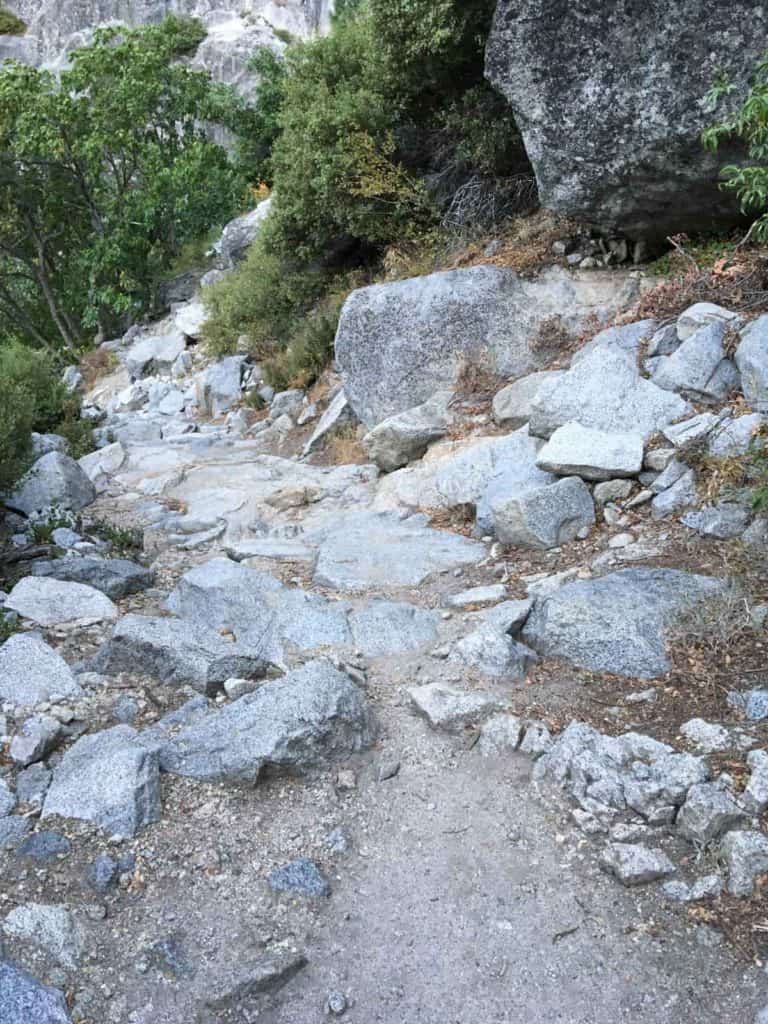
The path quickly rises up above the valley floor with a series of steep switchbacks.
Watch your footing, especially if you (like me) aren't used to walking on granite rocks.
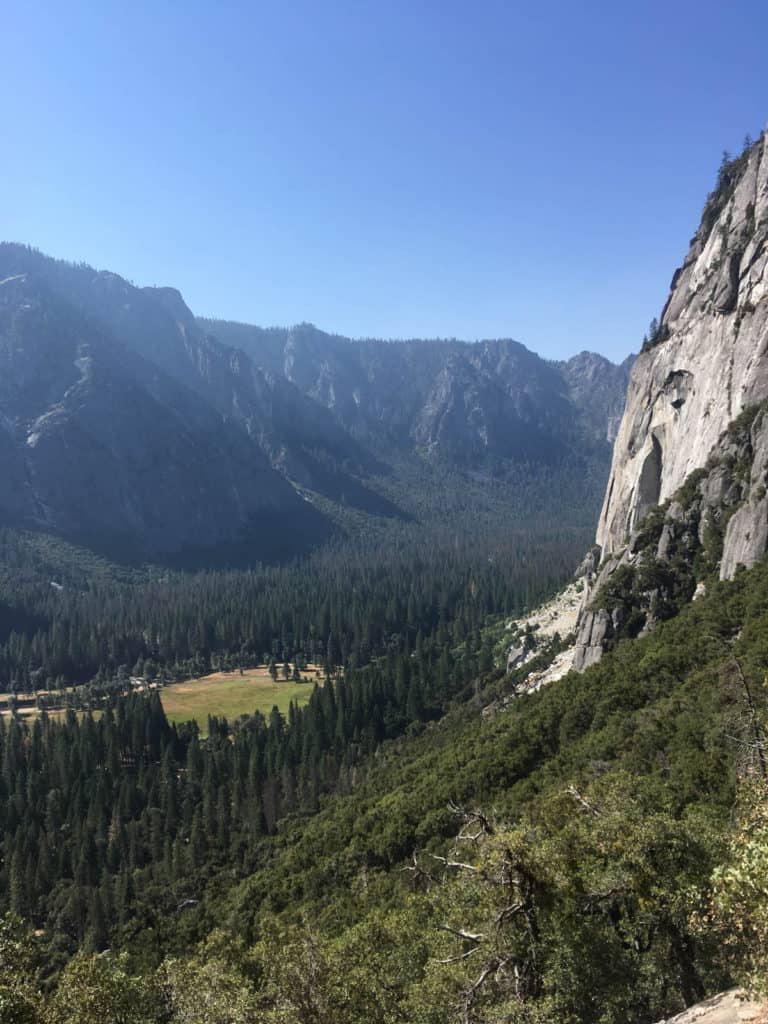
About a mile into the trail, you'll reach the Columbia Rock overlook.

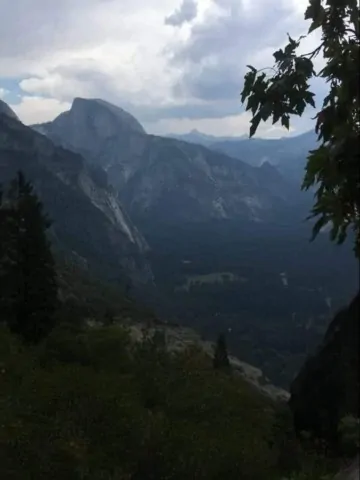
Stop to enjoy the sweeping views of Yosemite Valley, and then keep moving.
Alternatively, make this your stopping point to turn this into a shorter hike.
Fairly quickly, you'll reach the base of the upper falls.
Unfortunately, this waterfall was completely dried up when we hiked the trail. If you're traveling to Yosemite for waterfall views, go in late spring or summer.
Happily, the rest of the trail is still beautiful, and the rock (even with no waterfall) is still pretty impressive.
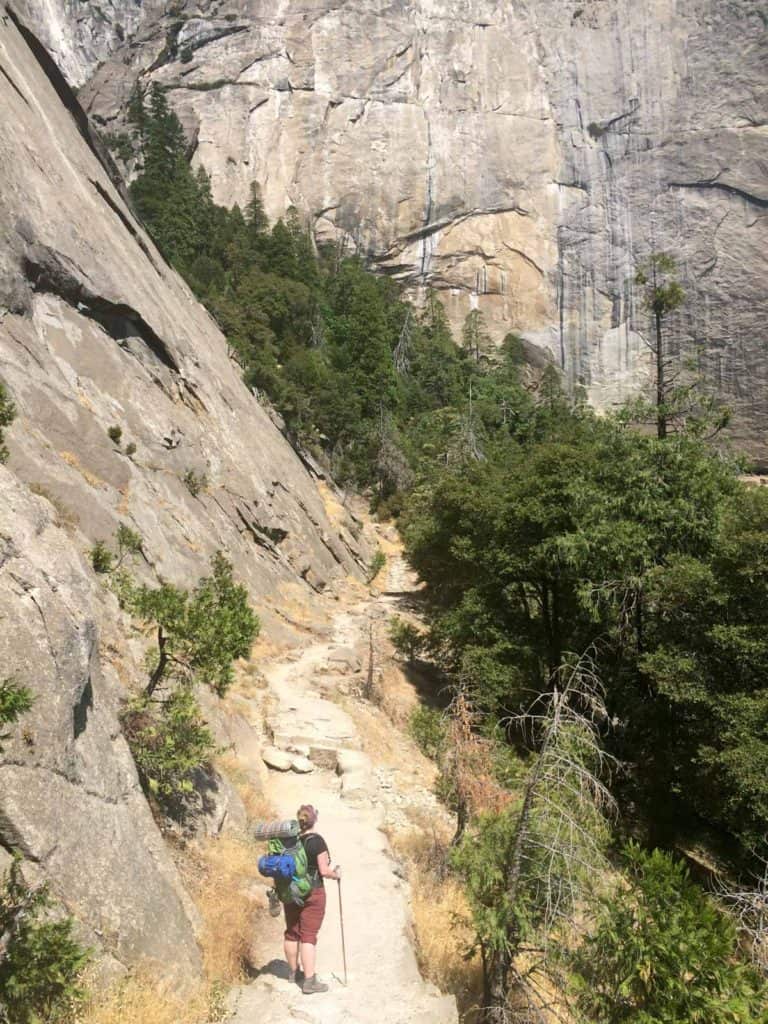
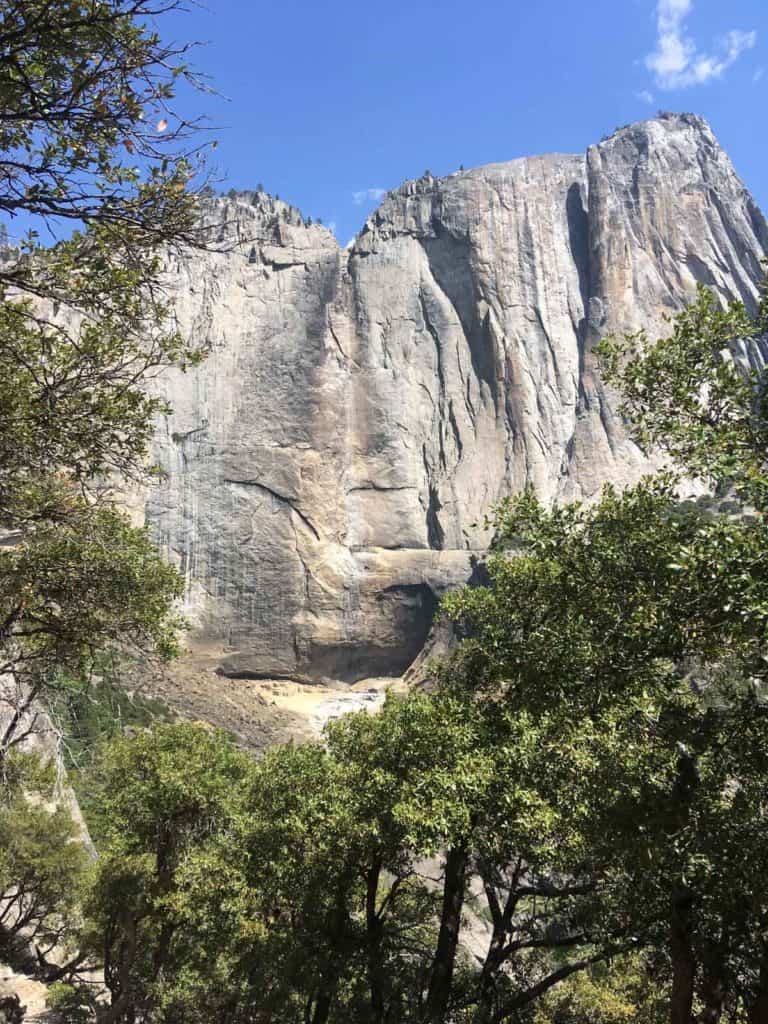
The trail will keep moving up, rising far above the valley floor.
There are no cables to hold onto, and the trail is somewhat narrow (not scary narrow, but narrow) in places.
Walk carefully.

At one point, we found a waterfall even though the real attraction was all dried up!
A teeeeeeny tiny waterfall!
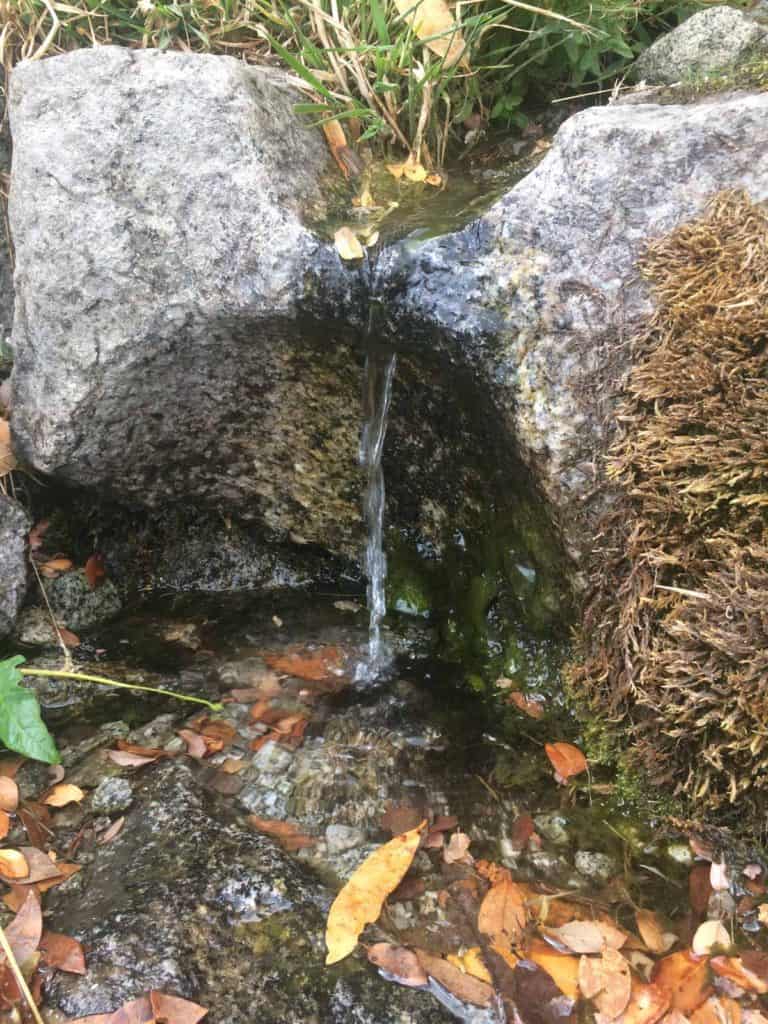

Views from the Top of the Trail
When you finally reach the top of the trail, head over to view the top of Yosemite Falls.
And it sounds obvious-- but don't get in the water. Even if it looks calm.
Remember where the current is taking the water-- straight over that big rock you stared at for a large portion of the hike.
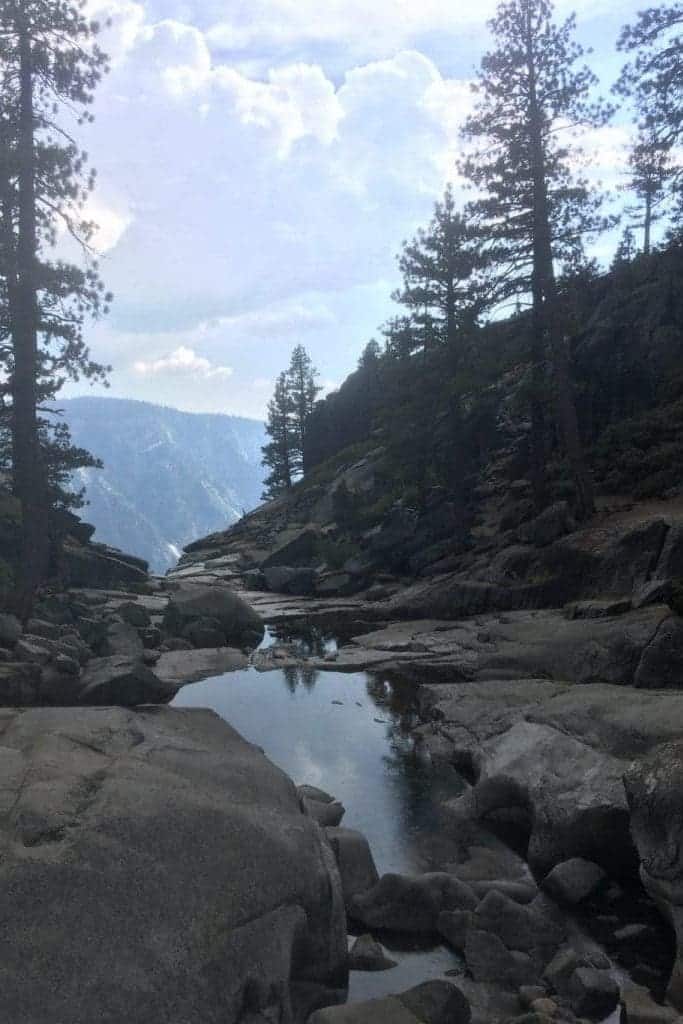
At this point, if you still have energy (and time) to explore, head over to Yosemite Point for more views of the valley below.
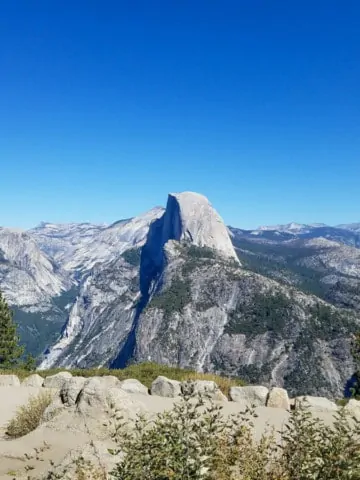
Our favorite views were a little farther down the ridge past Yosemite Point, as we headed towards the North Dome trail.

If you want similar views to the one above, but don't want to go exploring, try walking to Eagle Point.
When you're done admiring the scenery, head back down the trail the way you came!
Yosemite Tip: After our (multi-day) hike, we took a bus to the Yosemite Lodge and paid to use their showers and swimming pool (even though we weren't staying in the Lodge).


Leave a Comment: