

This Instant Pot yogurt is easy to make at home, and all you need is milk and a yogurt starter. Plus, strain your yogurt to make Greek yogurt!
I've been making my own homemade yogurt for quite a while.
I am that person.
I own a yogurt maker. (The one I use and love isn't available anymore, but this Bear yogurt maker is similar and gets good reviews!)
And so, when I bought an Instant Pot, I did notice the yogurt button. I promptly ignored that button, because I already had a yogurt-making system in place.
I didn't need a new way to make yogurt.
Then one day, on a whim, I tried making Instant Pot yogurt. And whoa — it's amazing!
The Instant Pot yogurt setting works just as well as my other yogurt maker, but makes fewer dirty dishes, because you can boil the milk in the same container that you ferment the yogurt. Win!
Plus, you can make larger batches of yogurt because the Instant Pot basin is so big, making it a perfect way to use up large quantities of milk that's about to expire. Double win!
What Equipment Do I Need for Instant Pot Yogurt?
First, you need an Instant Pot with a yogurt function. I use a 6-quart Instant Pot Duo 60 7-in-1.
Not all Instant Pots have a yogurt setting, so double-check yours before you get started.
Next, you need a glass lid for your Instant Pot. You can buy the Instant Pot brand lid, but I recommend checking to see if any of the lids you already own fit before buying a new lid.
Finally, if you plan on straining your yogurt (and you probably will), you'll need an ultra-fine mesh strainer (like these strainer bags) OR a regular mesh sieve and cheesecloth.
What Kind of Milk Do I Need?
This recipe uses pasteurized dairy milk. I prefer to use whole milk, because it makes the thickest, creamiest yogurt, but 2% will work too.
If you've got ultra-pasteurized milk, try making cold start yogurt instead.
Not sure if your milk is ultra-pasteurized? Check the label. Most organic milk is ultra-pasteurized.
Do I Really Need a Yogurt Starter?
Yes, you do.
If you forget to add the starter, you won't end up with yogurt, you'll just have spoiled milk.
Before I moved to Kentucky, I always used freeze-dried yogurt starter. I still like that option, but it's harder to find locally.
The other option is to use plain yogurt with live cultures. Make sure to use a yogurt you like, because it will affect the flavor of the finished yogurt.
The starter yogurt will also affect the consistency (or thickness) of the finished unstrained yogurt.
Can I Use Flavored Yogurt As a Starter?
No.
If you don't have plain yogurt, wait until you can find some to make your own yogurt.
Do I Need to Strain My Yogurt?
Nope!
But keep in mind that homemade yogurt is often thinner than store-bought yogurt. Store-bought yogurt (even organic yogurt) usually contains thickening additives.
If you can find a store-bought yogurt that's made without thickening agents (like Fage Greek yogurt), your yogurt will be thicker. But you might still want to strain it a little bit.
When I can, I use Fage's 5% whole milk Greek yogurt as my starter.
What Happens If I Over-Strain My Yogurt?
When you strain your yogurt, you'll leave it in the fridge for anywhere from 30 minutes to around 2 hours, depending on how thick you like your yogurt.
If you're forgetful (like me), you might abandon your yogurt in the fridge until the next day. Oops.
If so, you'll find that the yogurt now looks more like whipped butter.
Congratulations, you've made labneh (a Middle Eastern ultra-strained yogurt) by accident.
You can either stir some of the liquid (whey) back into the labneh to re-liquify your yogurt, or you can leave it as is.
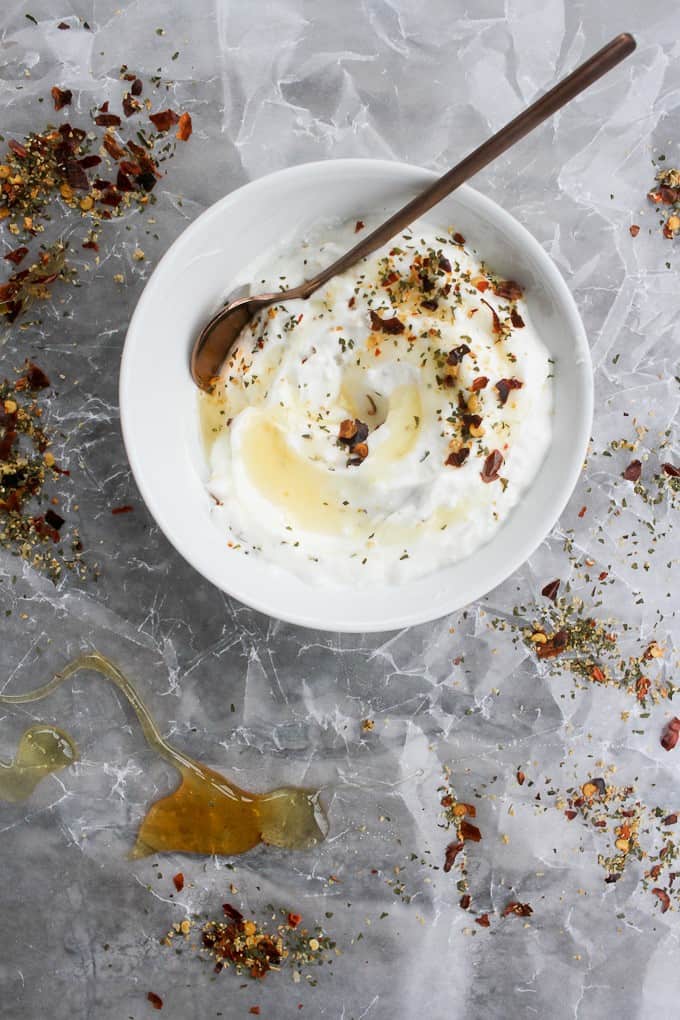
Labneh is (in my opinion) one of the most delicious foods on the planet, and is perfect drizzled with honey and jam. Labneh can also go savory, and is delicious served with a little olive oil and fresh herbs.
How to Make Instant Pot Yogurt
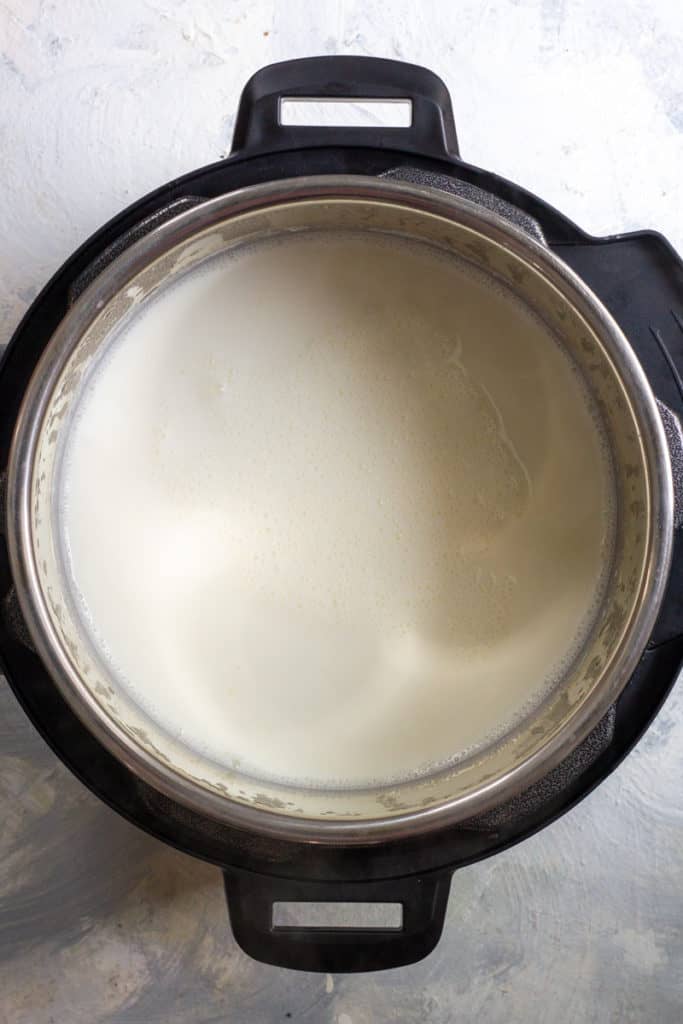
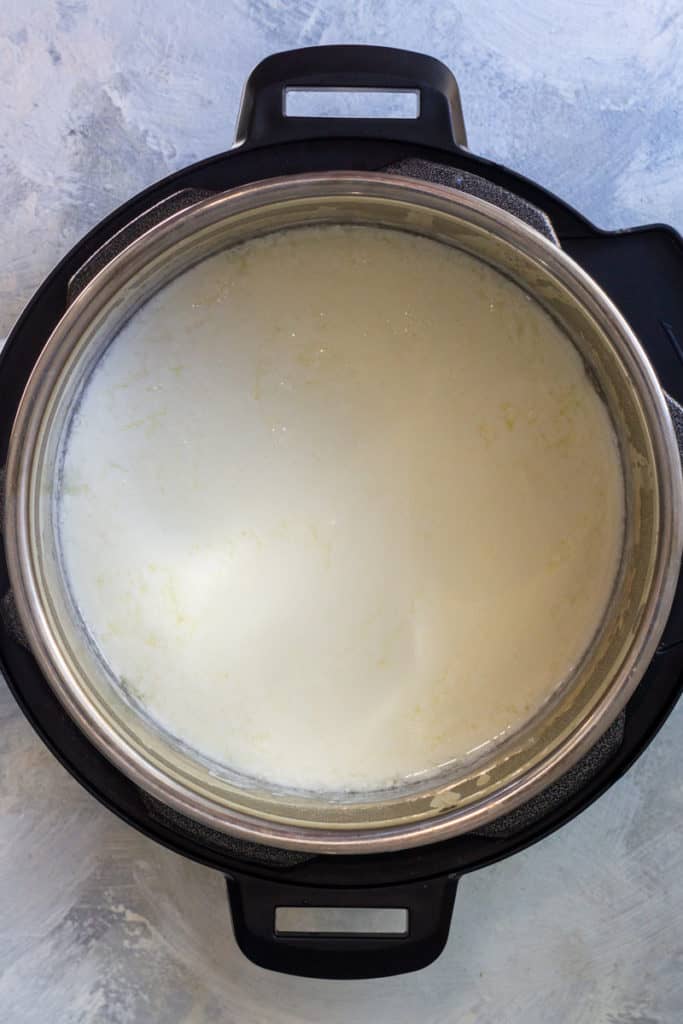
Add milk to the Instant Pot and cover the pot with a glass lid.
The next step might be different depending on which Instant Pot model you have, so here are two different options.
Use the Yogurt Boil Cycle
Press the yogurt button until the display reads "boil."
When the Instant Pot beeps and the display reads "end," check to see if the milk is simmering. If it's not, repeat the boil function until your milk is at a slow simmer.
Use the Sauté Feature
Some Instant Pots with a yogurt function do not have the boil option.
If you tap the yogurt button a few times and all you see is the timer, hit cancel, and then press "sauté," and adjust the temperature to low. When your milk starts to simmer, press "cancel."
Let the milk sit uncovered until it reaches room temperature.
Make sure you wait until the milk is no longer warm, because the heat can ruin the bacteria in your yogurt starter.
If the milk has formed a skin on top, discard the skin.
Next, whisk together plain yogurt and a little bit of the milk until it's smooth. Whisk the yogurt and milk mixture into the larger batch of milk.

Cover the milk with the glass lid.
Press the "yogurt" button until a time shows on the display. Use the - and + buttons to adjust the time to anywhere from four to ten hours.
A four-hour ferment will give you a sweeter yogurt; a ten-hour ferment will make a tart yogurt. The fermentation time will not affect the yogurt thickness.
When the yogurt cycle ends, stir your yogurt.
If you'd like it to be thicker, strain it for about thirty minutes, and then check on it. If it's still too thin, leave it to strain for another hour or two.
If you plan on making homemade yogurt again soon, scoop out about a half-cup of the yogurt and set it aside as a starter for your next batch.
How to Make Flavored Instant Pot Yogurt
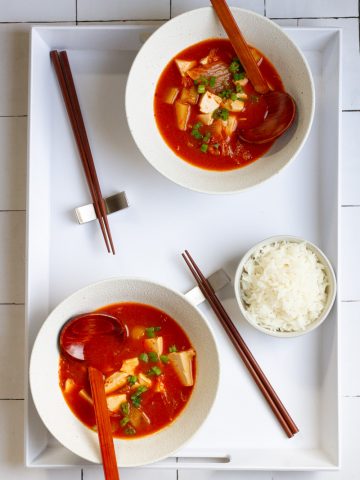
I usually make plain yogurt, and use as a creamy base in sauces, smoothies, parfaits, or as a sour cream replacement.
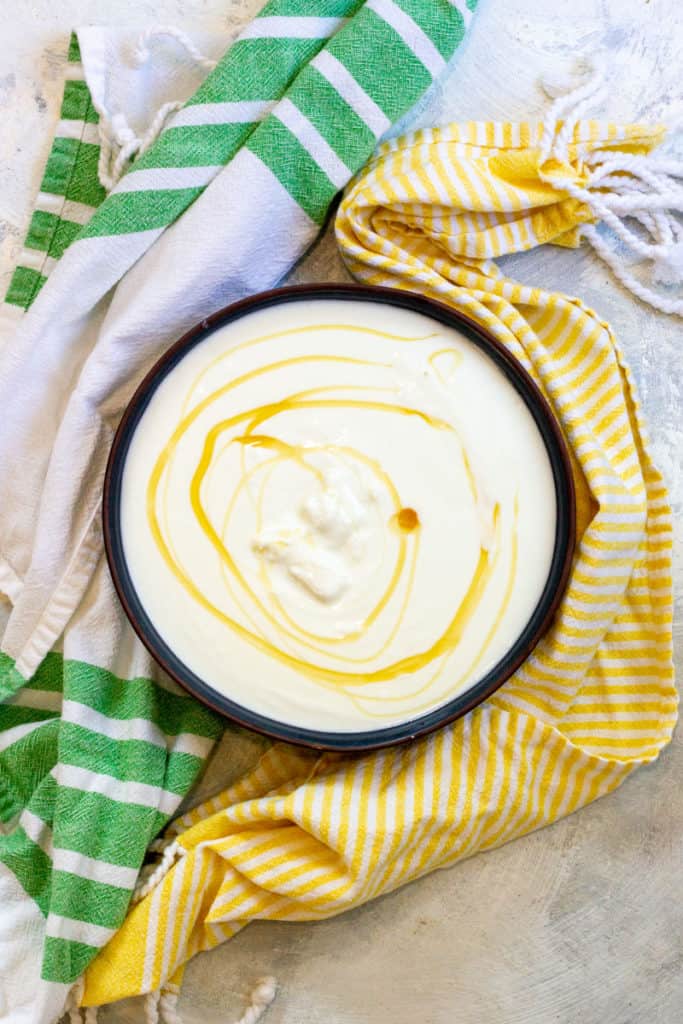
If you prefer sweeter or flavored yogurt, try stirring in a little honey or jam, and then enjoy it as a healthy-ish homemade treat.

Instant Pot Yogurt
Equipment
- cheesecloth + a mesh strainer (if not using an ultra-fine strainer)
Ingredients
- 4 cups milk (whole milk preferred) No ultra-pasteurized milk
- ½ cup plain yogurt with live probiotics OR 1 freeze-dried yogurt starter packet
Instructions
- Add milk to the Instant Pot. Cover the pot with a glass lid.

- This step will vary depending on which Instant Pot model you have.Option 1: Use the Yogurt Boil cyclePress the "yogurt" button. Continue pressing until the display reads "boil". When the boil cycle ends, check to see if your milk is simmering. If it's not, press the boil button again.Don't rely on the "boil cycle" to know when your milk is the correct temperature. I often need to press the yogurt boil button two or three times, especially when I've doubled the recipe.Option 2: Use the Sauté FeatureIf you press the yogurt button several times, and all you see is a time display, your Instant Pot does not have a yogurt boil feature. Instead, hit "cancel" and use the sauté feature.Press the "sauté" button, and adjust the temperature setting to low.Bring milk to a simmer or soft boil. If you have a food thermometer, you can check to see that the milk is 180° (optional).
- Press the "cancel" button and uncover the milk.Allow milk to come to room temperature. If there is a skin of milk on top, remove it.Pour a small amount of milk in a bowl with the yogurt starter, and whisk until incorporated. Pour the mixture into the main container of milk. Whisk until incorporated.

- Cover the pot with the glass lid.Press the "yogurt" button until the time display appears. Use the - and + buttons to set the time anywhere between 4 to 10 hours. A short fermentation time will yield a sweet yogurt, and a longer fermentation time will yield a tart yogurt.

- For Yogurt: Serve as is, or use a blender to make it even smoother. (Note: Depending on the strain of yogurt starter used, this yogurt will likely be very thin.)For Greek Yogurt: Pour yogurt into a ultra-fine mesh strainer, and let it strain in the refrigerator for anywhere from 30 minutes to 2 hours, until it's reached the desired consistency.
- Reserve a starter for your next batch:Set aside about ½ cup of the finished product to start a new batch of yogurt within 7 days. Make sure to set starter aside before adding any other ingredients.
- Serve yogurt plain, with fruit or other desired toppings, or stir in other ingredients (like jam or honey) to the finished product.
- Store yogurt in an airtight container in the fridge for up to 2 weeks.
Notes
- My yogurt didn't set.
Did you add the starter while the yogurt was still hot? It's possible that it hurt the bacteria.
If the yogurt wasn't still hot when you added the starter, then it's possible that the bacteria in your starter weren't alive.
Try again with a new starter. - My yogurt set, but was very thin.
This is normal, but there are things you can do to help.
The strain of yogurt you use to start your yogurt will affect the consistency. If using store-bought yogurt, I recommend Fage Greek yogurt (whole milk, 5% fat) as a starter. - My yogurt was lumpy.
This one is a quick fix-- blend the yogurt with an immersion blender or in a blender basin to make it creamier.
To prevent lumpy yogurt, make sure that you whisk well when you add the starter to the milk, until the starter is fully incorporated and any lumps have disappeared. This will help fully incorporate the bacteria. - I over-strained my yogurt.
Nonsense, you just made labneh! Taste it, and if you like it, use the rich and creamy yogurt as a spread or eat it with a spoon. If you want a more classic yogurt consistency, stir some of the liquid (whey) back into your yogurt.


Sal says
I have intended to make yogurt for years but always felt a little intimidated by the process. Now I wish I hadn't waited so long. This recipe broke it down step by step and made it so easy to get great results. My yogurt is thick and creamy. I was shocked I could get such great results with such little effort. I will be making homemade from now on!
Sarah Trenalone says
Yay!! I’m so glad you loved it 😁
Izeria says
Thank you for this easy recipe. I made it with 2% milk and nonfat yogurt. I strained It to make Greek yogurt. It turned out very good. I am happy with the results. 😋😁
Sarah Trenalone says
Yay! I'm glad you liked it 🙂
Dee says
Why a glass lid? Is it really necessary?
Sarah Trenalone says
Hi Dee! I use a glass lid because it's a nice way to hold the heat in and still be able to see the yogurt as its cooking. I like to check on it as it ferments 🙂 You don't need the Instant Pot brand lid though- one of the lids from your cooking pots (if you have some) might fit. Or if you want to try it with the IP pressure cooking lid resting on top but not sealed, that might work, but I haven't tried it.
Helen says
If I double the recipe, do I double the yogurt and the milk or just the milk?
Alisha Trenalone says
Hi, Helen! Yes, I’d recommend doubling both the milk and the yogurt starter for the best results.
-Alisha at Champagne Tastes