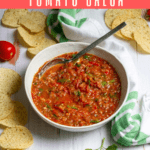
This easy fire-roasted salsa is made with broiled Roma tomatoes, peppers, onion, and garlic mixed with fresh herbs and citrus juice. It's the perfect summer dip!

It's tomato season!
Cue the confetti, because I am excited!
I love other fruits and veggies too, but I am a die-hard tomato lover. They are the best.
I wait all year long for summer tomatoes, and plan my entire garden around them. I am legit obsessed.
If you follow along with my Instagram stories, you've been watching my tomatoes grow all summer long!
Each summer, when the tomatoes begin to pile up in my kitchen, I make baked tomatoes, slow-roasted cherry tomatoes, tomato corn salad, tomato tarts, and of course, I attempt to make homemade salsa.
And each summer, the salsa is delicious, but it's always too watery. Until this year.
This year, my salsa was perfect. I'm so excited about it!
Here's how to make delicious, thick and scoopable fire-roasted salsa from fresh tomatoes and hot peppers.
If you want to try making even more salsa, try this mango habanero salsa next!
How to Make Homemade Salsa That Isn't Watery
If you've ever made homemade salsa, only to realize in dismay that your salsa is floating in an extra two cups of tomato juice, here's what happened.
It all starts with the type of tomato.
Do not use juicy slicing tomatoes for homemade salsa.
For this fire-roasted salsa, stick to Roma tomatoes or other types of plum tomatoes.
Romas are a type of paste tomato. They're not juicy and they aren't the tomatoes you want for a BLT, but they're perfect for sauces and (you guessed it) salsa!
That said, if you don't have quite enough Roma tomatoes to make a batch of salsa, it's okay to add a small percentage of juicier tomatoes to the mixture. But know that the more juicy tomatoes you add, the juicier your salsa will be.
What is Fire-Roasting?
Technically, it's any type of roasting done with fire.
Cooking food under high heat brings out sweet notes in the food, and the fire adds a subtle smoky flavor.
Yes, you can fire-roast your vegetables on a grill or in a campfire, but for this recipe I used the oven broiler.
Why? Because it's faster and takes less effort.
If you're using a gas oven broiler, then these salsa veggies are roasted under a flame, and are actually fire-roasted. If you're using an electric oven, there won't be an actual flame, but we'll call it "close enough."
That said, if you prefer to char your vegetables on a grill or in a campfire, I recommend modifying this recipe and leaving the vegetables whole (not cut) for roasting. After charring, you can follow the recipe directions exactly.
How To Get the Best Tasting Salsa
For the best tasting salsa, you need to use flavorful tomatoes.
Fire-roasting the vegetables will bring out more flavor notes, and it can make "okay" tasting tomatoes taste better, but it will not fix a flavorless tomato!
If your tomatoes taste like water before fire-roasting, they'll taste like smoky water after fire-roasting, and your salsa will be bland.
How Hot Is this Fire-Roasted Salsa?
The heat level is up to you.
For this salsa, I recommend using a poblano pepper and a jalapeño pepper.
Poblano peppers are mildly spicy. If you want, you could swap the poblano pepper for a sweet bell pepper.
Jalapeño peppers are hotter than poblanos, but add a lot of flavor to the salsa. If you want less heat, I recommend removing both the seeds and the membrane (a lot of the heat is actually in the membrane, not just the seeds!).
Additionally, you can try adding a small amount of the jalapeño pepper to the final salsa mixture, tasting it, and adding more if desired.
If you want to increase the heat, add extra jalapeño peppers and leave the seeds and membrane.
You can also experiment with different (hotter) hot peppers, but I recommend proceeding with caution when fire-roasting hotter chili peppers.
The peppers will release fumes that can harm your lungs, so you want lots of ventilation. Turn on the vent over your oven, and maybe even open a window or door while roasting.
Preparing Your Veggies Before Fire-Roasting
When I fire-roast veggies in the oven, I like to prepare them a little before roasting. Preparing them ahead of time (instead of roasting them whole) means two things.
First, it means there's no need to flip the vegetables over while broiling.
And second, it means there's less hands-on work while the veggies are piping hot.
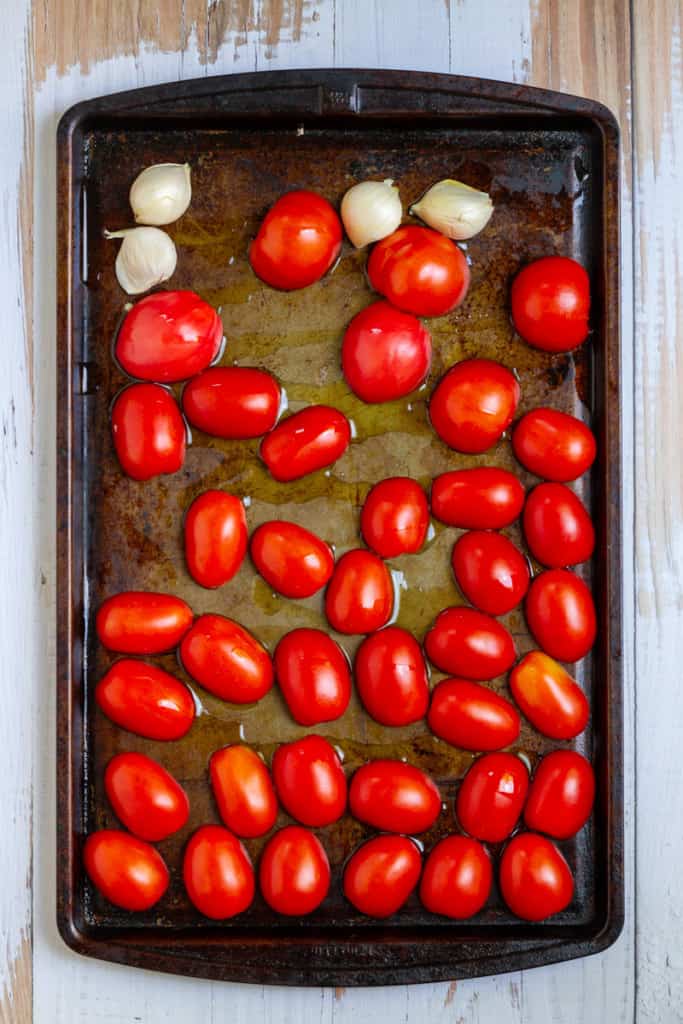
Start by slicing the tomatoes in half lengthwise.
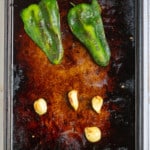
Prepare the poblano pepper by removing the seeds and cutting it in half. Cut the jalapeño pepper in half, and then remove the seeds and membrane if desired.
Peel a red onion and cut it into wedges. Remove a few garlic cloves from a head of garlic (but leave them peeled).
Add all the veggies cut-side down to a baking sheet. You might need to use two baking sheets and broil in batches.

How to Make Fire-Roasted Salsa
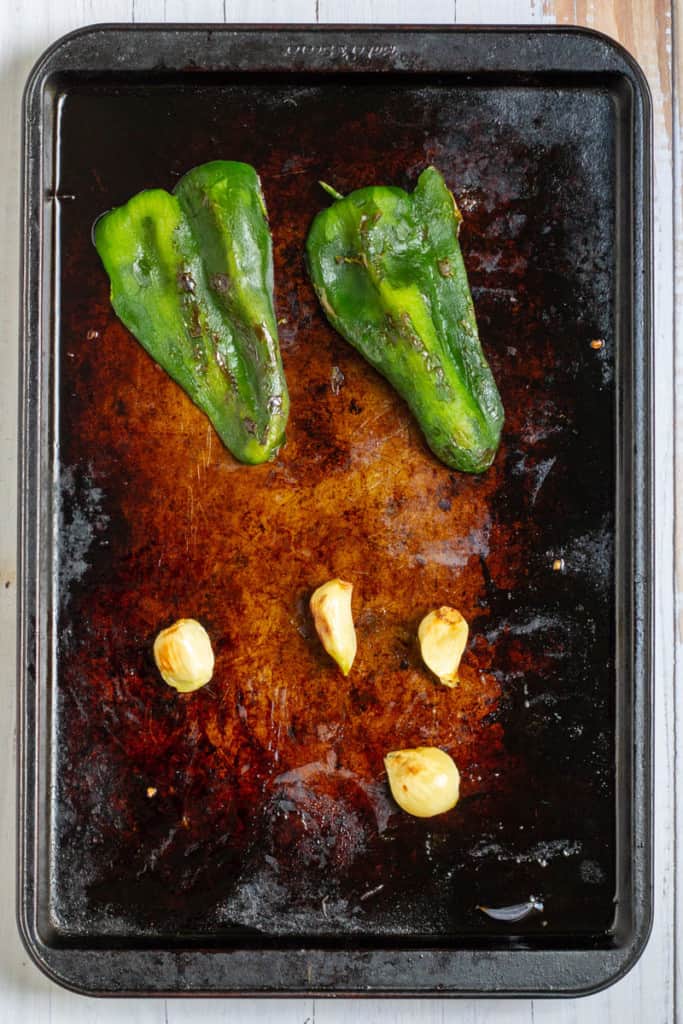
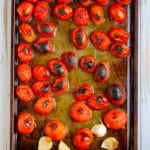
Broil the vegetables until they begin to blacken.
If you're using two baking sheets, broil them one at a time.


Next, peel as much of the skin off the poblano pepper as possible. Poblano skins tend to be bitter, so it's better to take them off the pepper.
Peel the garlic. The roasted garlic clove should pop right out of the peel.
Leave the charred skins on the tomatoes and jalapeños.
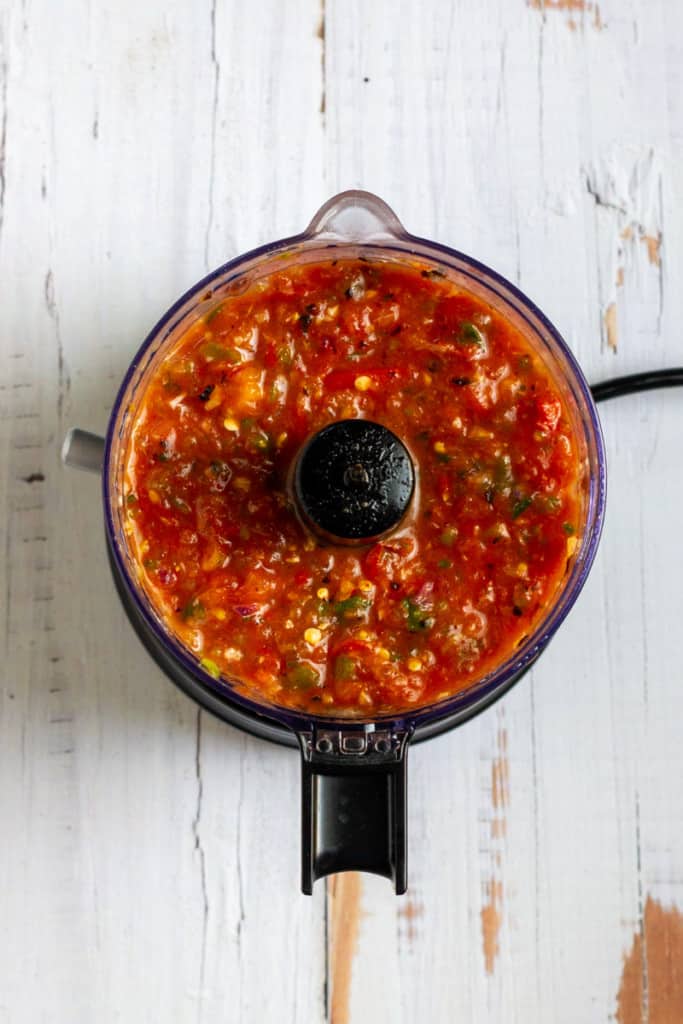
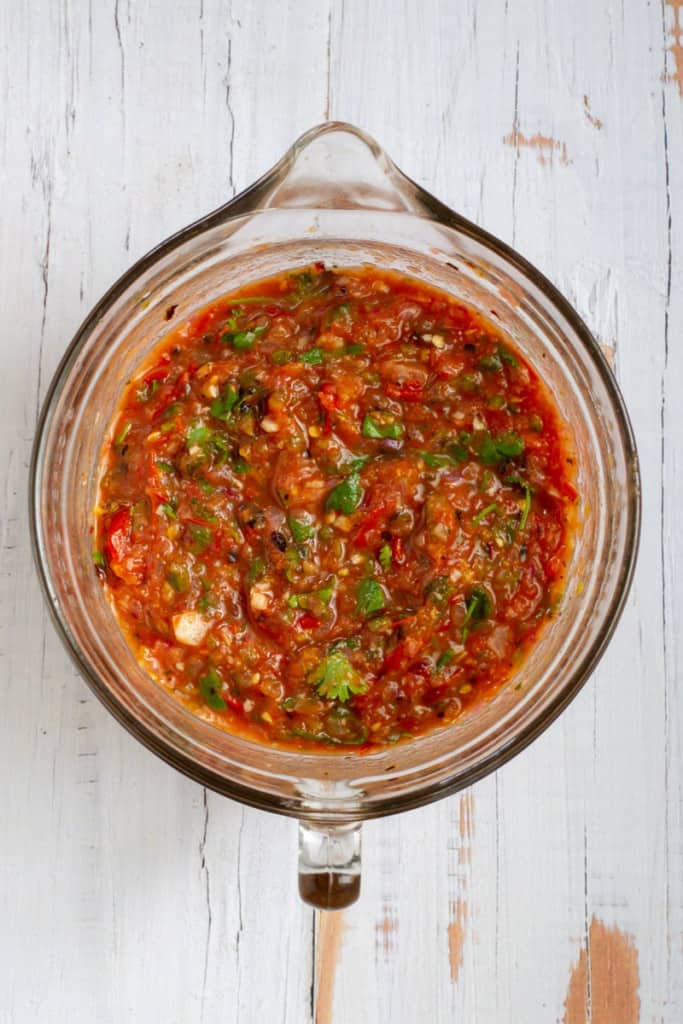
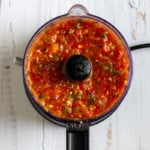
Next, add all the vegetables to a food processor and use the chop setting to mix everything together.
I use a KitchenAid 5-cup food processor, which is just a little bit too small for the entire batch of salsa. If your food processor is also too small, it's totally fine to work in batches.
Next, transfer the salsa to a large bowl.
Stir in fresh lime (or lemon) juice, some chopped cilantro (or oregano), a teaspoon of ground cumin, and a little salt. Taste the salsa, and add more if desired.
Now you've come to the hard part.
Waiting.
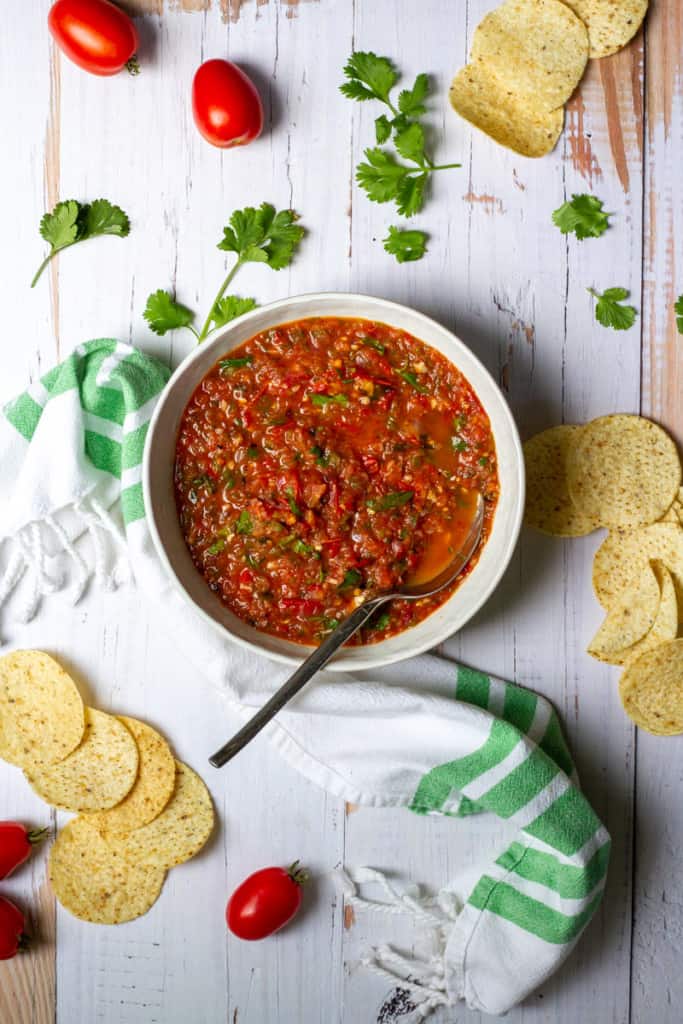
If possible, make this salsa the day before you serve it. It will taste good right away, but the flavors will really improve as the salsa rests in the fridge overnight.
Serve your salsa the next day, along with your favorite tortilla chips, and enjoy this delicious taste of summer!

Fire-Roasted Salsa
Ingredients
- 2 pounds Roma tomatoes, cored + halved See Recipe Notes
- 1 red onion, peeled + sliced into 6 to 8 wedges
- 1 poblano pepper, stem + seeds removed, cut in half lengthwise For less heat, use a sweet bell pepper instead
- 1 jalapeño pepper, stem, membrane + seeds removed For more heat, use 2-3 peppers and leave the membrane + seeds
- 4 garlic cloves, unpeeled Use more or less as desired
- 2 tablespoons avocado oil Or use another high-smoke point oil, such as canola
- 1 lime or lemon, juiced
- ¼ cup cilantro, removed from stem + roughly chopped Or swap fresh oregano
- 1 teaspoon ground cumin (optional)
- ½ teaspoon sea salt (or more to taste)
Instructions
- Move an oven tray about 3 to 4 inches from the broiler. Preheat the broiler to high.Place tomatoes, onions, poblano, and jalapeños cut-side down in a single layer on a baking sheet. Place the garlic on the baking sheet.Depending on the size of your vegetables, you might need to use two baking sheets. If so, I recommend placing the tomatoes and garlic on one tray and the peppers and onions on another. The tomatoes and garlic will probably take the longest to char.Drizzle oil over the veggies.

- Broil vegetables 5-10 minutes, or until they begin to blacken and char. (The broil time will vary depending on your oven's broiler. Gas broilers tend to cook more quickly.)Note that if you're using two baking sheets, you'll need to work in batches and cook one baking sheet of veggies at a time.Check on the vegetables often while broiling. If some vegetables seem to be cooking much faster than others, use metal tongs to either remove them from the baking sheet or move them farther from the heat source.
- When the vegetables are charred, remove them from the oven.Carefully remove as much of the skin from the poblano pepper as possible. (If you used a bell pepper instead, there's no need to peel it.)Peel the garlic. (The skin should slide off easily.)Leave the skins on the rest of the veggies.
- Add the charred vegetables (and their juices) to a food processor basin, and use the chop setting until the vegetables are finely chopped and mixed together.If your food processor basin is too small, it's fine to work in batches and transfer the salsa to a large bowl as you work.If you don't own a food processor, finely dice the vegetables with a knife, and add them to a bowl.If you're concerned about the heat level, add about half the peppers first, taste the salsa, and add the remaining peppers if desired.
- Move the salsa to a bowl, and stir in the lime juice, cilantro, cumin, and salt. Taste the salsa, and add more salt if desired.The flavor should be tasty right away, but will greatly benefit from resting for 24 hours in the fridge. Serve as desired.


Melissa says
Can this recipe be canned?
Alisha Trenalone says
Hi Melissa. Sorry, we haven't tested this recipe with canning!
-Alisha at Champagne Tastes