Do you love adding sprouts to your soups, sandwiches, and salads? This easy food tutorial will show you how to grow mung bean sprouts in a jar.
First of all, what are mung bean sprouts?
Sprouts are formed when seeds start to 'sprout' into a full vegetable. Mung bean sprouts are (wait for this) — sprouts from mung beans!
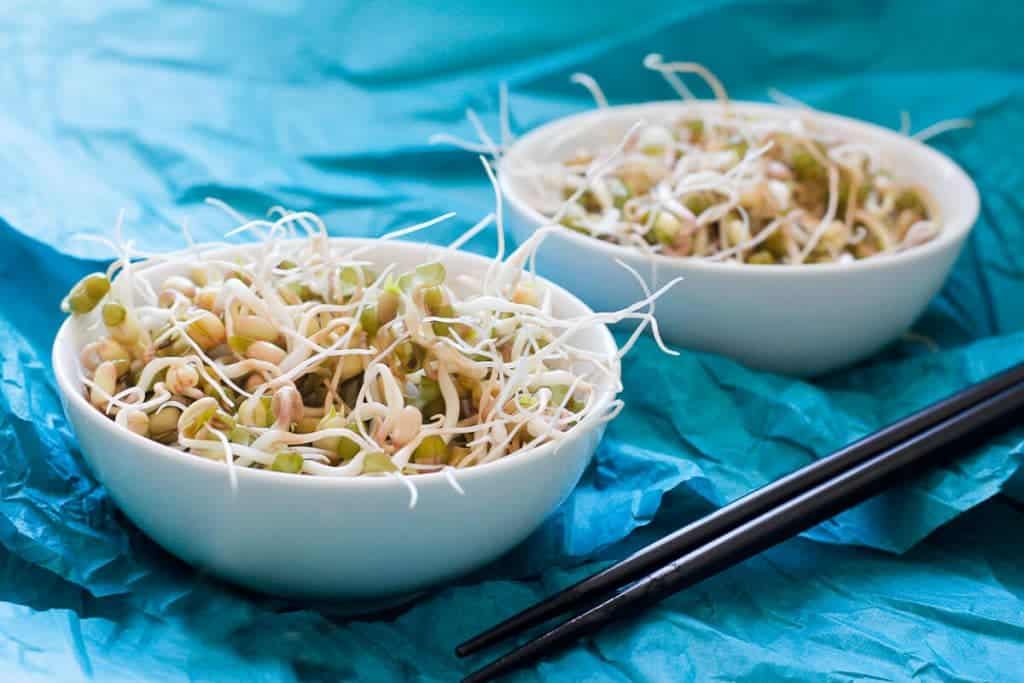
They're a delicious, vegetarian source of plant-based protein.
You've probably eaten them (or at least seen them) if you've eaten Pad Thai or the Vietnamese soup Pho.
If you've seen an Asian or Asian-inspired recipe that calls for 'bean sprouts,' it probably meant mung bean sprouts.
These tasty veggies are crunchy, delicious, and incredibly easy to grow at home.
Bean Sprout Safety
When I was growing up, I loved adding bean sprouts to my sandwiches. I'd pile them high, and dig in. I loved the crunchy texture and the delicate flavors.
In the late 90s, however, bean sprouts began vanishing from grocery stores. Let's call this "The Case of the Disappearing Sprouts."
I searched high and low, near and far, but could NOT find sprouts. Why not?
Sadly, bean sprouts are not always safe to eat, and major grocers pulled them off their shelves (although you can still find them in some international markets or health food stores). What's the problem?
If the seeds aren't treated correctly, or the sprouts are grown incorrectly, you can end up getting sick and regretting your food choices. However, since I love the flavor, and a lot of meals seem incomplete without them, I wasn't ready to give up on bean sprouts.
Can you solve all your bean sprout health woes by growing your own sprouts at home? No, because the problem can start with how the seed itself has been treated.
That's why it's extra important to buy mung beans that are SPECIFICALLY meant for sprouting or eating raw. These seeds will be inspected more carefully with FDA regulations than seeds meant for planting.
Some sources recommend adding citric acid to your sprouting water to keep the sprouts even safer. I haven't tried this, but it is an option.
That said, I am not a doctor and if you've been advised by a doctor to avoid bean sprouts, please follow their advice, not mine.
What Equipment Do I Need?
To grow mung bean sprouts, you need food-grade mung beans.
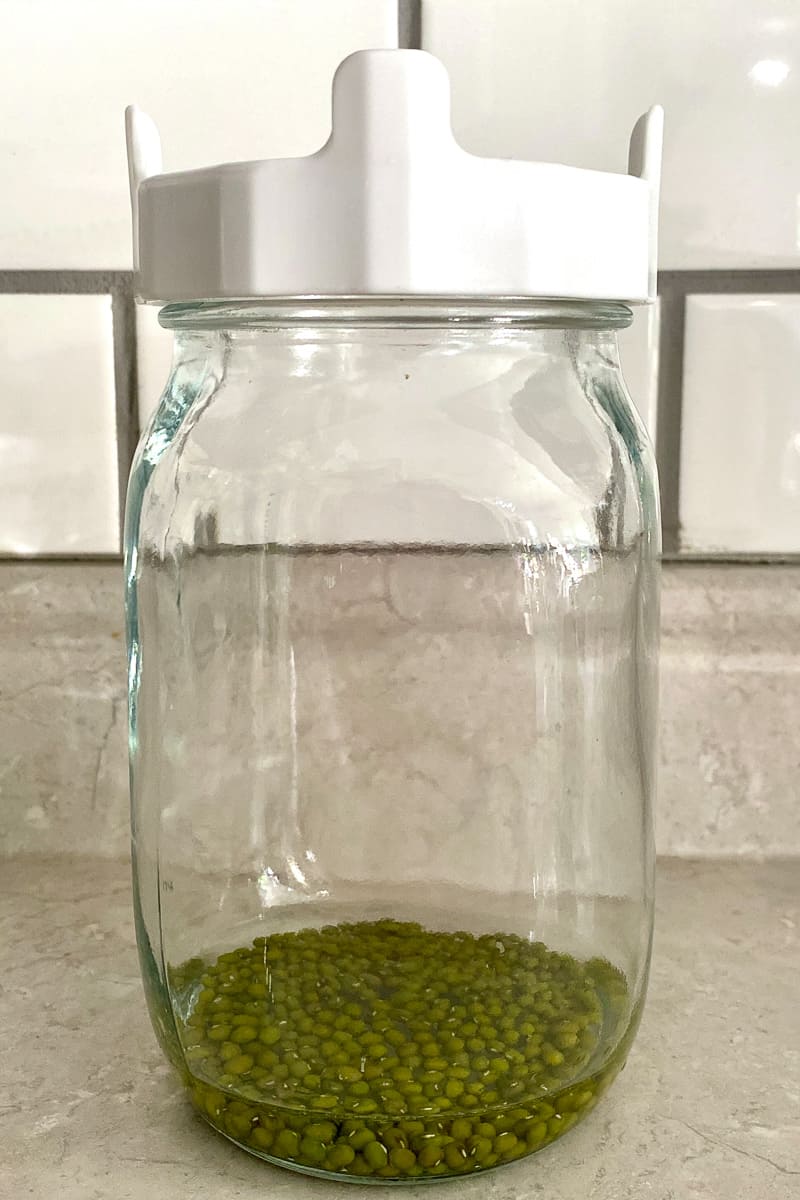
You also need a clean glass jar that's at least 16 ounces in size. A standard Mason jar works just fine.
You'll also need something to cover the jar. A piece of cheesecloth with a rubber band works well, or you could pick up a sprouting jar lid. The sprouts need airflow, so do not use a mason jar lid.
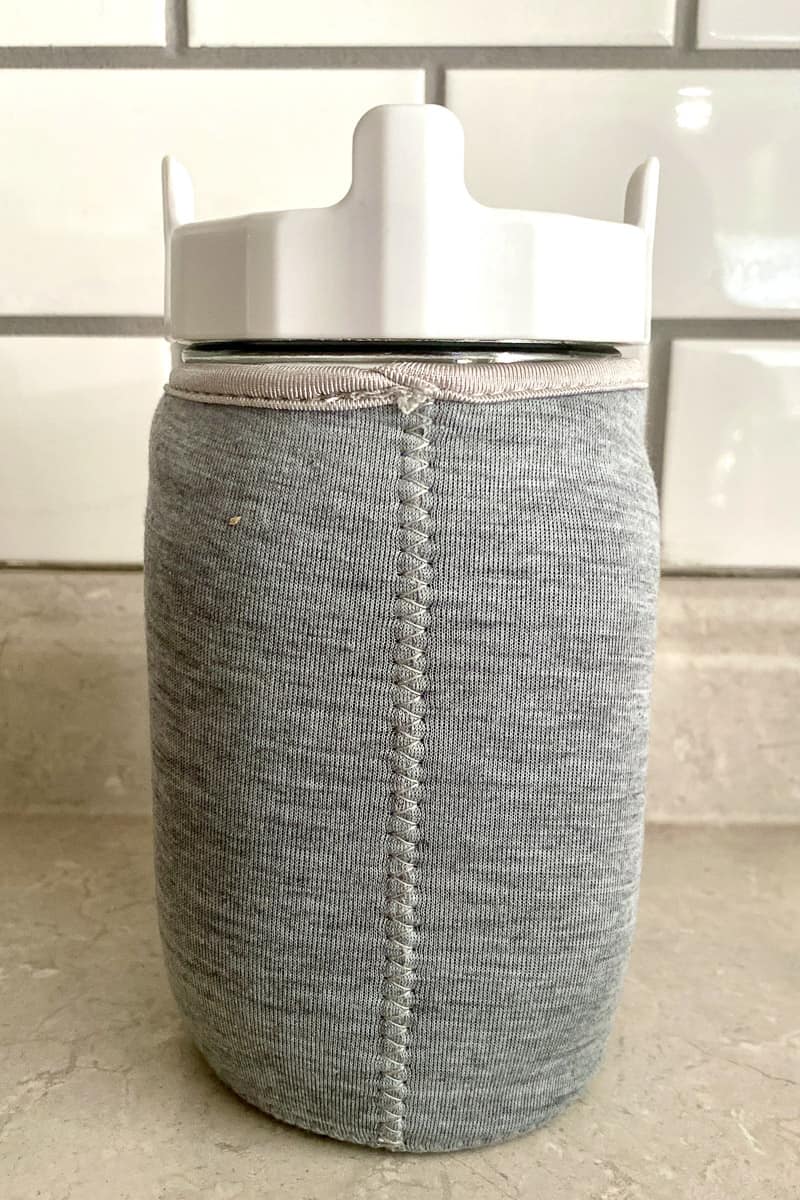
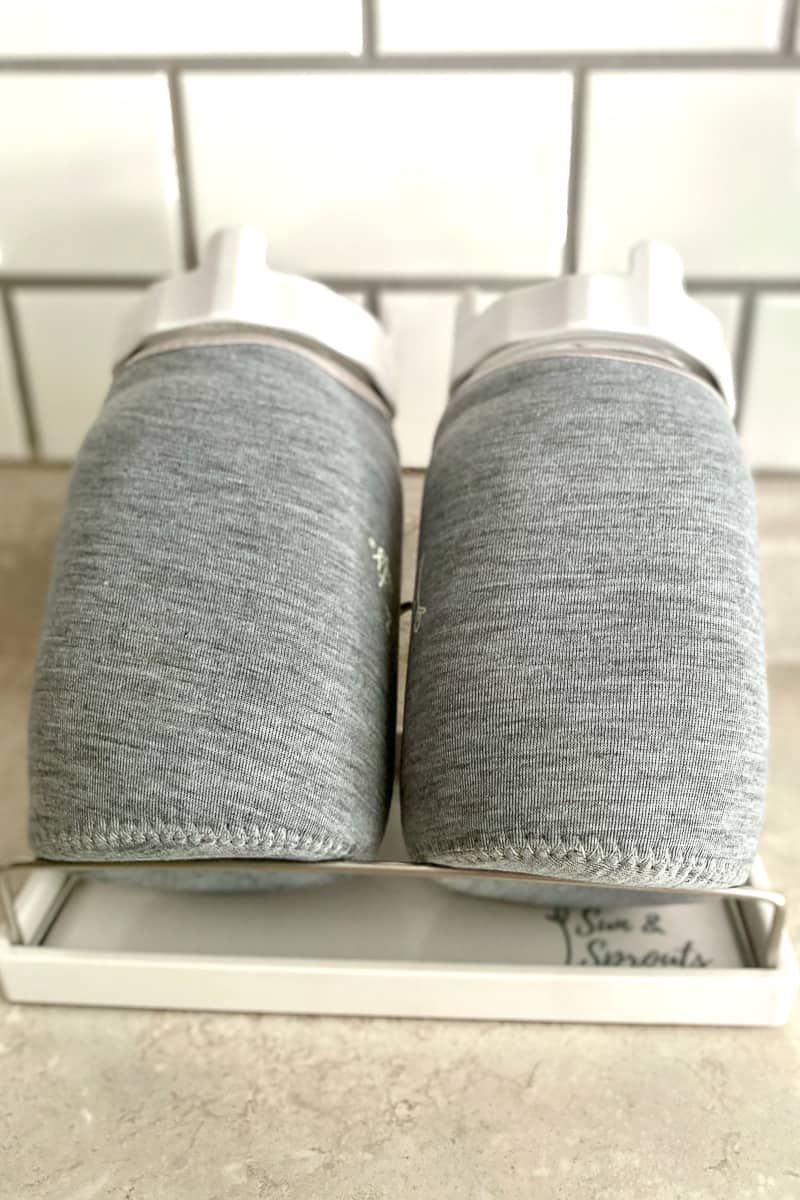
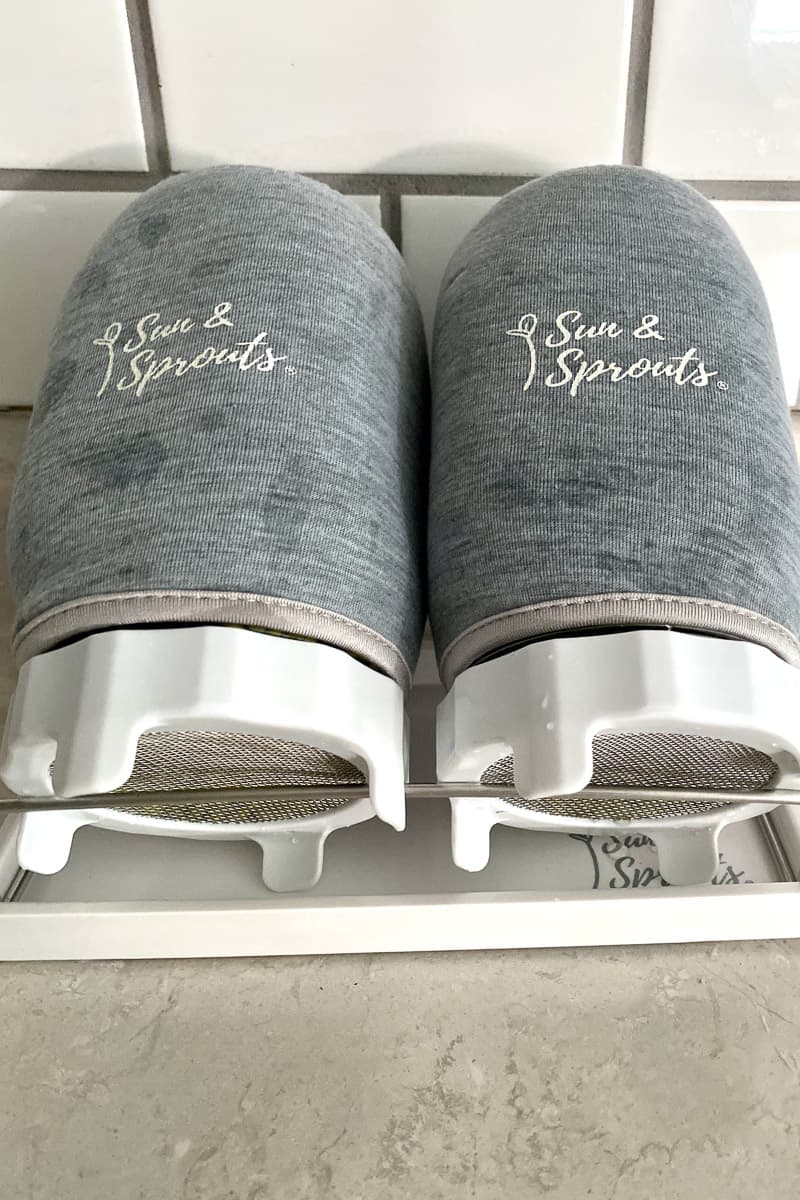
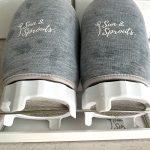
Another option (which I love, but isn't totally necessary), is to use a sprouting jar kit. These kits typically include the jars, airflow lids, blackout sleeves and and airflow stand.
Does Temperature Matter?
Yes!
If you live in a very cold or hot climate, and your home isn't climate controlled, that will affect the growth time of your sprouts. It may be impossible to grow sprouts in very cold rooms.
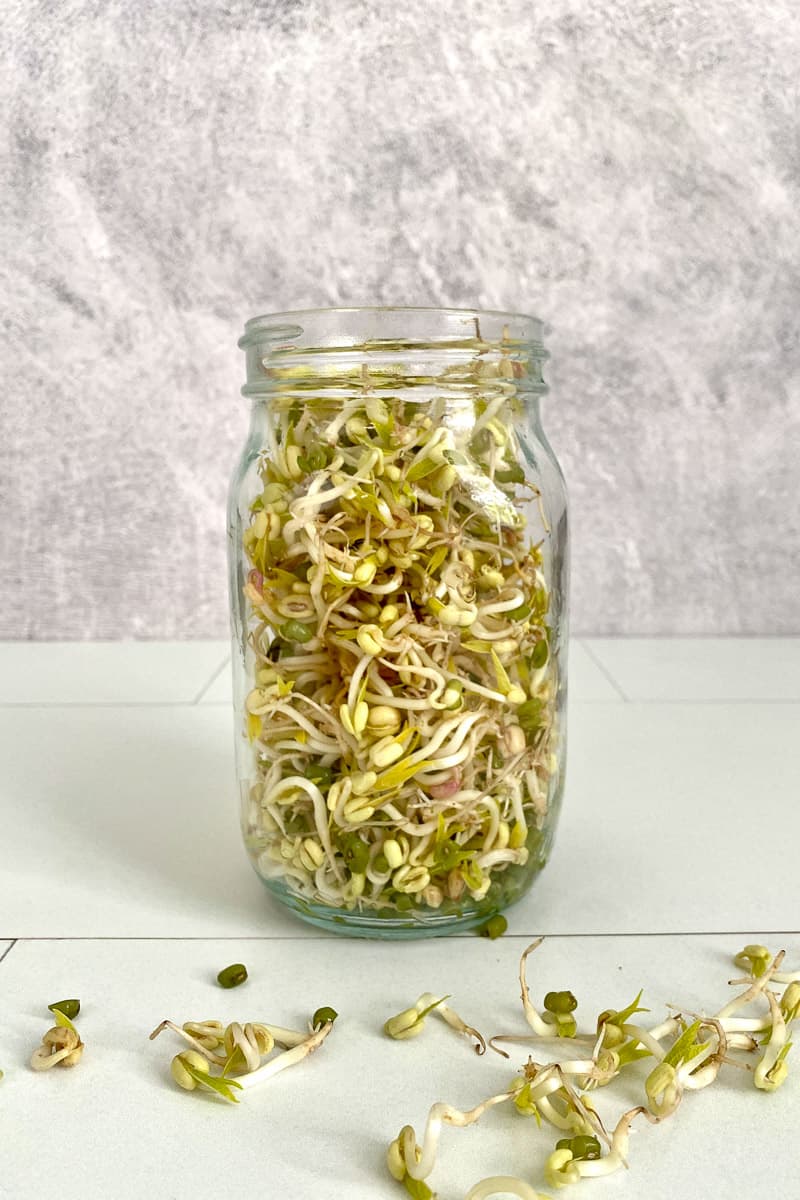
How to Grow Mung Bean Sprouts
Start by sanitizing your glass jar. I do this by putting it in the oven at 225-degrees for at least 20 minutes. Leave the jar in the oven until you're ready to start.
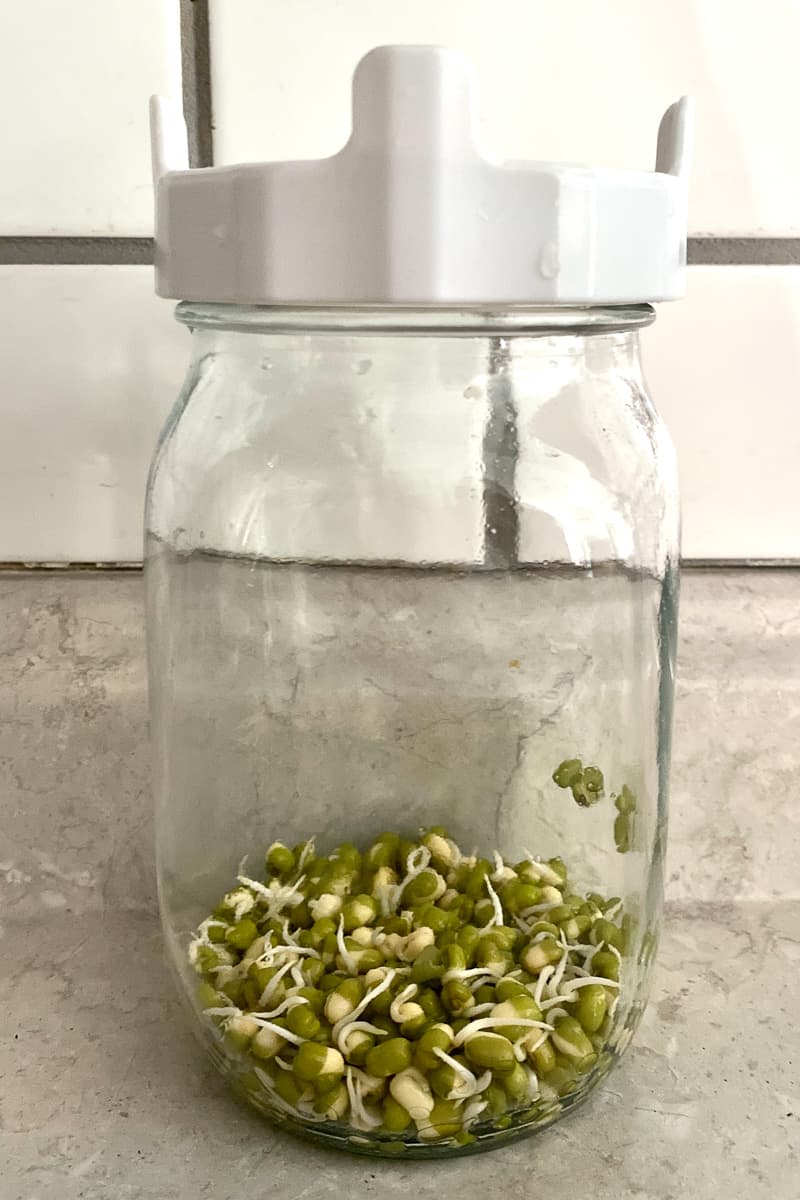
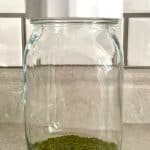
Next, rinse your mung beans. Add the beans in to the clean jar, and add 2-3 times more water than beans.
Secure the cheesecloth over the top of your jar with a rubber band (or attach the sprouting jar lid), and set your jar in a dark space at room temperature (like in a cabinet).
If you're using a sprouting jar kit, you can use the blackout sleeves and airflow stand, and leave the jars on the counter where you're less likely to forget about them.
Soak the seeds overnight (or for about 8-12 hours), and then drain the water.
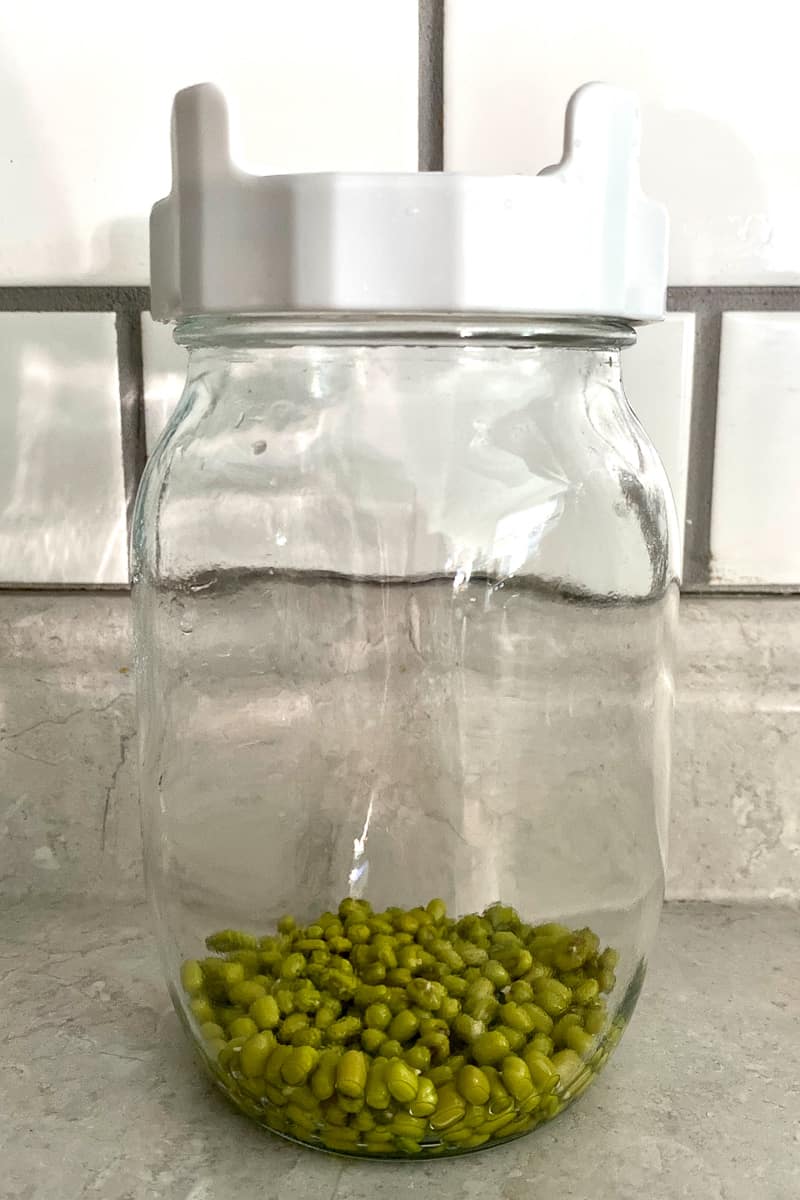
Rinse the beans, drain all the water out, and store the jar on its side.
If you're using a sprouting jar kit, place the jars back inside the blackout sleeves and store them lid-side down on the airflow stand.
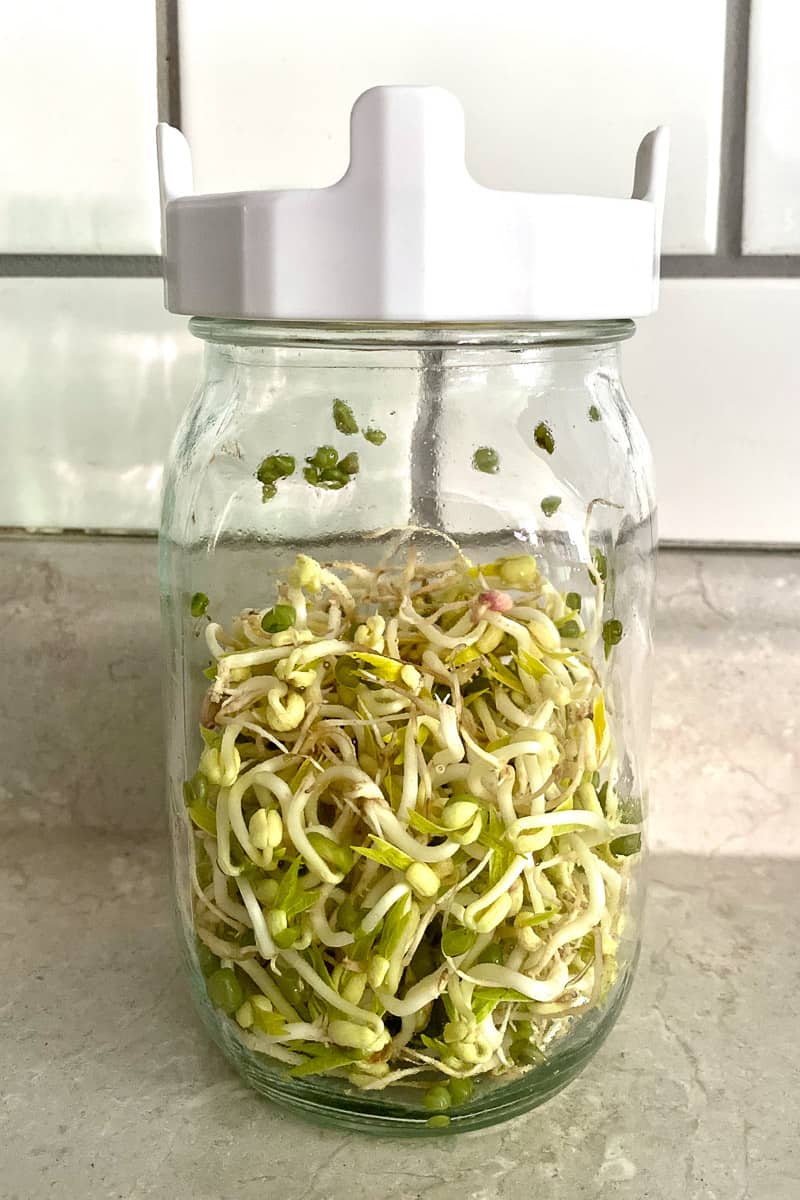
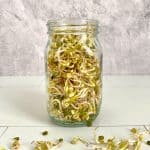
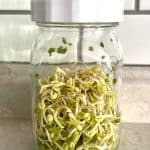
Rinse the beans twice a day for about 3 days, and then set the sprouted beans (still in the jar) where they can get some sunlight.
Leave them in the sun for about one day, and then refrigerate the sprouts and use them up within 3-5 days.
Tips for Storing Mung Bean Sprouts
Once you've finished the final rinse, keep your sprouts as dry as possible.
Don't wash them until right before you're using them, and do not continue to rinse the sprouts each day.
Have you tried growing your own sprouts? Let me know in the comments!
If you love growing bean sprouts, you might also love this tutorial on How to Make Kombucha!
How to Grow Mung Bean Sprouts
Equipment
- clean glass jar At least 16 ounces
- sprouting jar lid Or use cheesecloth + rubber band
- Sprouting Jar Kit All-in-one alternative to previous equipment listed
Ingredients
- 1 tablespoon mung beans Use whole beans intended for sprouting (check packaging)
Instructions
Sanitize Jar:
- Place a clean glass jar in the oven at 225ºF for at 20 minutes. Leave the jar in the warm oven until you're ready to use it.
Soak Mung Beans:
- Rinse mung beans. Put beans in mason jar, and fill with 2-3 times more cool water than beans (2-3 tablespoons water).Cover jar opening with sprouting lid, or top with cheesecloth and secure with a rubber band. Place jar in a dark, cool space (like a cabinet). Alternatively, if using a sprouting kit with a blackout sleeve and stand, place the jar in the sleeve and set lid-side up on the sprouting kit stand. Soak beans for 8-12 hours.
Sprout Mung Beans:
- Drain beans, rinse, and drain out the water. (Do not add more water.)Store the jar on its side in dark space with the straining lid or cheesecloth on the jar. If using a sprouting kit, use the blackout sleeve instead of placing in a cabinet. If the kit includes an air-flow stand, place jars lid-side down on stand. Continue to rinse and drain twice a day for about 3 days, until the sprouts have grown out as long as you like them. (During this phase, continue to store the bean jar in a dark space with the straining lid or cheesecloth on the jar.)
- Once the bean sprouts have reached the desired length, set beans in daylight for one day without rinsing. If using a cheesecloth as a lid, remove the cheesecloth for increased airflow. If using a straining lid, you can leave the lid on.If using a sprouting kit, remove the blackout sleeve. If the kit has an air-flow stand, continue to store lid-side down (straining lid on). (Do not store lid-side down unless using an air-flow stand.)

- Refrigerate sprouts and use within 3-5 days.

Pretty says
my mum always grew mung bean in muslin cloth when we were younger and made the best curry. I need to get into the habit to doing it more because the results are amazing and they are so versatile. Thanks for sharing your tips on how to grow mung beans.
champagne-tastes says
Aw that's awesome! They're great in curry!!
Meeta says
I often sprout many different types of legumes/lentils/ beans - always great to cook with them and for toppings. It's been a while since I did mung beans - thanks for reminding me!!
champagne-tastes says
They're so tasty and crunchy right!? 🙂
michele says
I knew they were pulling them of the shelf often, but I didn't know how easy they would be to grow at home! Such great information here .... thanks!
J @ Bless Her Heart Y'all says
It is so hard to find sprouts sometimes at stores and I love them so much.... so that makes me sad. What makes me happy again is this tutorial! I never thought to grow my own! Thanks so much for your tips on how to do this safely.
Karen Adler says
Hi. In the final stage of the mung beans, r they in the jars wth lids on or still with cloth and rubber band? Lovely texture. Many thanks, Karen
Alisha Trenalone says
Hello, they're in the jar with a cloth and rubber band still, not with a lid. Thanks for getting in touch!
-Alisha at Champagne Tastes
Dale Edmondson says
So far, so good. Except for a few beans that didn't sprout and stayed hard as gravel. Next time, I'll float them. The unsprouted ones don't float.
Lynn says
When they are done and you put them in the refrigerator should you put an airtight lid or still the airflow lid?
Alisha Trenalone says
Hi, Lynn. Either way should be ok!
-Alisha at Champagne Tastes