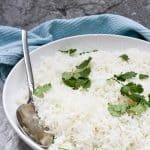
Love basmati rice, but don't like cooking it? Here's an easy tutorial on How to Cook Basmati Rice in the Microwave!
In my house, we go through a lot of basmati rice.
Sometimes we eat it with curry, sometimes with lentils, but I always-- and I mean always-- cook it in the microwave.
Actually, I cook all my rice in the microwave.
Why?
It's easy, seemingly foolproof, and is ready in about 20 minutes.
I realize that this post won't be helpful for everyone.
Some of you are 'anti-microwave,' others have rice cookers, and some of you probably cook rice on the stove top regularly without any issues.
Personally, I don't use the microwave on a regular basis-- except for rice.
If you're 'rice challenged,' and have issues with rice sticking to the bottom of your pot when cooking-- this post is for you.
If having multiple stove top burners going at once stresses you out-- this recipe will let you put the rice in the microwave while dinner cooks on the stove.
If you're simply looking for an incredibly easy way to fix your basmati rice-- keep reading, because this post is for you too!
Do you have an Instant Pot? Try making Instant Pot basmati rice and Instant Pot jasmine rice!!
Do I have to Soak Basmati Rice Before Cooking?
In an ideal world, you should soak your basmati rice for at least 20 minutes before you cook it.
Soaking the rice helps the rice grains elongate, and yes-- side-by-side, you would be able to tell the difference between rice that's been soaked and rice that has not been soaked.
The good news here is two-fold:
First, the 20 minutes is not an exact soak-time.
On a pretty regular basis, I soak my rice for HOURS.
If I know that I'm going to fix rice with dinner, at some point earlier in the day, I'll go ahead and pour rice into a bowl with water.
There's no need to set a timer.
Second, you CAN SKIP soaking your rice if you simply don't have time.
It will still taste delicious, the world will not end, and dinner will be on the table faster.
Your rice will simply be a little shorter.
Does It Matter If I Leave the Lid On or Off While Cooking?
Traditionally, basmati rice cooked on the stove top is made with the lid in place for the entire cook-time, and then the lid stays on for about five minutes after the rice is finished.
I've tried leaving the lid on for the entire cook-time in the microwave, but could never get the moisture to cook off correctly, leaving the rice soggy.
Taking the lid off for the second part of the microwave cook-time results in a better texture for microwave rice.
Do I Really Need to Adjust the Power Level on My Microwave?
Yes. If you don't lower the power level, you'll have problems with the water boiling over the edge of the bowl.
Not sure how to adjust the power level?
Keep reading.
How to Cook Basmati Rice in the Microwave
First things first-- to cook basmati rice in the microwave, you need to know how to adjust the power level on your microwave.
If you aren't sure how to do that, typically it works like this:
- Set the time using the 'Time Cook,' or whichever button allows you to type in a specific time. Don't use the pre-programmed time buttons.
- Next, press the 'Power Level' button. Depending on your microwave, you'll either keep pressing the power level button until it reads '60,' or you'll press the 'power level' button and enter '60.'
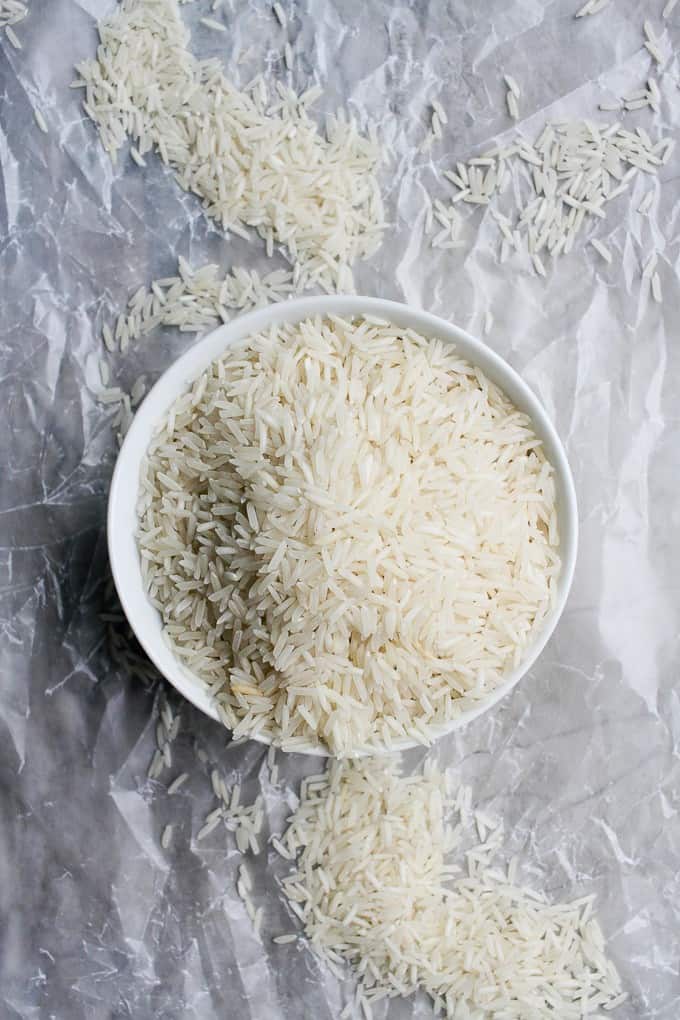
Next, prep your rice.
Whether you've soaked the rice or not, pour it into a mesh sieve and rinse it off. This will rinse off any extra starch, and help keep the rice light and fluffy.
Then, put the rice, a couple of cups of water, a little olive oil, a pinch of salt, and a couple of bay leaves into a large lidded microwave safe bowl.
I use a 2-quart glass casserole dish for this recipe.
Cover the bowl, set the microwave power to 60%, and cook it for about twelve minutes.
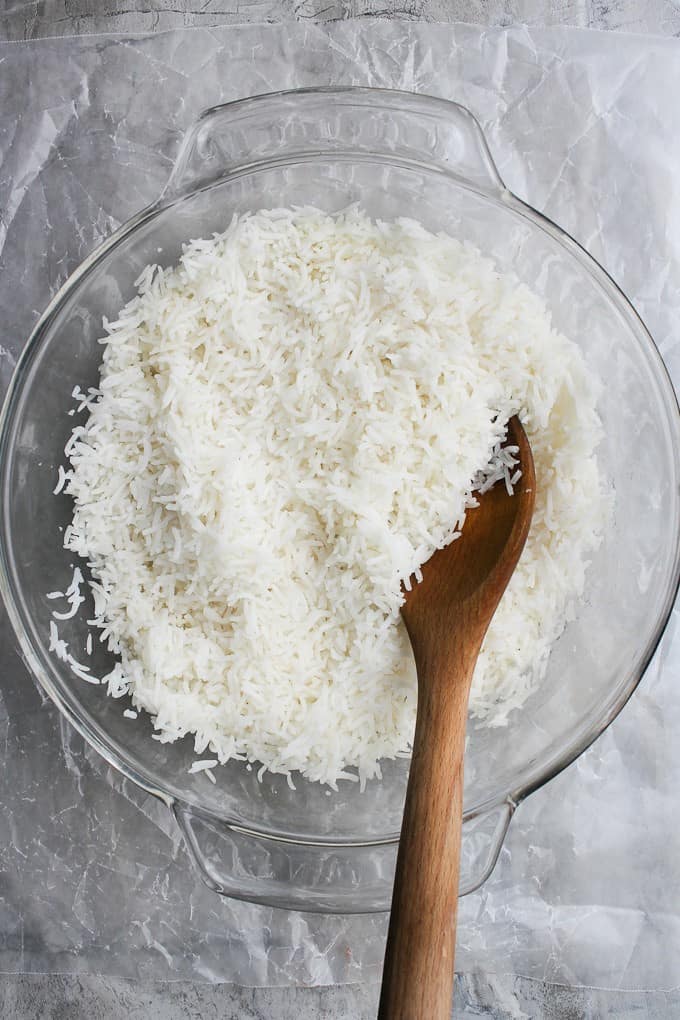
Finally, take the lid off and cook the rice for about six more minutes.
That's it!
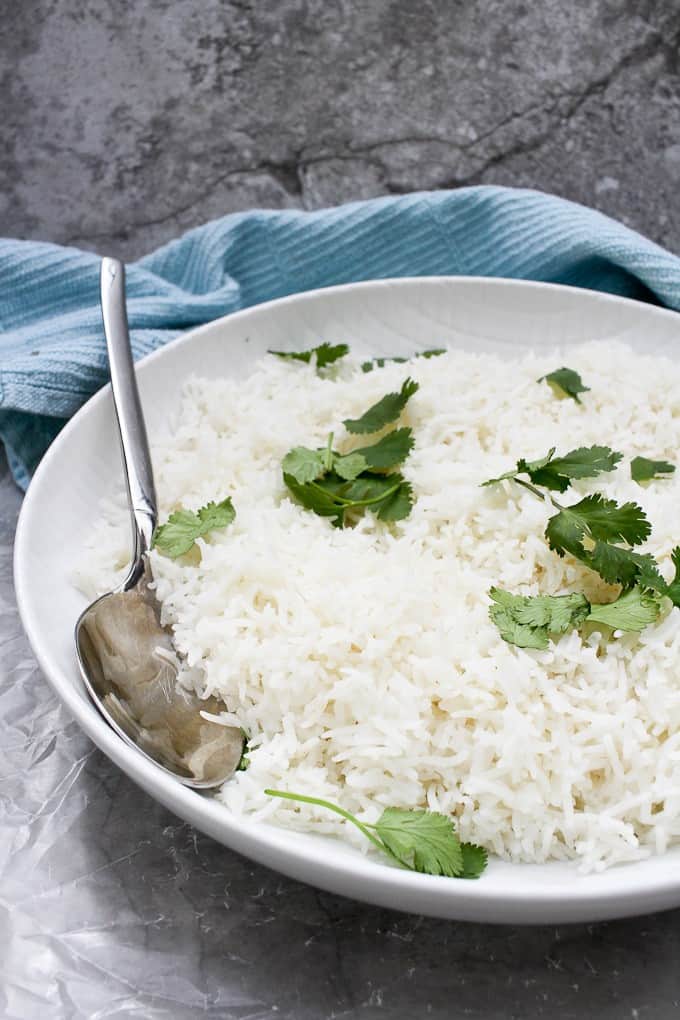
Your rice is ready to be eaten.
Enjoy your dinner, and congratulate yourself on making delicious rice with zero stress.
Want a meal to serve with your basmati rice? Try this Slow Cooker Vegetarian Curry or this easy Vegetable Korma.
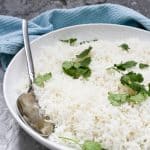
How to Cook Basmati Rice in the Microwave
Ingredients
- 1 ½ cups dry basmati rice
- 2 ¼ cups water
- 1 tablespoon olive oil, ghee, OR butter
- ½ teaspoon sea salt
- 2 bay leaves (optional)
Instructions
- Optional but recommended: Soak rice in water for at least 20 minutes before cooking. (Soaking helps to elongate the rice-- Skip if you don't have time.)
- Rinse rice in a mesh sieve.
- Add rice, water, oil, and bay leaves to a large microwave-safe bowl. Cover bowl with lid.
- Microwave covered at 60% power for 12 minutes.* (See Recipe Notes). Remove the lid, and cook uncovered on 100% power for 6 minutes. Serve as a side dish, refrigerating or freezing leftover rice.
- Leftovers:This rice is best served immediately, but can be kept refrigerated in a sealed container for up to 4 days. To reheat, add about a tablespoon of water, and microwave covered until warm (2-3 minutes).


Meghan @ Adventures in Verdance says
Thank you for making it acceptable for me to be lazy.
champagne-tastes says
Anytime my dear 😉
Daniel says
Sooo easy. And delicious. Sometimes I leave out the bay leaf and it’s still delicious.
champagne-tastes says
Yay! I'm glad it was helpful!
Jennifer Stoyka says
This came out perfect!!!!!!
Sarah says
I’m so glad!!! Yay easy rice!!
Matt says
This recipe really worked for me. Luckily I have a 900W microwave which can be set to 60%, so I followed the recipe exactly.
I needed a serving of no fuss rice and it delivered! Reminded me of restaurant style ‘plain boiled rice’.
Many thanks!
Sarah says
Yay!! I’m so glad that it worked for you. Thanks for letting me know!
Emmy says
I just made this for dinner. Perfection!! I fried then added in zucchini, carrots, corn, garlic and ginger and it is the most fluffiest fried rice! Thank you!
Sarah Trenalone says
Yay! I’m so glad you loved it! Thanks for letting me know!
Andrew says
If I want to make 3 cups of dried basmati rice, how much water do I add?
Thanks!
Sarah Trenalone says
Hi Andrew! I haven't tested this with 3 cups, sorry! If you try it let me know what ratio worked for you 🙂
Kimberly (& Hesham) says
Hi Sarah and Andrew...To make basmati rice with 3 cups of dry rice here is what we do... 1>Rinse 3 cups of rice, drain well, place in a super large glass bowl (4.5 qt (4.5 L). 2>Then add water to cover the top of the rice by approximately 1 1/4". We call this the thumb knuckle test. I say approximately because my thumb tip to first knuckle is 1" and his is 1 1/2" We stick our finger into the water and just touch the top of the raw rice to measure. Then add more water or drain some off... 3>Add sea salt, a drizzle or two of olive oil. 4>Place in microwave UNCOVERED and microwave on HIGH for 12 mins. 5>my hubby likes to stir it then microwave UNCOVERED on HIGH for 3 mins. (He stirs it to make sure it isn't already too dry.) 5> Fluff with a fork and ready to eat... We frequently rice using 4 cups of basmati, first cook is 15 mins, then second cook is still about 3 mins. My husband has perfected this recipe through experience. When I follow our method I am still hit and miss because I haven't had the experience he has. He has became our official rice cooker! And I'm not even the back up anymore...mmmwwahaha it was part of my evil plan 😉 I hope you can perfect this recipe and method because it is worth the time of finding out what works for you. Oh! also, I think our microwave is more the 900 watts. He has done the same method in our little rv microwave and it turns out pretty much the same. He did say that a flat bottom bowl cooks better then our rounded bottom bowl
Doris says
When I get rice from Indian takeout, I do not taste any bay, but iit tastes more like cumin. Is this typical for Indian basmati rice?
Sarah Trenalone says
Hi Doris! Rice is a pretty blank slate, so you'll find it with all different types of seasoning. If you like cumin, you could definitely add a few cumin seeds to your rice while it's cooking.
Brian Z says
First time and it came out perfectly. Had some leftover and it also came out great. Have tried a number of other recipes that were not nearly as good.
Sarah Trenalone says
Yay! I’m glad it worked for ya!
Billy Myers says
Hi - I just made this recipe and it worked like a charm! I wonder if I could bother you for some advice? I live alone and had a hard time eating all the rice and would like to cut the amount of rice to 1 cup and 1.5 cups of water. How would I adjust the cooking time? Thank you so much for the gift of this recipe!
Sarah Trenalone says
Yay! I'm so glad that worked for you 😀
I haven't tested it like that, but my guess is that you could just try cutting the recipe down a little. I'd probably start with 1 cup of rice and 1 1/2 cups of water. If it seems too watery, just let it sit with the lid on for a few minutes at the end until the water absorbs, and then use a little bit less water the next time. I hope that helps!
Another option would be to make fried rice with the leftovers 🙂
Billy Myers says
Thanks for the advice! I'll give it a try.
Sarah Trenalone says
Happy to help!
Hannah Brayshaw says
Left-over rice freezes well.
Ginny says
This is the best and easiest microwave rice recipe ever, bang on! I added some sumac for some more flavour.
Liz says
Absolutely delicious! I have cooked this so many times since stumbling across this recipe. 10/10 recommend! The only thing I do find is that I tend to use a little more stock than the recipe states.
Alisha Trenalone says
Thanks for letting us know you enjoyed it! 😄
-Alisha at Champagne Tastes
Leslie Brown says
I now have enough rice for 3 weeks but my goodness it’s so good I’ll be eating it for every meal! It’s so hot here in TX that I was hoping to find a solid microwave recipe and this is it. Thank you for posting this gem. I too will never do rice any other way now 😄
Alisha Trenalone says
Glad this recipe came through for you! Hope you get a break in the hot weather soon 🥵😊 Stay safe!
-Alisha at Champagne Tastes
Nanette Dahms says
The timing on this recipe was entirely wrong. Using your timing at 60% resulted in uncooked rice. I had to adjust the timing repeatedly to ensure the rice cooked through properly.
Alisha Trenalone says
Hi Nanette, there's definitely variation in microwaves, so if you happen to have one that's lower wattage the rice would take longer to cook. This recipe was tested on a 900-watt machine. Glad you found the timing that worked well for your microwave!
-Alisha at Champagne Tastes
Janet says
When I searched for a microwave rice recipe yours was the first one that came up! It worked perfectly, except I had to add 3 minutes to the uncovered cook time. Plus, next time I'll cut the recipe in half. There's only me eating it!
Alisha Trenalone says
Glad this one worked for you! 😄
-Alisha at Champagne Tastes
James McCarthy says
Thanks
Be says
That was way legit. I adjusted the time for my 1500 watt microwave (thanks for the heads up) , and it came out perfect. The top rice grains were even pointed up! I think that’s a good sign of perfectly cooked rice!
Alisha Trenalone says
Wonderful to hear! Thanks for letting us know 😄
-Alisha at Champagne Tastes
Scarlett B says
I use nothing but this recipe. It serves four big eaters. Very happy with the taste and texture.
Vivienne says
This recipe is absolutely brilliant! I use my Lekué red microwave steamer and follow the temps as stated in the recipe but leave the steamer closed for the final 6 mins. Rice turns out perfectly every time. Thanks so much for posting!